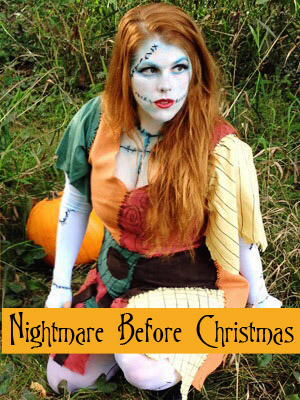
Nightmare Before Christmas Sally Costume DIY
Without further ado… my first costume! This week I will be featuring how to do Sally from Nightmare Before Christmas! This film is one of my all time favorites, and I could go on and on about Tim Burton. Since this movie came out in 1993 it became part of my family’s Halloween tradition where my sister, brother, mom, and I would go Trick or Treating, then return home for pizza, popcorn, candy and a Halloween movie, which was almost always either Nightmare Before Christmas or Hocus Pocus, just to switch things up. Since graduating from college, I decided to revive that tradition and have watched Nightmare Before Christmas for the past three years running. This year, I decided to take it to the next level!
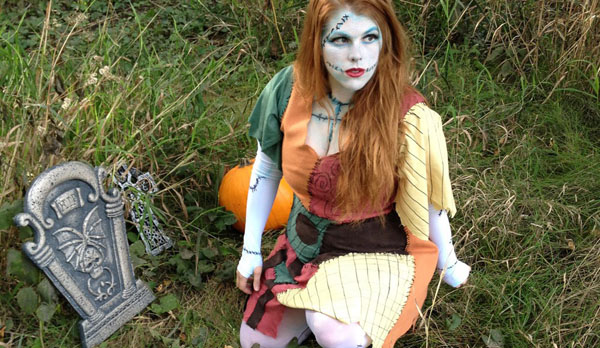
Now, I am certainly not a seamstress, but I cannot stand the bright costumes for sale in the stores for Sally. The real outfit is dark and dingy, as are all details in Tim Burton’s world. So I decided to make my own from scratch.
The Plan
I openly admit… I do not have a sewing machine, a detail that might have saved me a lot of time with this costume. I also knew this would make it hard to create a costume that was well constructed and would fit in a flattering manner. To accomplish this, I used an old dress that I no longer wore as the base, and cut pieces of fabric to layer on top of this dress. This served to ensure I would have a fitting template, as well as a bottom layer to prevent any potential “costume malfunctions”.
The Supplies
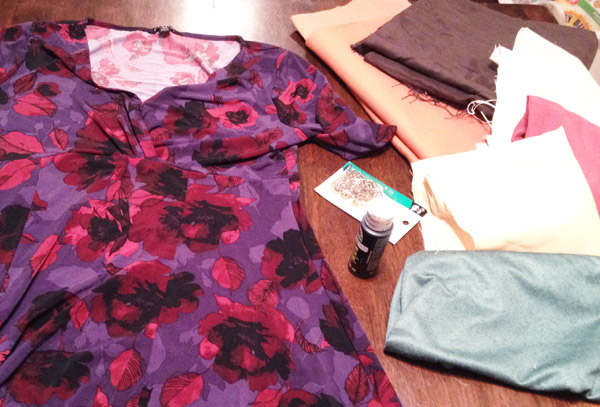
In addition to the dress, you will need:
- Fabric. I headed to the discount rack at JoAnn Fabric (where I also met reader Rosa… hey!) and selected bolts that had the right colors, specifically a mustard yellow, a deeper pink/red, bright green, orange, and a dark brown. You will have to define your own balance of colors and amounts, but you will likely be safe with a yard of each fabric. The red and yellow might be fine to go with 2 feet, just for cost savings. It also wouldn’t hurt to get a little extra of one of the dark fabrics, such as the green or brown.
- Embroidery Thread. Black embroidery thread pulls the whole look (and costume, literally) together.
- Black Sharpie. Basic, but important to get the right details on the fabric you choose, such as stripes and polka dots.
- Hem Tape. And an Iron. This stuff is amazing for costume work, and can give you a sharp, clean hem in under a minute, and for non-sewers… this is a BIG DEAL.
Other Items for the costume
- White Tights or leggings. These will serve for the arms and legs.
- Teal/Blue food coloring. I used this to tint the leggings blue.
- Striped socks. Sally has white and black stripped socks, but you can sub in similar colors, as I did with a grey and black stripe.
- Booties. Sally wears a heeled wedge, but any black heel should suffice.
- Makeup. This can range, but check out my coming makeup tutorial to get the specifics.
- Red Wig. I’m lucky and already have red hair, so I cheated a little by going Au-natural for this one, but there are lots of great wigs available in costume stores and online. You can also use colored hairspray, also for widely for sale at this time of year.
Want to see how I pulled it off? Check out the step by step costume and makeup tutorials!


 Hi! I'm Alyce.