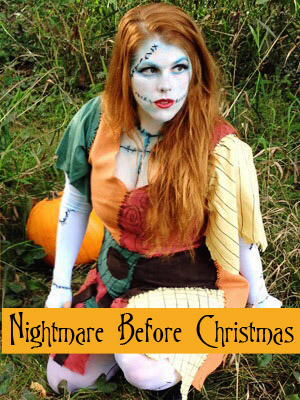
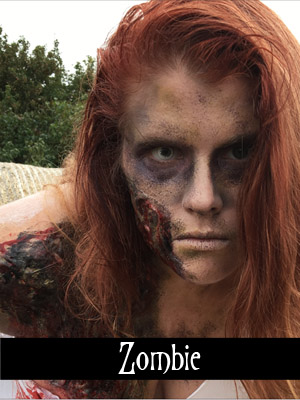
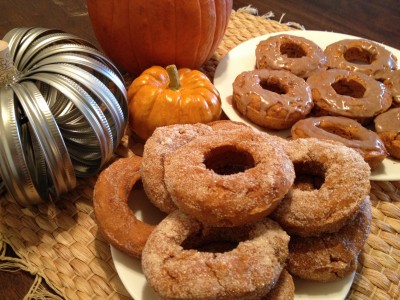
It’s the last day of September, and with a nice and chilly 50 degree morning, the trees that have been holding on to their summer green will finally give up the ghost and start changing!!! Also, I am so excited for October, I simply couldn’t wait to get started with my month of Halloween, and decided to give you a little sneak peek… Can you guess what the first costumes might be?
Jack Skellington Surprise Cake
Ingredients
- 2 boxes of Devils Food Chocolate Cake (plus ingredients required for your mix. Usually eggs and oil)
- 2 jars of white frosting
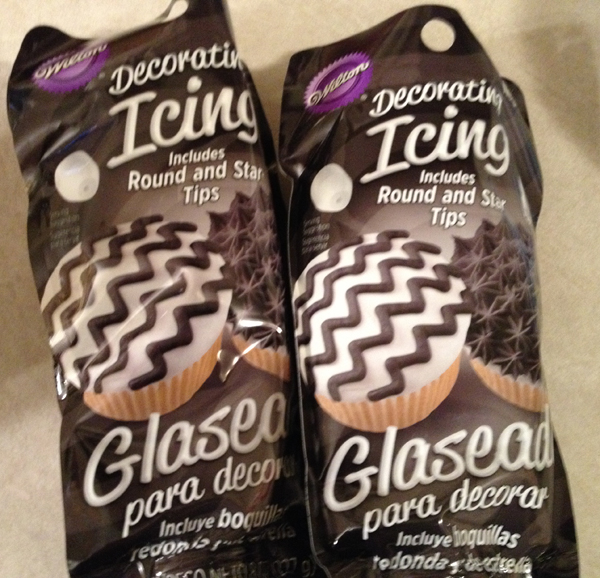
- 1 squeeze tube of black decoration frosting
- 1 medium bag of M&Ms, Reese’s Pieces, or preferred candy for filling.
Other helpful items
- Turntable: I REALLY love the new turntable I bought for this project. It made decorating a large cake like this a breeze! Mine was a really simple one, and I purchased it for only $10 at Walmart.
- Cake boards: These cardboard bases for the cake also made things so much easier! I was able to quickly move it off of the turntable to the decorated table with no mess, and then into a Tupperware container to bring the extras into work. I highly recommend getting these as well, only $4 for a pack of 10 so I’ll be set for awhile.
Instructions
1. Mix your cake batter according to the instructions on the packaging. I personally did one at a time, since I had to bake my cakes in two different takes, since I only had two pans and needed 4 layers. One cake makes 2 round 10in cakes.
Tip: To make even box cake turn out light and fluffy, separate the eggs, keeping the whites in a separate bowl and adding the yolks to the batter. Mix your batter, then (with clean mixer) beat the whites on high until they are foamy and starting to stiffen. Gently fold the whites into the batter right before pouring into the pans.
You will want all of your circular cakes to be the exact same size, so you may need to purchase two identical cake pans, or find two in your supplies that are almost identical. I had two that were within a centimeter of one another, and I called that good.
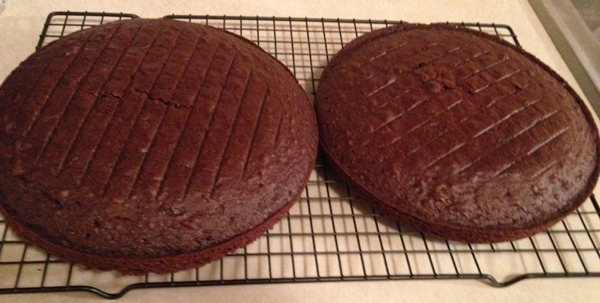
2. Once the cakes are baked, set on cooling racks and allow to completely cool! This is important to prevent the candy from melting when you assemble it.
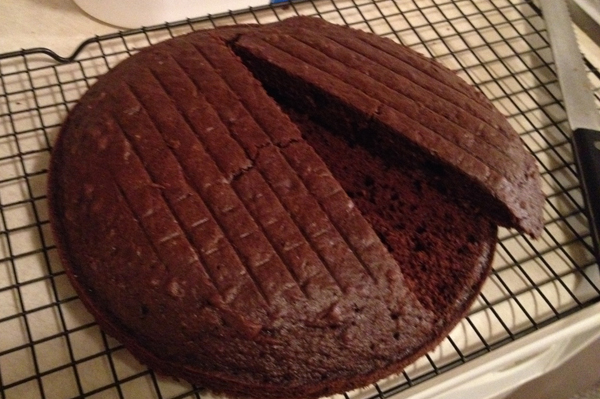
3. Once they are cooled, use a bread knife and level off the rounded top of the cake. I like to get about halfway through, then cut that half off. This helps me make sure I’m not angling the cut too much. Save the tops, in case you need them later.
4. Place your cake board on your turntable, if using one. If not, I would recommend using wax paper or a plate under the cake so you can easily turn it when frosting and decorating. Next, take one of the cake layers and place cut side down on the cake board. I do this so that the baked edges of the cake are exposed, which makes frosting a lot easier to do without getting crumbs in the frosting. I also used a “Crumb Spray” which was aerosol coconut oil. Not sure if it was the spray or luck, but I did have very minimal crumbing into my frosting, so that was a plus!

5. Ice the bottom layer in a O shape around the outer edges. You probably don’t want frosting in the center, as this is where the candy will go.
6. For layers 2 and 3, take a glass and use it to cut out a circle in the center of the cake layer.
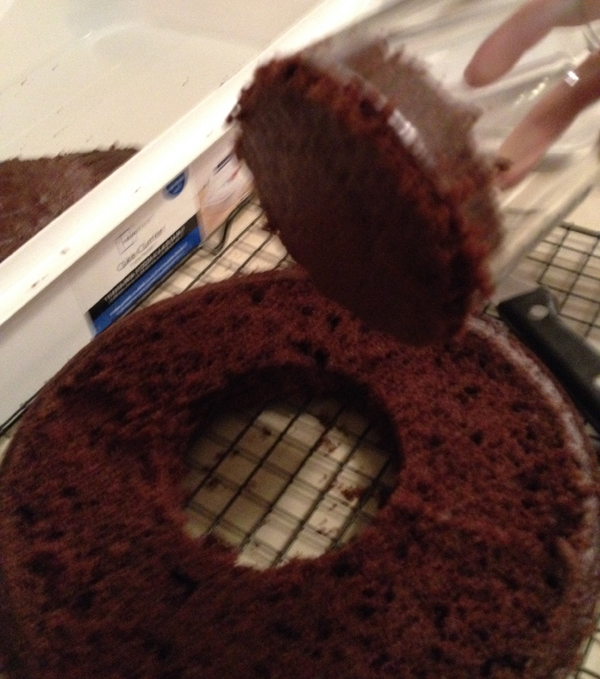
Sorry for the blurry pic….
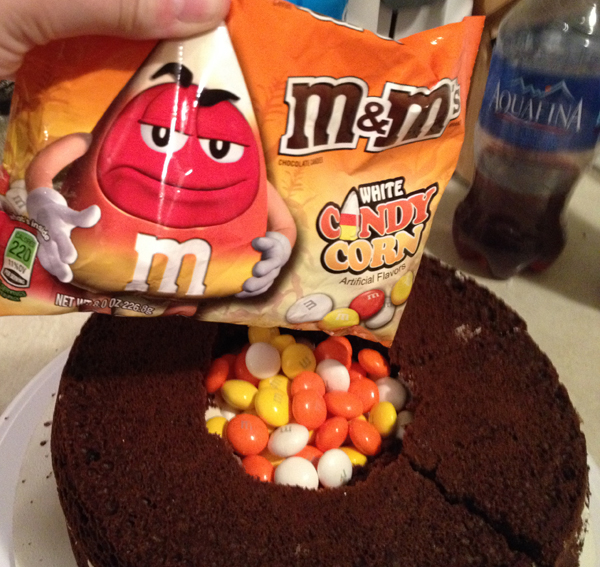
7. Gently lift and place each cake ring upside down on the layer previous, and frost the top of that layer. Once you have layers 2 and 3 placed, you can pour your candy into the center cavity.
8. This is where the extra tops you saved earlier might come in handy. You may notice that your cake might dip a little in one direction or the other. You can use the wedge like edges of the extra cake to bolster up that dipping side. Gently lift the topmost layer near the dip (you might also want to gently cut out a section of the top layer to make this easier) and set the wedge (thick side out) under that layer. This can help you make sure you have a level top, even if you didn’t cut the cake perfectly level!
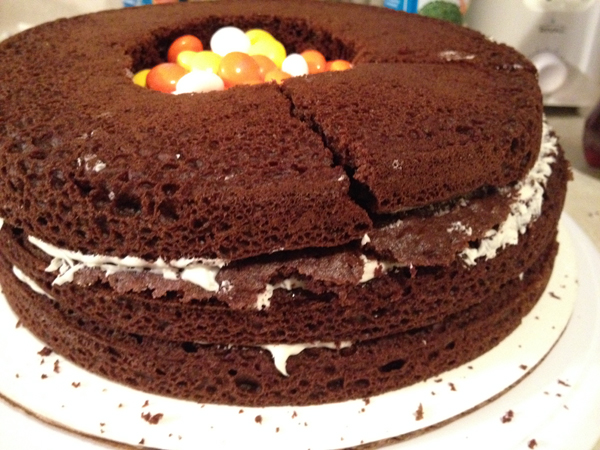
9. Once the cake is filled, and the leveling complete, place layer 4 (the entire layer, no hole) on top upside down. You can now frost! When frosting, I used a very generous amount of frosting to make sure I wouldn’t get any dark crumbs in the white frosting. The turn table made it very easy to do this. Once I had it frosted, I went back around the cake to make the frosting as smooth as possible.
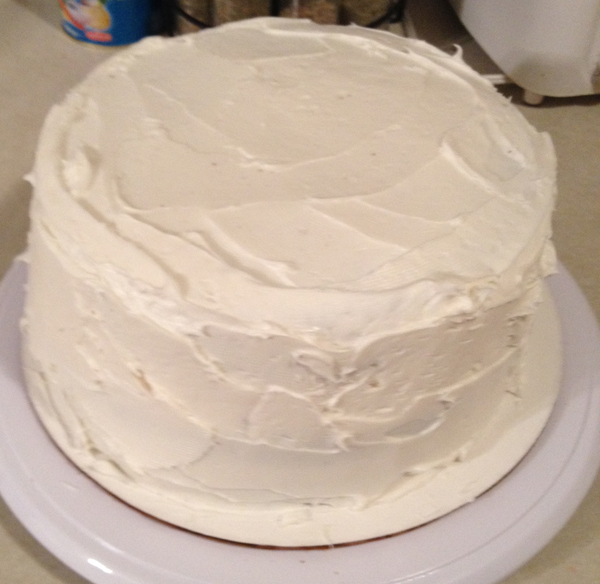
This pic taken pre-smoothing
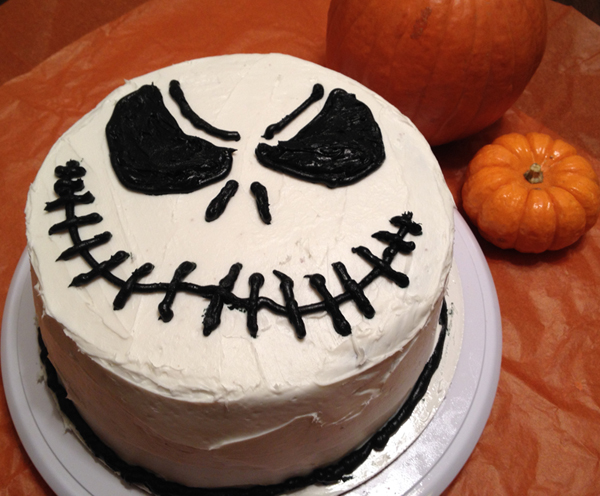
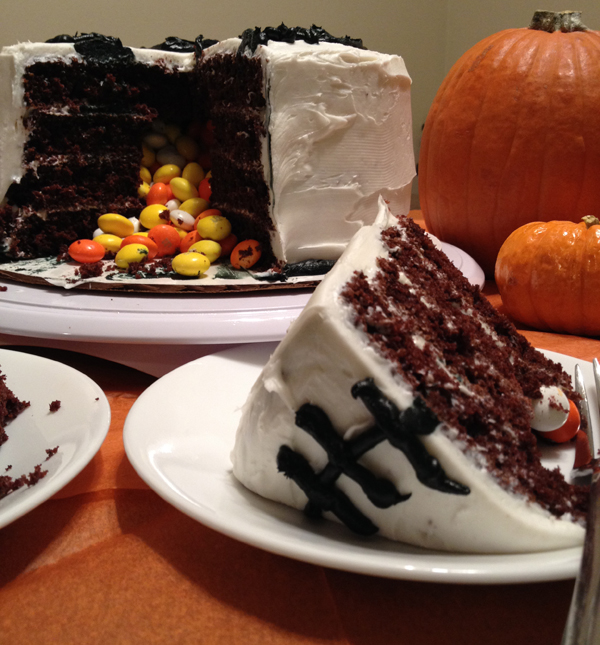
Now for Jack! I had a reference picture to look at when decorating, and I recommend you have one as well with the expression you would like Jack to have. Use the decorating icing to outline and fill his eyes, nose, and smile. I also used a knife to go back over my decor to gently smooth down the “tails” created when I lifted the frosting.
Ta Da! Jack Skellington for your culinary pleasures! Are you guys excited for October? I am!
 Hi! I'm Alyce.