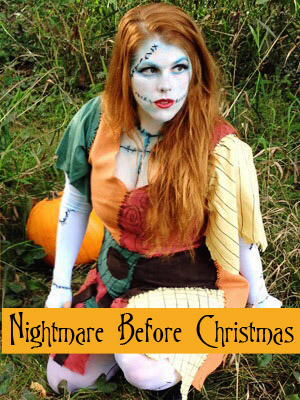
Nightmare Before Christmas is one of my all time favorite Tim Burton films (closely followed by Beetlejuice). Three years ago, I made a Halloween Town Mayor mask out of a lampshade, and while I loved how easy it was to make and wear, you couldn’t see a damn thing out of it, so it wasn’t very practical for a costume. It also took up a lot of space, and ultimately, I ended up disposing of it.
Since then, I have been itching to re-create the mask in makeup, and finally sat down to do just that this week. I snagged a new velvet top hat from Walmart for $5, and paired it with the spider bow tie and Mayor badge props I still had from the original cosplay, and away I went!
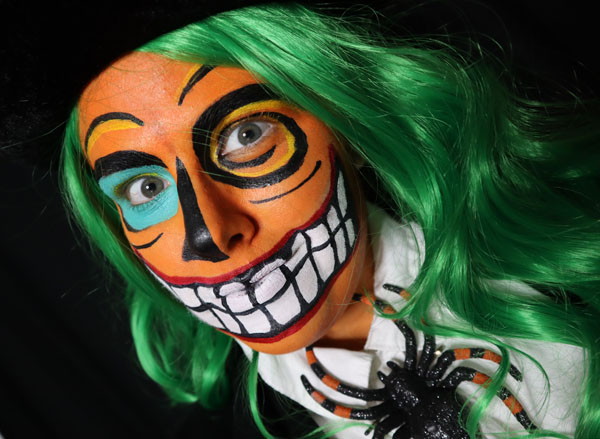
Halloween Town Mayor Makeup
You will need:
- I recommend water activated paints, though you can use whatever you have. You will want teal, yellow, orange, black, white, and red.
- I also recommend using an eyeshadow to set some of these, especially the yellow. I have found that it’s really hard to get a strong color from yellow paints, but using a bright yellow shadow on top really ups the pigments. For this, I used the Nyx Ultimate Shadow Palette, which has a ton of really bright and fun colors for just $17 at Target. I’ve had mine now for just over a week and have used it in almost every makeup since.
- Finally, I really recommend ordering a barrier spray, which you can get from most Halloween stores or even order from Amazon. While it is technically advertised to use when you are finished, you can also spray your face prior to putting on the makeup to create a protective layer between your skin and the makeup. This helps a bit with sensitive skin, but also helps keep your skin from staining. I had a blue tinge to my eye for the next two days, but thankfully it was easily disguised by a bit of foundation.

Instructions:
1. Use the white to outline where you want the blue circle and the teeth in your mouth to be, since you don’t want to have your orange base there. Then, draw a small circle on top of your eyelid within the circle for the blue. I actually used the Nyx Jumbo Pencil in Milk (this pencil is amazing you guys!) but you don’t need to have it.
2. Fill in the rest of your face with orange paint. Let the first layer dry fully, then you can add a second layer to get a really good coverage.
3. Begin filling in the white teeth, blue circle, and yellow circle (within the blue), allowing each coat to dry and adding more coats until you are happy with the color. Once you have a few layers, I then used the yellow and teal eye shadow from the Nyx Ultimate Palette to pat the color on and make the pigmentation really stand out.
It sometimes helps to get your shadow on the brush, then hold it straight up and down and tap the tip of the brush on the table. This will knock the loose powder a bit further into the brush, reducing fallout. Then, lean forward a bit so that if you get do get any fallout, it falls down instead of onto your freshly painted cheeks.
4. Take the black, and do a half circle around the blue eye that also helps camouflage your eyebrow.
4. Now we want to create the swirl of black on your other eye. I started by including my eyebrow in the top of the swirl, then working outwards from there. I painted my lid full black, then added the tail of the swirl just below my eye.
5. Now, you can go through and outline your teeth, along the outside of the mouth and making big rectangle teeth. If I would have thought ahead, I might have put the top of the mouth a bit higher up so that I could have made the line through the middle go through the center of my lips, but I don’t think it turned out too badly even without it.
Along the gumline of the teeth, I slightly curved the line out on each side to replicate the look of spaces between the teeth, but I left the inside of the teeth very square. Last step for the mouth is to outline the mouth in red.
6. For the nose, draw a black line straight down the center, and create a triangle pointing to the blue eye.
7. Finally, if you want to add some contouring, use a dark orange powder to add a tiny bit of contour under the cheeks (don’t go over the mouth, obviously), under your chin, down the side of the nose without the black, and around the edge of the forehead.
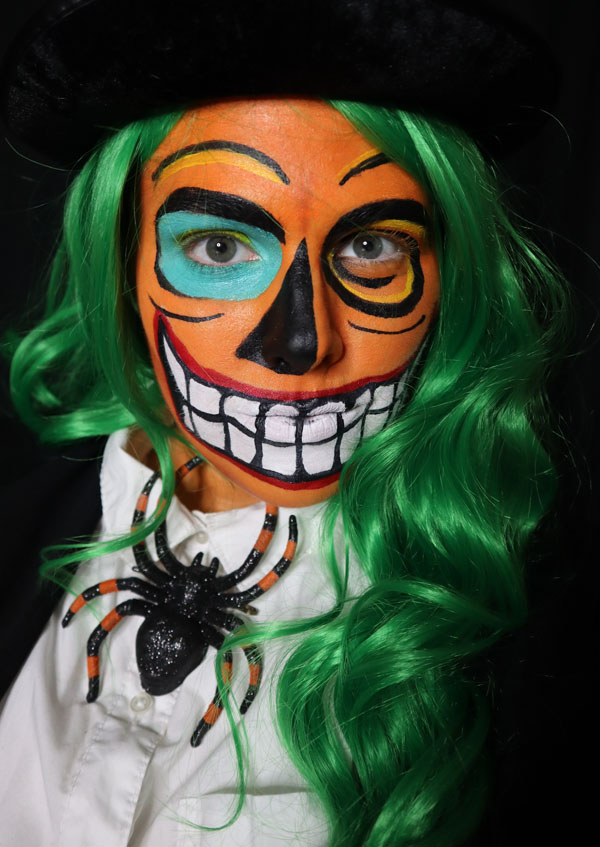
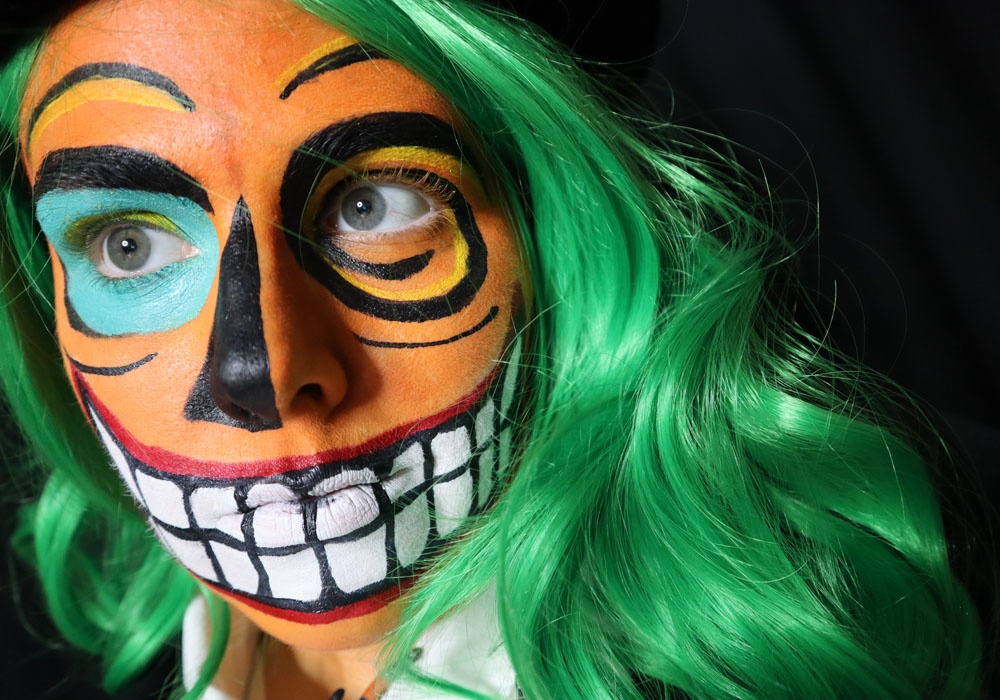
That’s it! Though the Mayor didn’t have hair, I felt that my bright green Rockstar wig would be perfect for this look, and slapped on a the velvet top hat. A testament to the barrier spray, I applied it around my neck to keep it from getting onto my white shirt (which I often wear to work), and not a bit of color transferred!
What is your favorite Nightmare Before Christmas Character?


 Hi! I'm Alyce.