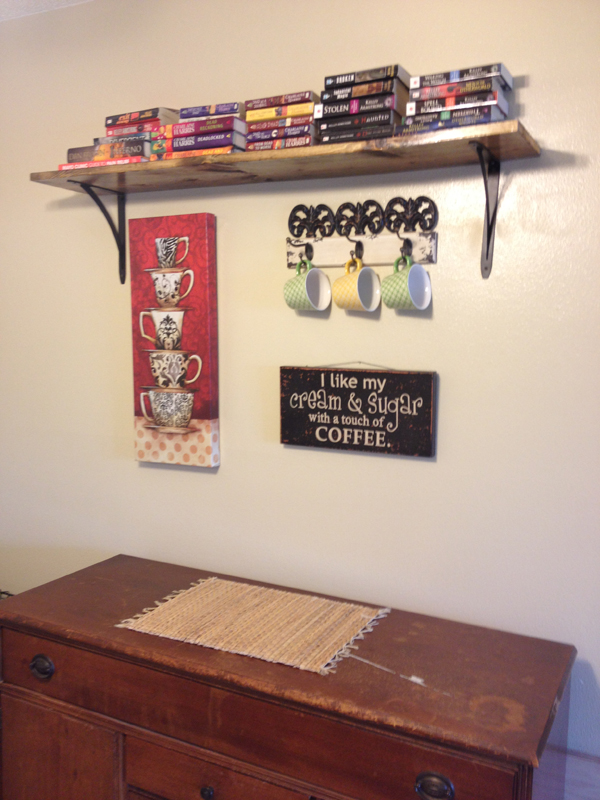
This project was one of those that took far longer than it probably should have. Blame it on not having the tools, or not being able to commit to an idea, but I started in November, and finally got it up in April. When I moved into this smaller apartment, I knew one of the biggest challenges I would have was finding a place for all of my books, even after selling and donating over half of them! With one of the cardinal rules of making room for storage in a small space is to think vertical, and I decided to find a way to work the storage of the books into the decor.
The Shelf
It really just comes down to installing a shelf above my grandma’s buffet, but nothing “off the shelf” (I couldn’t help it!) worked for me… and of course the answer is a DIY.
What you need:
- 1 board – 8 or 12 inches wide, 1 inch thick. Mine was 4 feet long.
- Wood stain, dropcloth, and rags
- gloves (if you want to keep stain off of your hands)
- 2 brackets – make sure they can carry weight.
- a stud finder
- 1.5in screws – for the wall
- .5 in screws – for the shelf
- level
- drill
- pencil
Instructions:
1. First, cut your shelf to the correct size if it is not already done. Stain the wood according to the product instructions. I often wear gloves and use a rag when staining. Let shelf dry completely.
2. Use the stud finder to identify the studs in the wall, and using the level, mark a level line where you want to hang your shelf. Where these two lines intersect, place one bracket along the stud and drill into the wall using the 1.5 inch screws. To ensure it is level, place the shelf along the top of the newly installed bracket while you hold up the other end and place the level on top of the shelf; mark the bottom of the shelf. (you can also hold the bracket against the bottom of the shelf and use the pencil to mark the holes on in the bracket on the wall. Make sure it is along the second stud.)
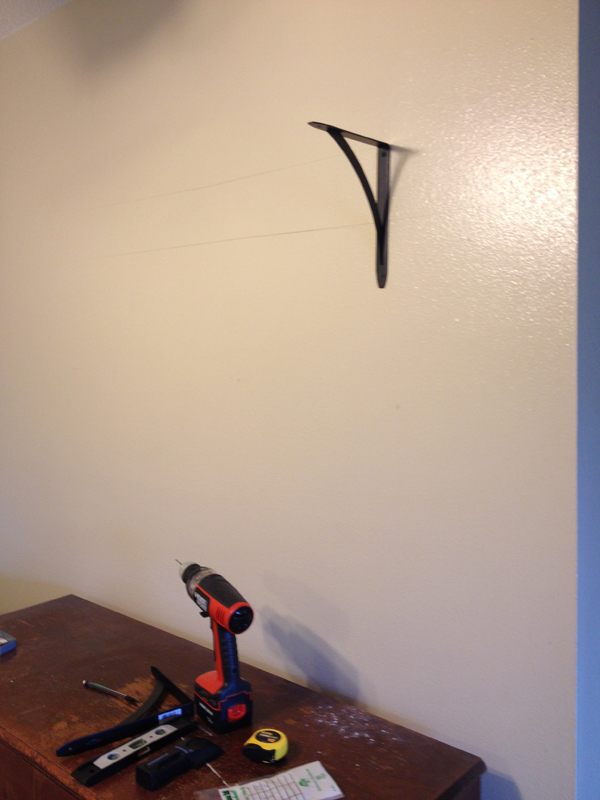
You can probably see two lines, I second guessed the height of where I wanted to place my shelf. Luckily, pencil comes off easily with a magic eraser.
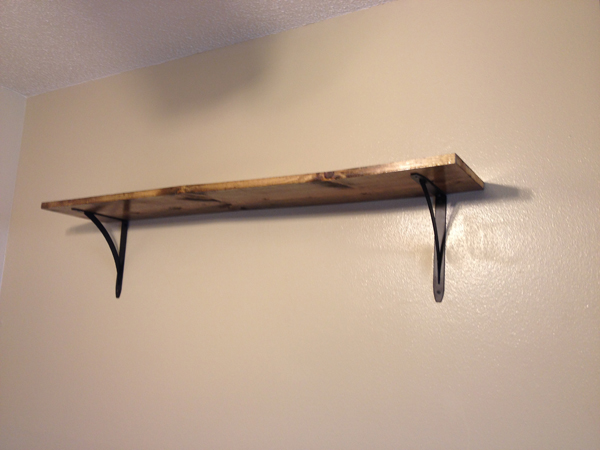
3. Drill the holes for the second bracket and screw into the stud in the wall. Place the shelf on top of the brackets again and mark the holes through the brackets onto the shelf. Take the shelf down, pre-drill the holes, then place back on top of the brackets and screw into place with the .5 inch screws.
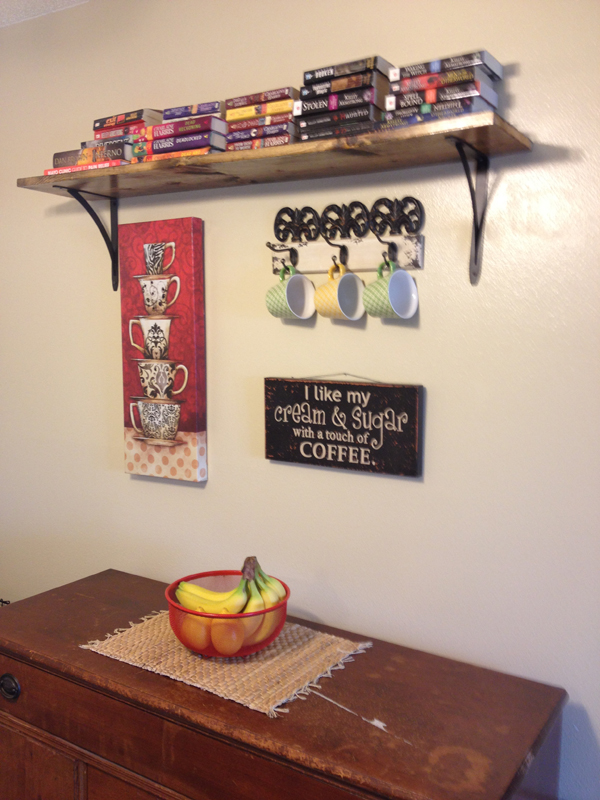
4. Place your books (or decor) and enjoy!


 Hi! I'm Alyce.