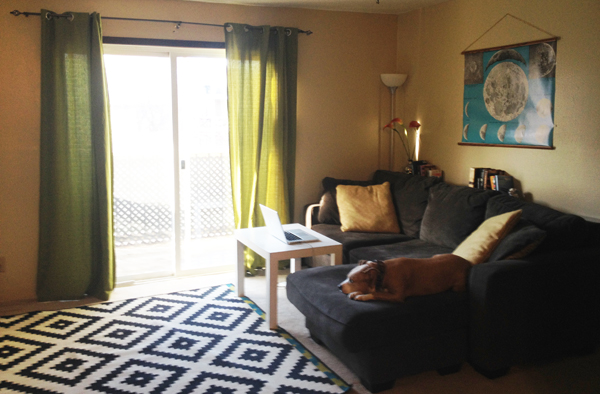
The biggest boon of renting is that you are often not in control of the colors in your apartment, and any attempt to change it could result in forfeiting your entire deposit. That said, there are some great ways to really make improvements to the overall look of a room, simply by updating the window coverings.
When living in a builder-grade apartment, you are often stuck with the cheapest finishes that they had at the time it was built, or in many cases, what was cheap and available at the time it needed to be replaced. Most often, apartments come with your standard vertical blinds on sliding doors and plastic horizontal blinds on all other windows, and almost always in the standard white or beige. In many cases, they blend nicely (hint of sarcasm) with the builder’s beige walls.
Do I worry about holes?
So many people are afraid of putting holes in the walls of their rental. While it certainly can have an impact on your deposit, there are many holes you can quickly spackle and use a very small sponge brush to apply matching paint. The key is to get your paint cards before hand and pick the closest option to your existing color. Then when using spackle and paint, use only as much as you need to fill the hole and paint the spackle. 9/10 times, most of your nail holes will go completely unnoticed.
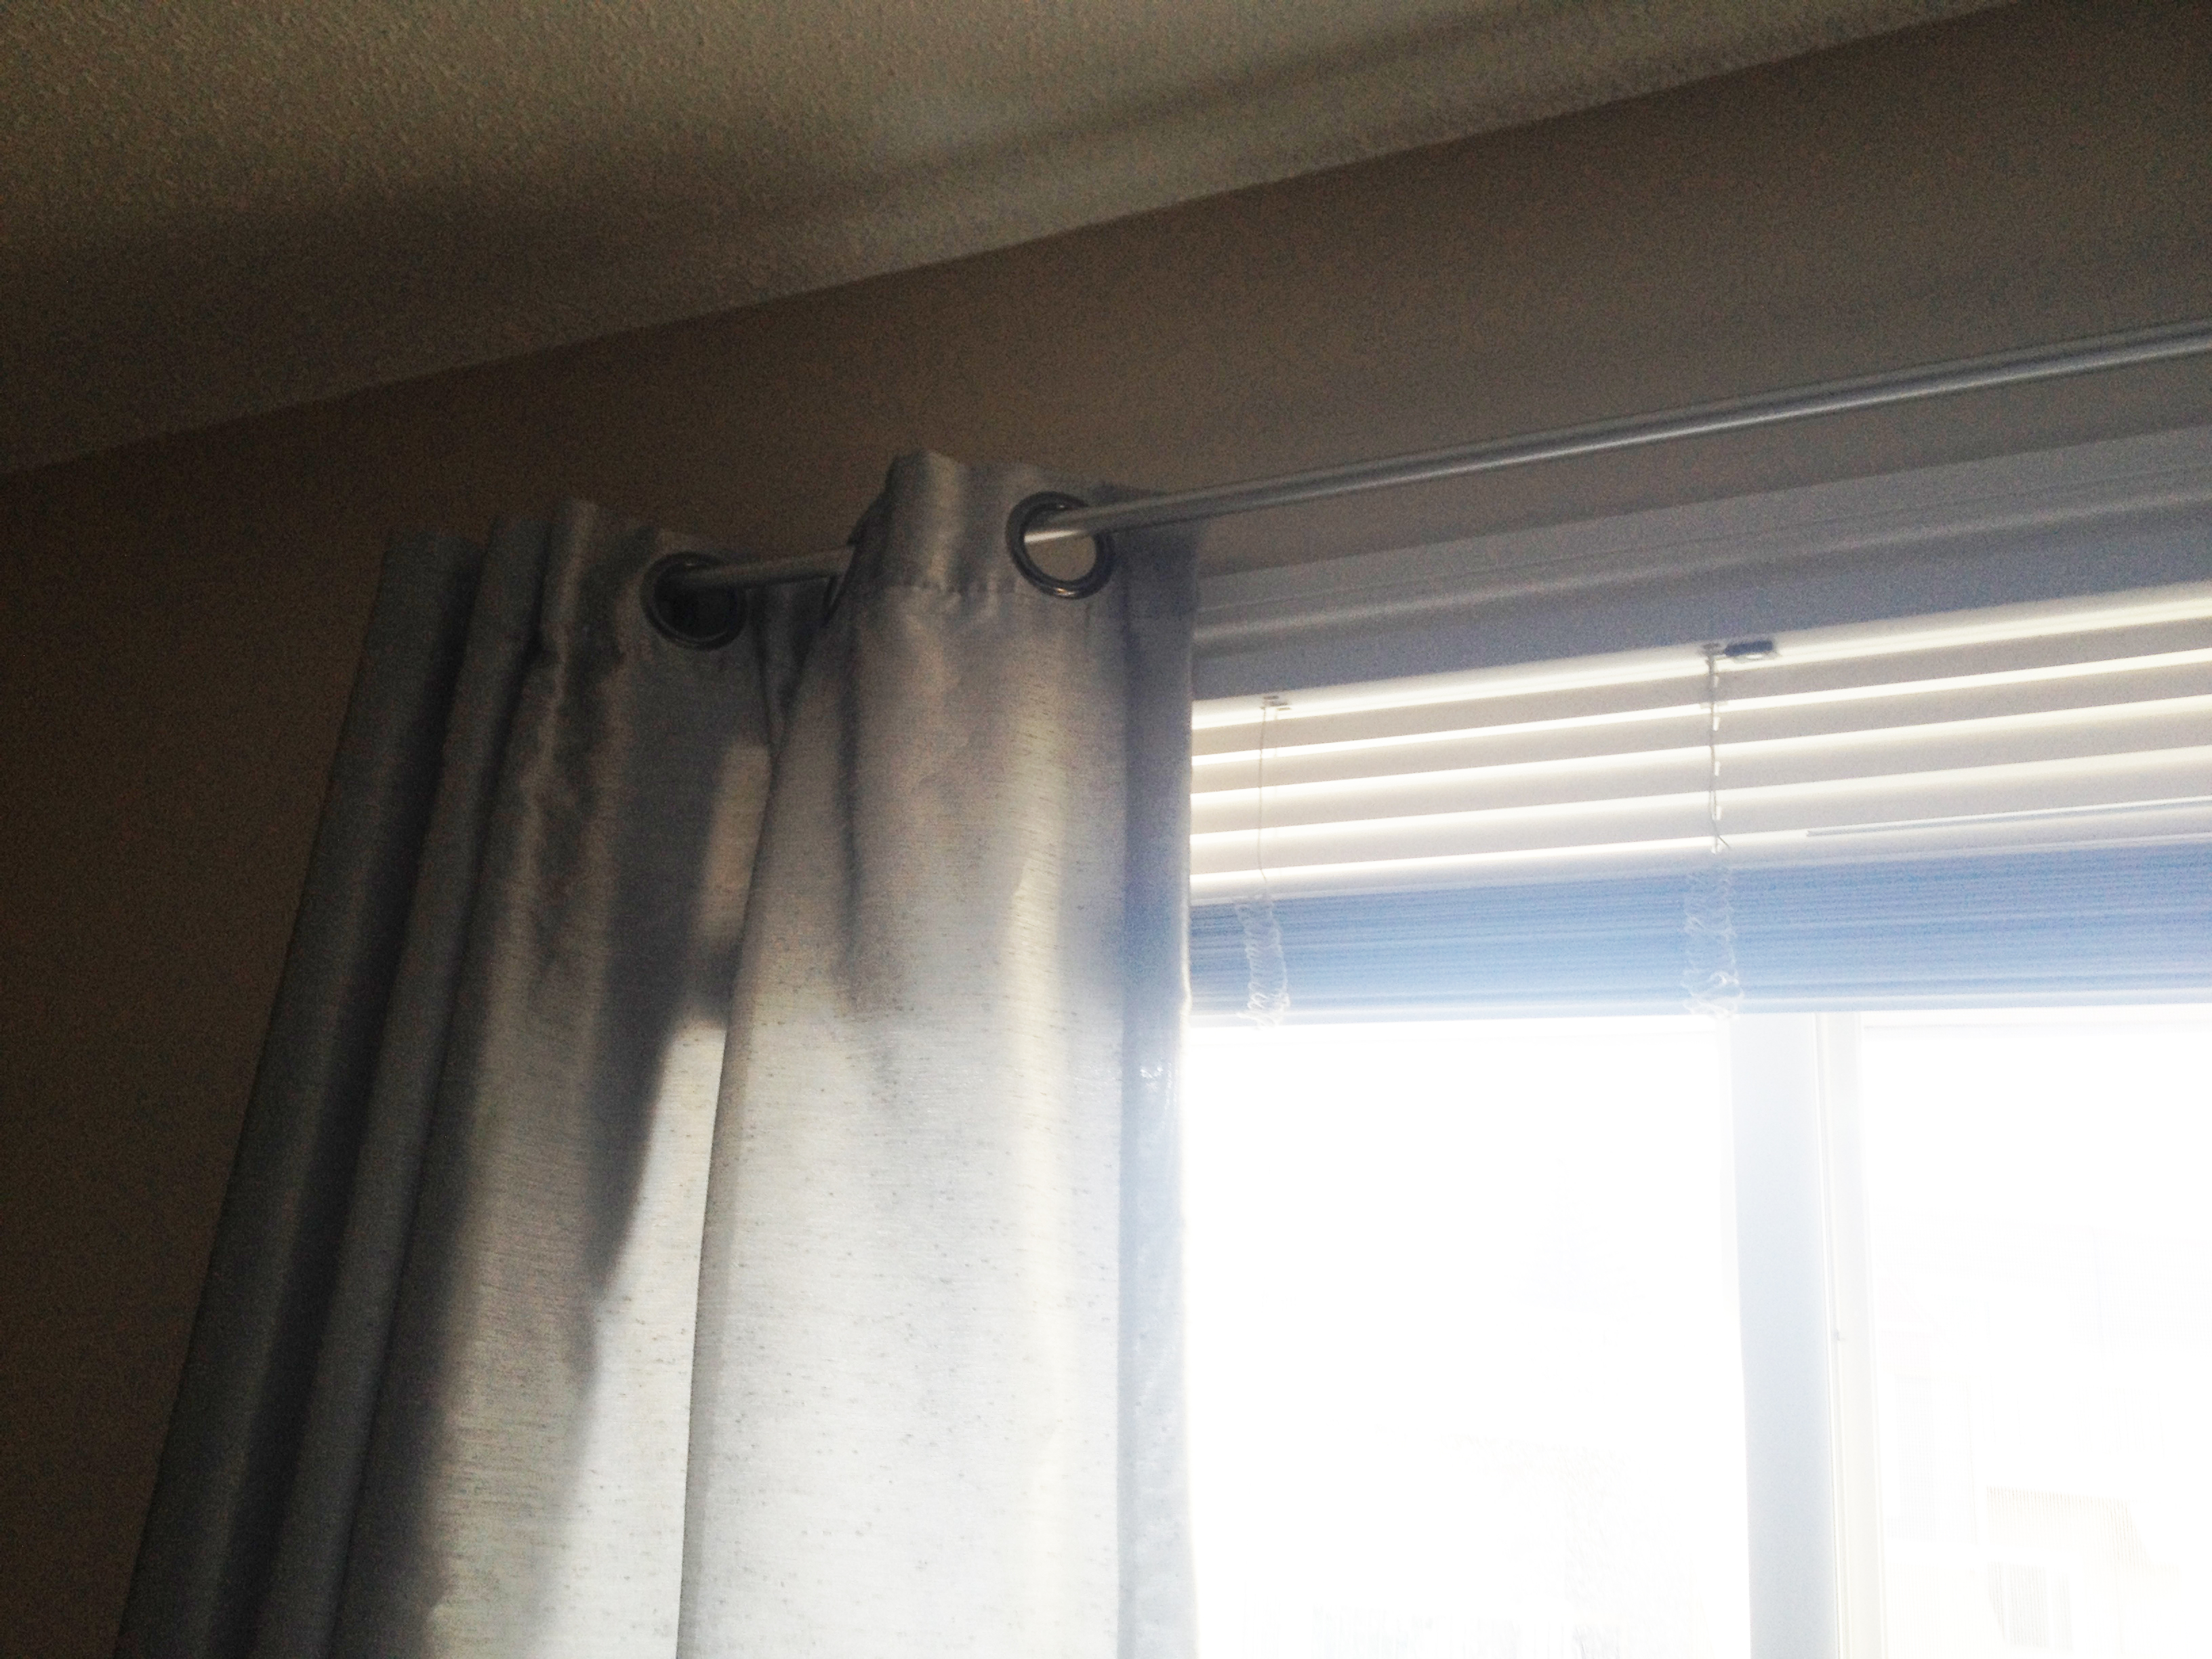
The first thing to look at is what currently is in your apartment, and if you can work around it or if it is better to remove it completely. In my bedroom, the horizontal blinds were installed inset into the window frame, which made it very easy to simply add a curtain rod above the window without needing to move anything.
In the case of the living room, however, the vertical blinds track was bulky and a huge pain. The best option? Remove it!
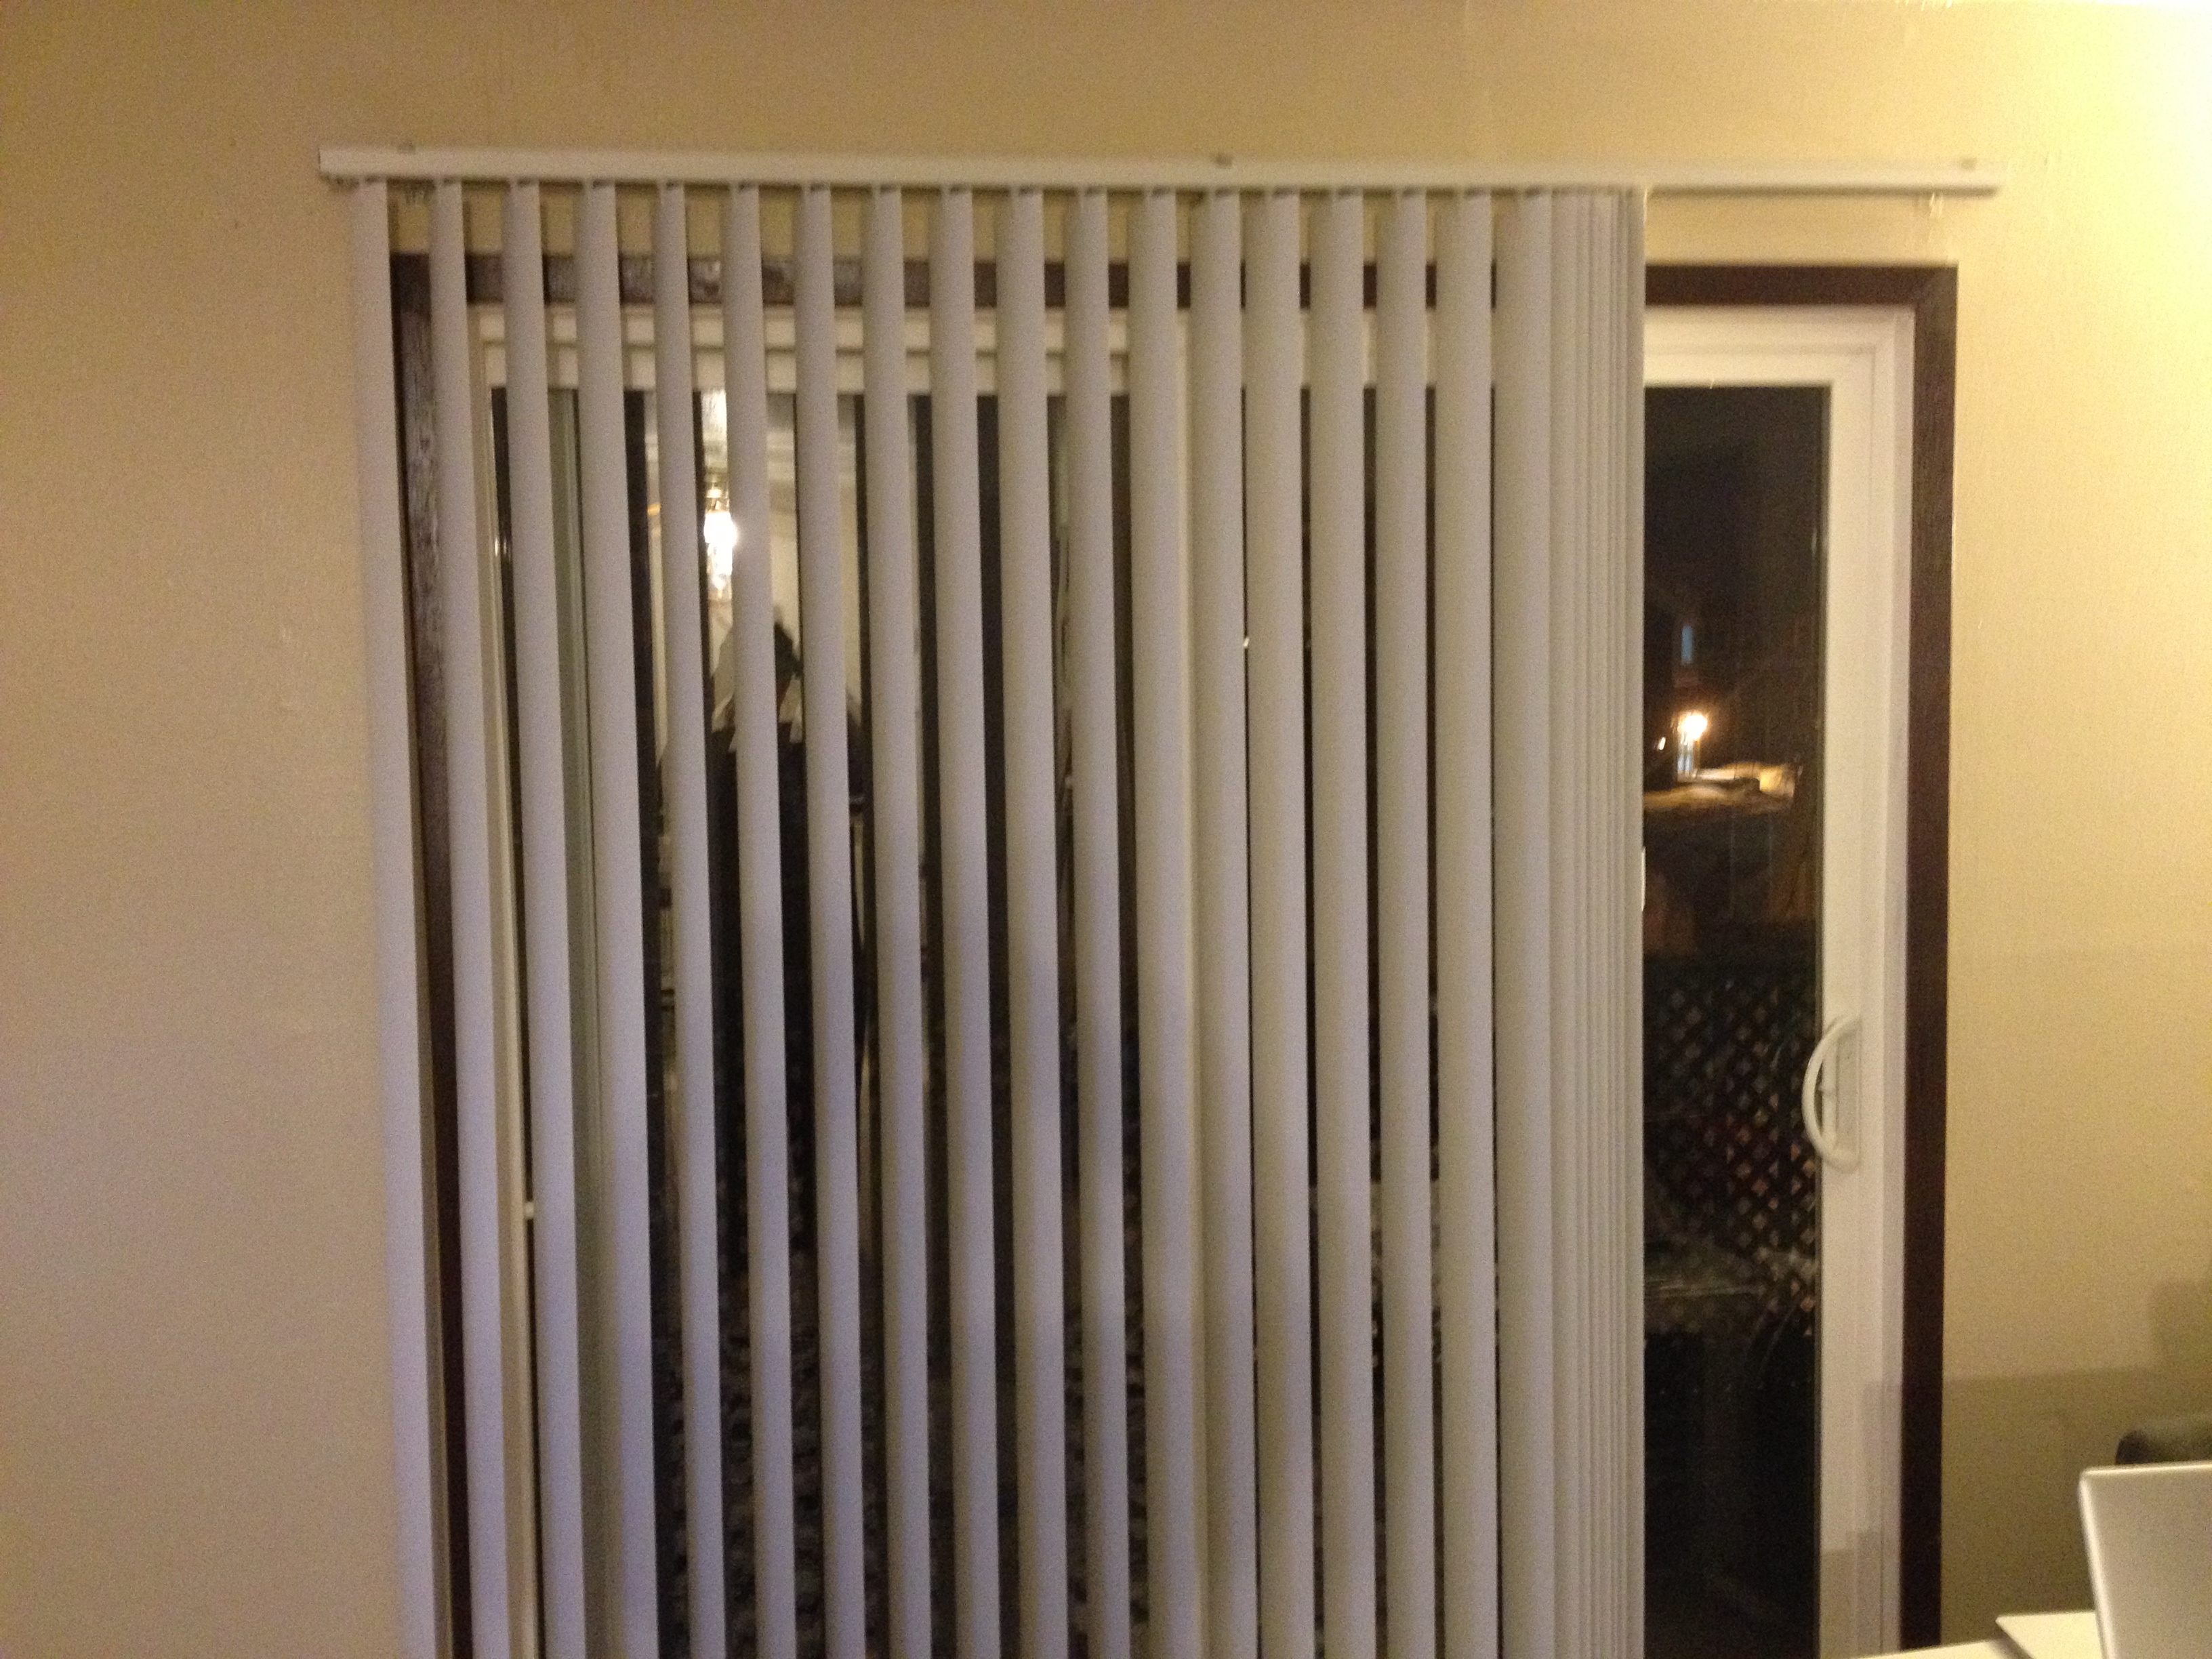
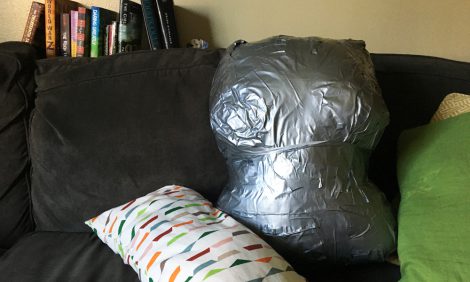
I first took down all of the blades, then carefully unhooked the track. To protect it, I used plastic bags to pad the track and blades, and wrapped the whole thing up with plastic wrap. It can then be placed in the corner of a closet or in a garage until its time to move out, and the plastic bags and wrap helps to protect from dust, dirt, and moisture.
The actual hooks that held up the track were not in the way of putting up a curtain rod, so I actually left them in place. The easier you make it to put back what you replaced the better! If you do take down the hooks, make sure to circle the holes that the tracks belong to with a pencil. You may be lucky and be able to re-use holes for your curtain rod, but most will not match up 100 percent, and this will help make putting the vertical blinds back up at move out much more simple.
Tips for aesthetics
1. Hang your curtain rod a few inches, up to even 6 inches above the actual top of the window. This gives the window an illusion of more height, and hides any less than desirable trim that might be in place.
2. Select a curtain rod that is slightly wider than your actual window. This way, when you pull the curtains back to each side, you can get the full impact of the outdoor light.
Hemming your Curtains
When working with curtains, you are often dependent on the standard lengths provided by department stores. When hemming, pay attention to whether or not they have a lining. If there is a lining, make sure to hem both the liner and actual curtain separately, and to keep the liner at the same length or just slightly shorter than the curtain so it doesn’t show. My curtains were the Mariam Curtains from IKEA, and came in a 98in length vs. a standard 80in or 86in.

What you need:
- Hem tape
- Iron
- Pencil
- Washing machine & Dryer (or access to one)
1. First, wash and dry your curtains. It helps to wash them with a towel, just to have something to buff them around a bit. Make sure you take them out of the dryer immediately, or even right before it is done to prevent wrinkles.
2. Put your curtains up on the rod to see where they naturally fall. Its best to have them touching the floor, so measure 1-2 inches below floor level and mark.
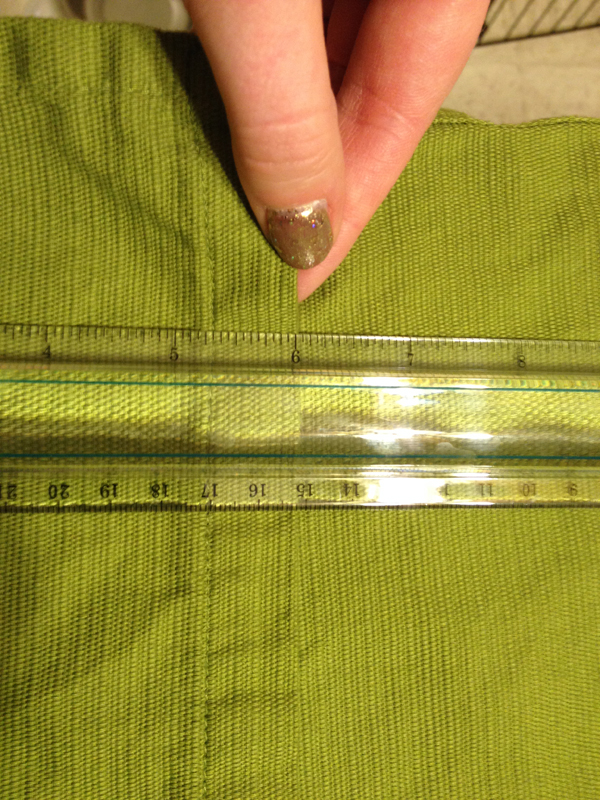
3. Take your curtains off the rod and measure how far up you had marked. Measure evenly across the curtain panel and use a straight edge to mark with a pencil. Cut across (make sure to have the extra 1-2 inches!!!) Re-hang the curtain panel and see if it was enough. The hemming will shorten them even further, so its ok if they see appear a bit much.
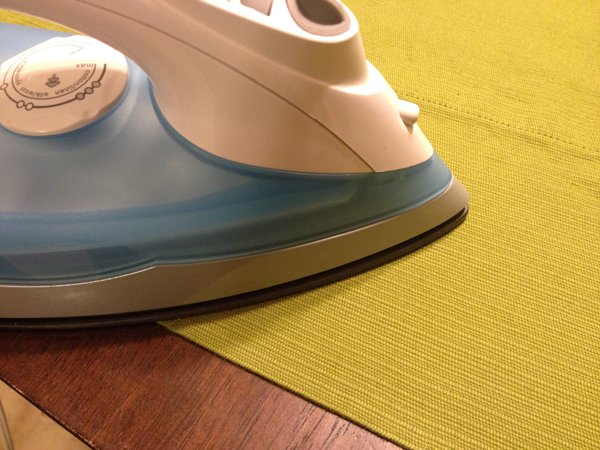
4. If you determine they are indeed the correct length, use your hem tape and fold 1 inch up from the bottom of the curtain, place the hem tape within the fold, and use the iron to adhere. Work your way down the curtain. Once this is finished, Iron the curtain while you have the iron hot! Immediately hang and double check the length.
5. If the length is correct, measure the same amount on the second curtain panel and cut. You should not need to re-hang to check length this time. Follow step 4 and hem your second curtain panel and iron!
With your new curtains hung and hemmed to the right length, your wall will take on a whole new look, and most importantly, be a lot more you.


 Hi! I'm Alyce.