 With all of the nerve issues and hand/arm surgeries in the past few years, it is incredibly important that I have an ergonomic desk setup. When I moved last summer, I sold my old oversized desk (it was HUGE), and have been just working off of the couch for the last 6-7 months. I had an idea of what I wanted, but there just are not a lot of out-of-the-box solutions that are both ergonomic and affordable. I also didn’t want something large or bulky in our small apartment… and of course my default solution is to build it myself!
Even though I knew what I wanted to do, I just hadn’t been getting around to it until last weekend… when I left my job. While there are absolutely the uncertainties of not having active employment, please don’t worry! I have this UNSINKABLE SENSE OF OPTIMISM and my first thought was… “It’s finally time to build my home office!” I am a realist, and I know the situation is not ideal. Regardless, I am so pleased with how it turned out!
Ergonomic Corner Desk DIY
Note: All measurements can be adjusted as necessary for your own requirements for space and ergonomics.
You will need:
- 2 12 in x 31 in shelf boards
- 1 7 in x 24 in shelf board
- 1 piece of .5 inch thick 1in trim board, at least 62 inches long
- 4 large decorative shelf brackets
- 2 small decorative shelf brackets
- 2 corner shelves
- Shelf bracket hardware
- 1 inch screws for all all screws going into the wall.
- 1/2 inch screws for all screws going into your shelving (particle board)
- White adhesive tub caulking (if needed)
- White electrical tape or shelf finishing tape
- Stud finder
- Measuring tape
- Level
- Drill and drill bit
- Hand saw
Other Decor Pictured:
- KNAPPA Pendant light
- Target Upholstered Stacking Chair in Grey
- Tin Can Succulents
- 8×8 inch White Frames
- Photoline Photo Display
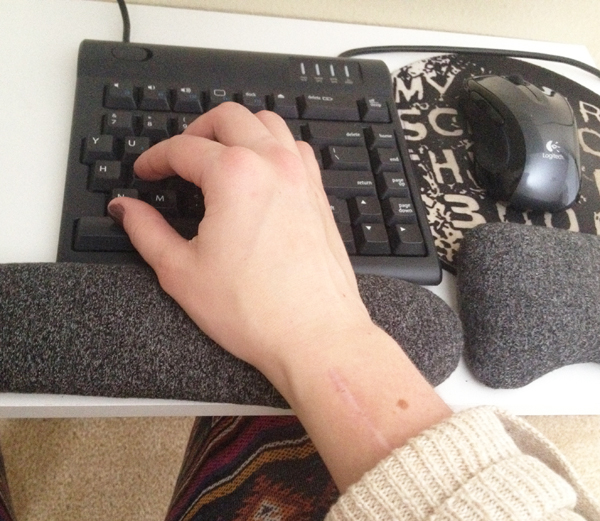
What about that weird keyboard?!?!?! I absolutely love this keyboard, and it was worth the cost. It is called the Kinesis Freestyle 2, and they have it for both Mac and PC.
Instructions:
1. First step in getting your desk set up to be ergonomic is to get the chair you plan to use, since this is your base. Now, for this whole project I wanted to keep cost in mind, so I went with an upholstered stacking chair from Target in a dark grey. Once you have your chair, adjust so you can sit comfortably with your feet flat on the floor. Measure from the floor to just above the top of your thigh. Using your phone to take a picture helps so you can ensure you are getting a good measurement and not twisting to see.
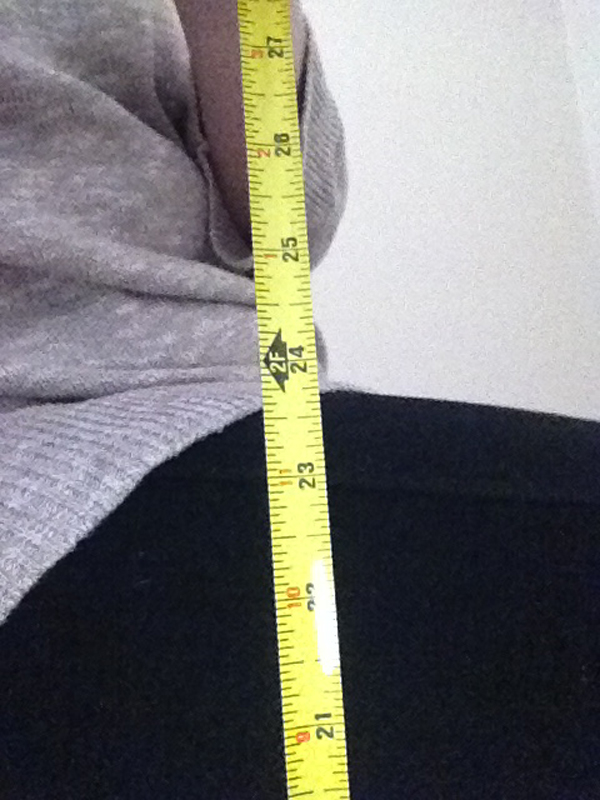
Here you can see that the top of my thigh is just under 24 inches from the floor. Now this is important because to have an ergonomic arm position, you want your arms to be in “gentle waterfall.” This is 90 degrees at the elbow, with a slight downward angle, just enough so that if a drop of water was placed in your elbow, it would run down your arm and off your fingertips. Often, to achieve this height, once you take into account the thickness of the shelf as well as the keyboard, you will want the desk to be just slightly over your legs.
2. Decide what height you want to place the top of the shelf at and measure upwards from the floor and mark. I did 25 inches to start with. Once you have two marks on the wall, use a yardstick or your 1 inch trim as a straight edge and place your level on top to ensure you have it 100% level across. Use a pencil and draw a line across the straight edge. Don’t worry, this line will be covered later.
3. Slide your chair into position where you plan to sit. Hold the shelf board up to the wall against the line and make sure that your legs fit comfortably underneath, as well as it is a good place for your arms, as close to 90 degrees as possible. Adjust if necessary. I ended up raising my height up half an inch to 25.5 inches.
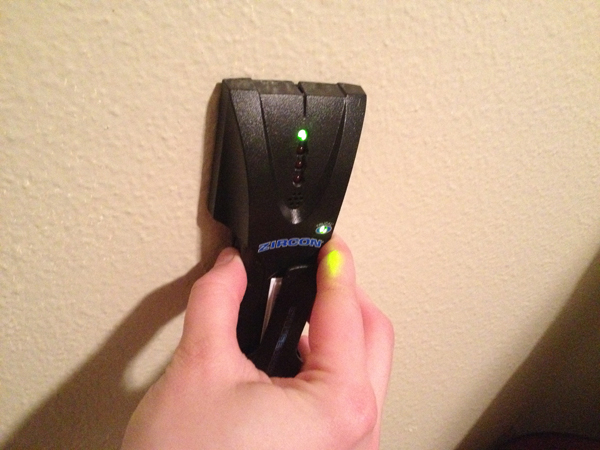
4. Now, you need to find your studs. If you don’t have a stud finder, I recommend making the investment. I use mine all of the time now! You can usually get a decent one for around $10. Follow the instructions for your studfinder and mark along your height line where each stud is where your desk will be. For each wall, decide which two studs you will use for the brackets.
If you discover that you don’t have two studs placed where you need them for a particular shelf, make sure you use at least one stud for a bracket, and then place the other bracket as best you can. Just keep in mind that this desk may not be the most sturdy thing in the world when using.
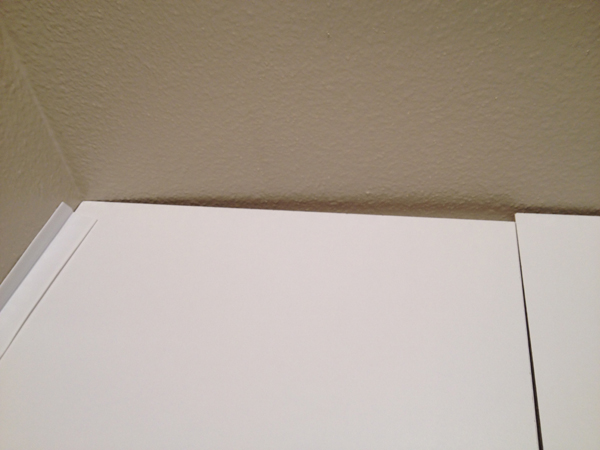
5. Now to put up the 1 inch trim as the back support! The idea here is to have support the full length of each shelf, with room for each bracket. Measure out the pieces you need to fill in the gaps between the brackets and ends of the shelf and cut accordingly.
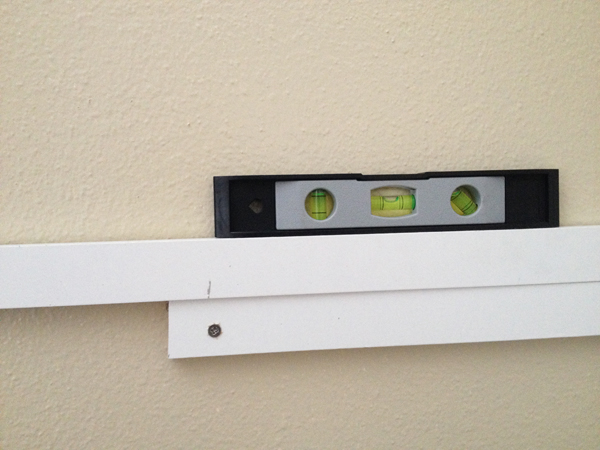
6. Pre-drill a hold through each side of the trim, then place against the line you had previously marked for your shelf height. Place the level on top of the trim to make sure it is 100% level, then screw directly into the wall. Once this piece is in place, you can use a longer piece of trip or your straight edge and place it on top along with the level to ensure it stays level.
7. Using the straight edge as a guide, snug the bracket right up to the straight edge, making sure that you keep it level, and screw into the wall. Follow this with the next piece of trim and bracket until you have the supports in place for both walls.
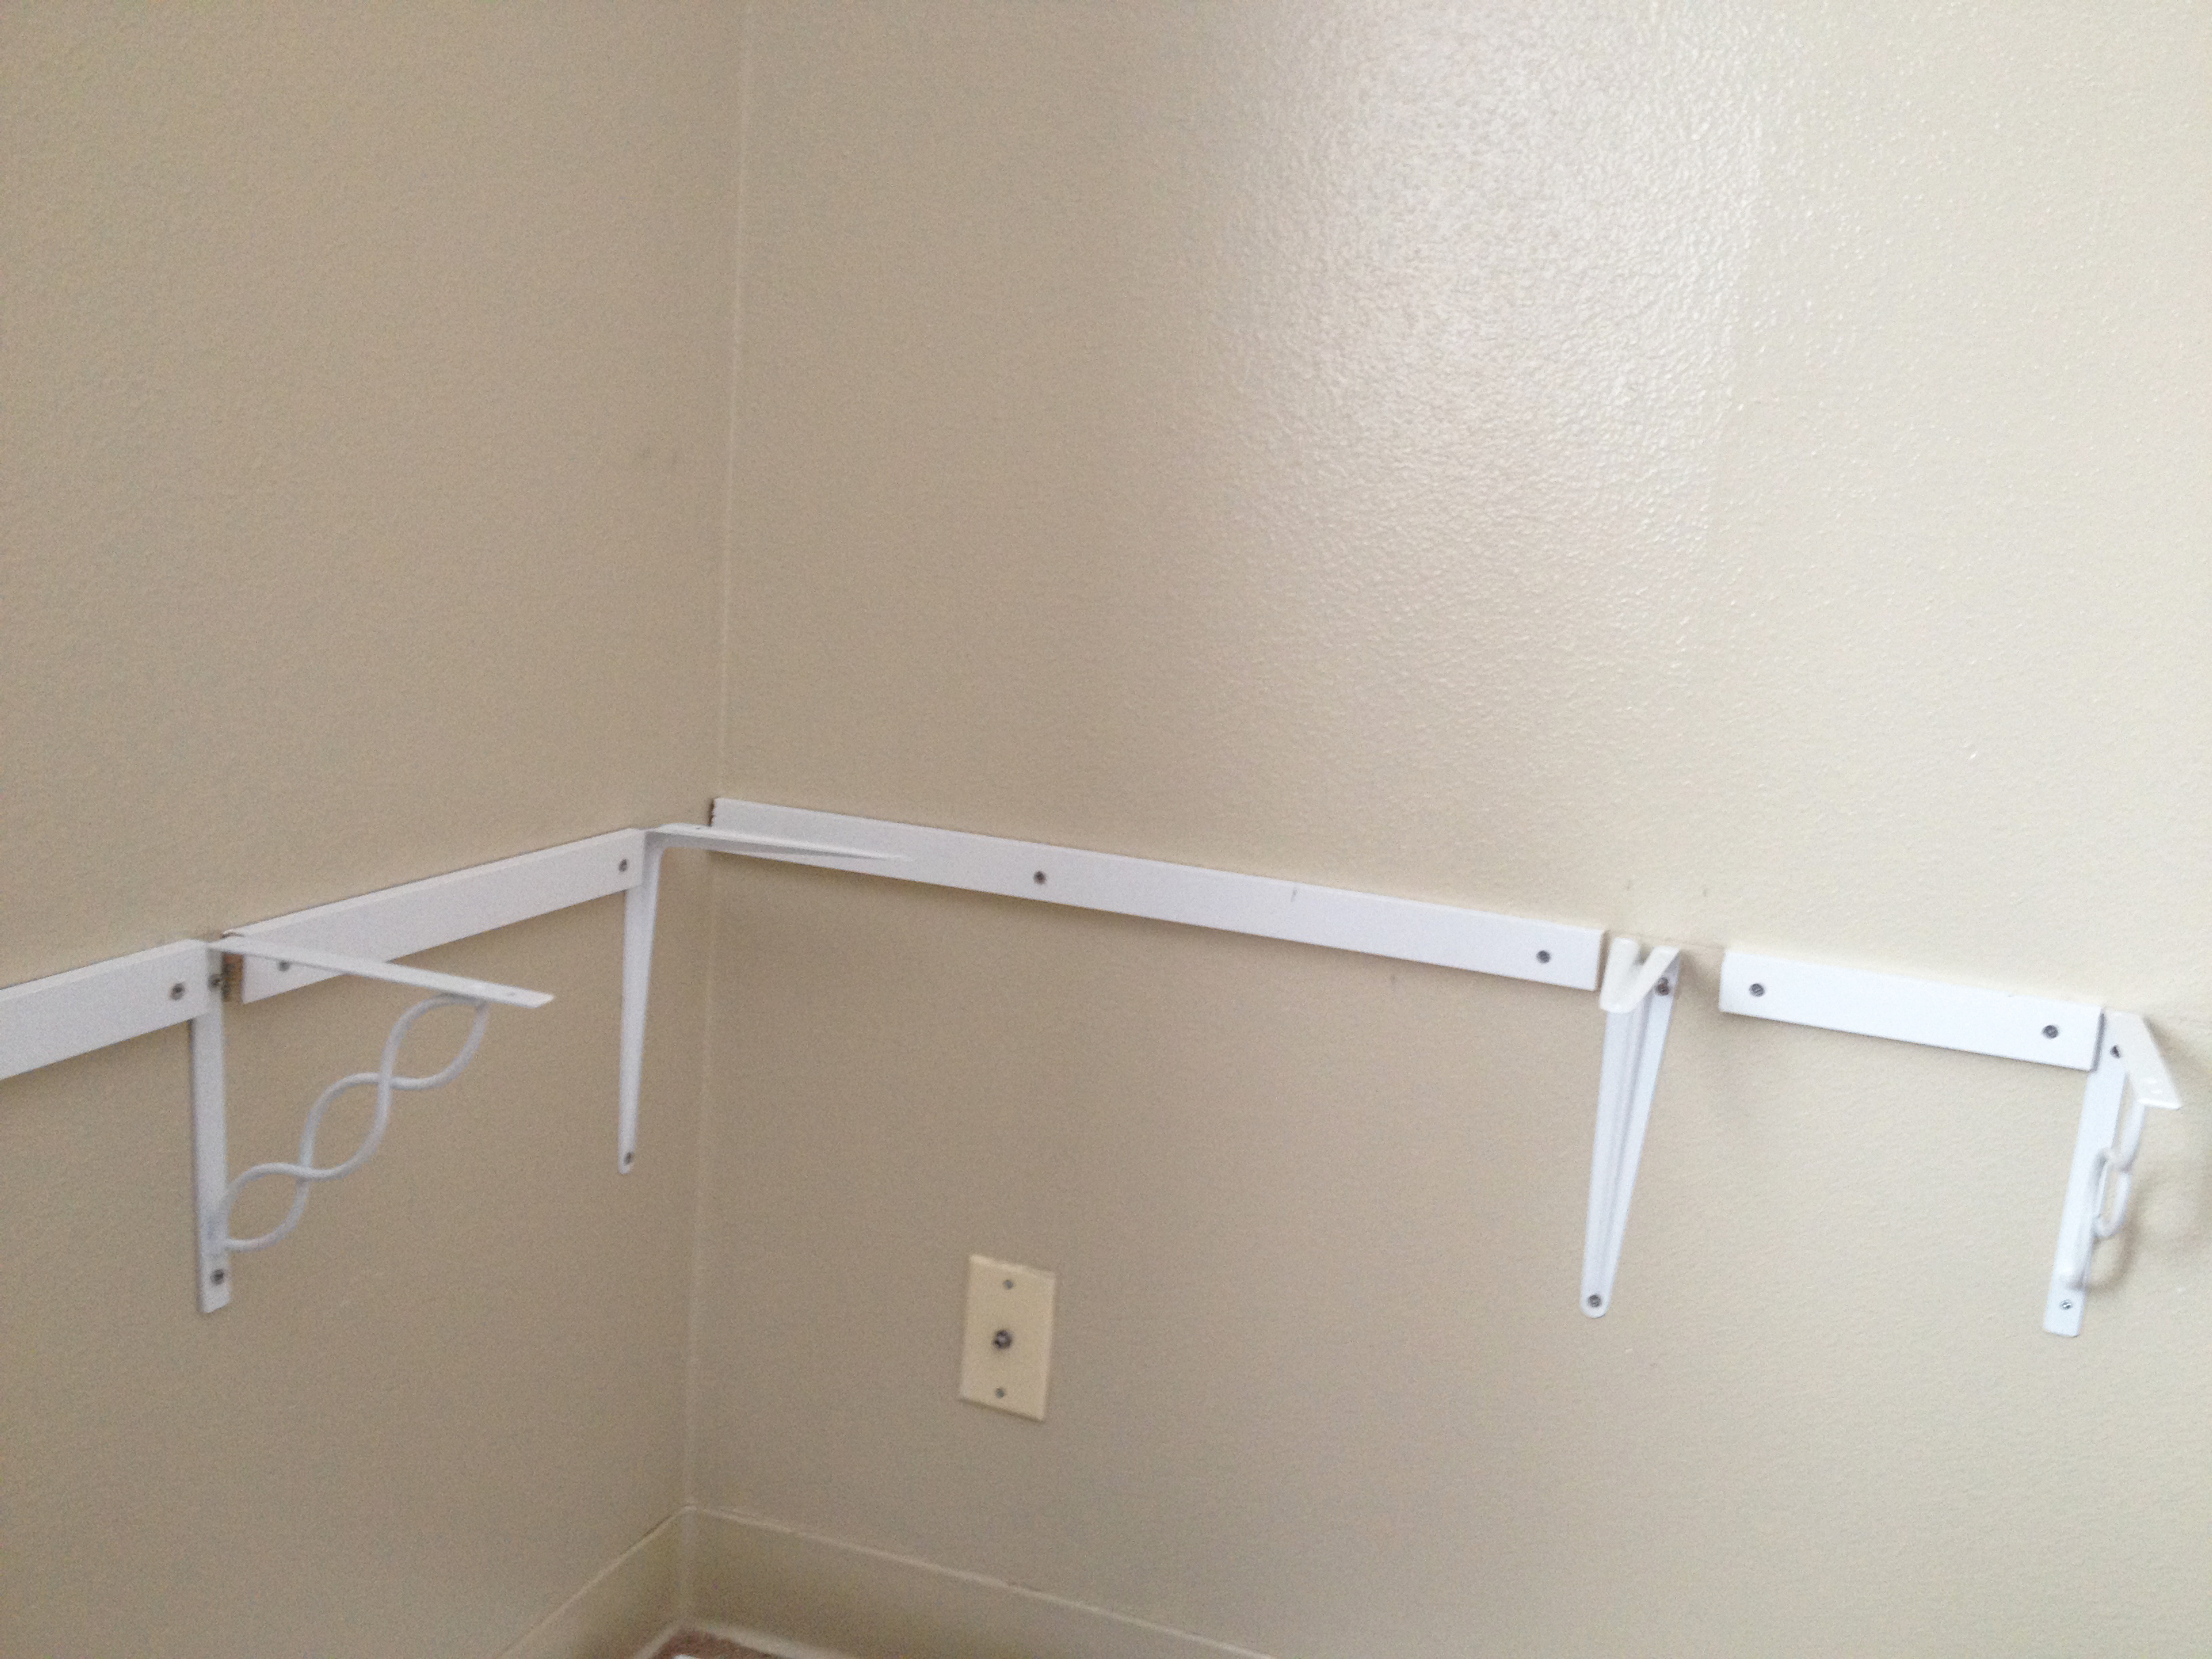 You may notice that this picture shows two different kind of brackets… I tried to cheap out thinking you wouldn’t see the interior brackets… but you absolutely can. I ended up returning these and springing for two more decorative ones.
8. Now to add the “desktop!” Place your shelves on top of the brackets, and using a pencil, mark each hole in the bracket where you will be screwing it into the shelf. Pre-drill a hole (very shallow, you don’t want to accidentally punch through your desktop!) for each hole you marked. Place shelves back in place and gently screw onto the brackets using 1/4 inch screws.
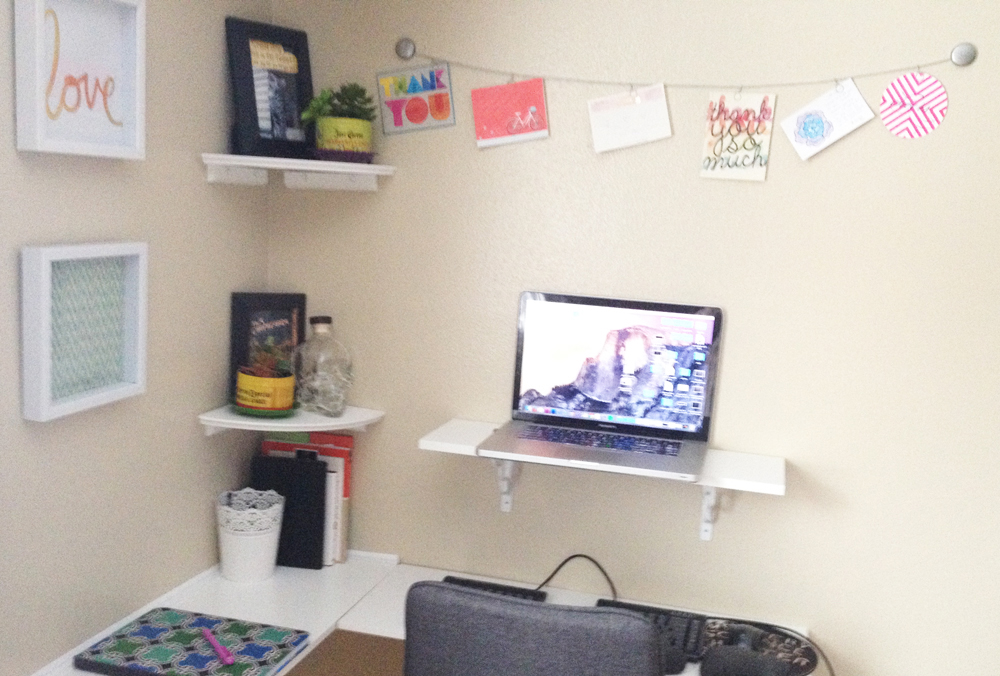
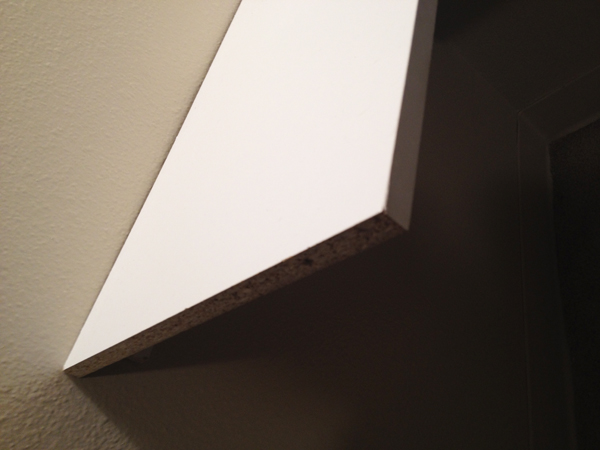
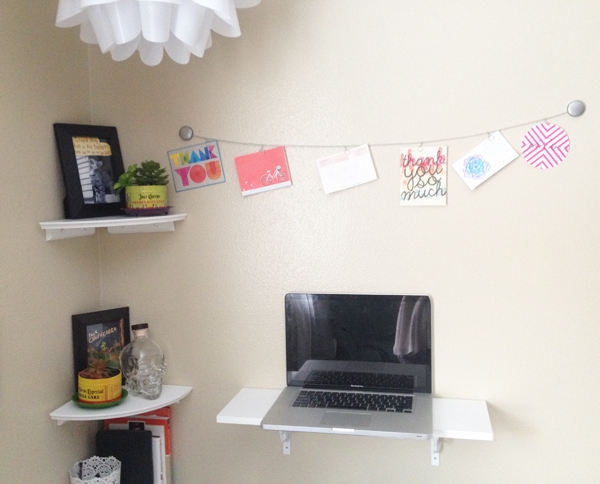
9. Now for the second shelf. This is to hold my laptop screen so that it is in an ergonomic position for my neck and shoulders. You ideally want the top of your screen to be at eye height. I literally held up my laptop to where the top of the screen was in the right position and marked below it with a pencil, then using a level and straight edge, make a clean line.
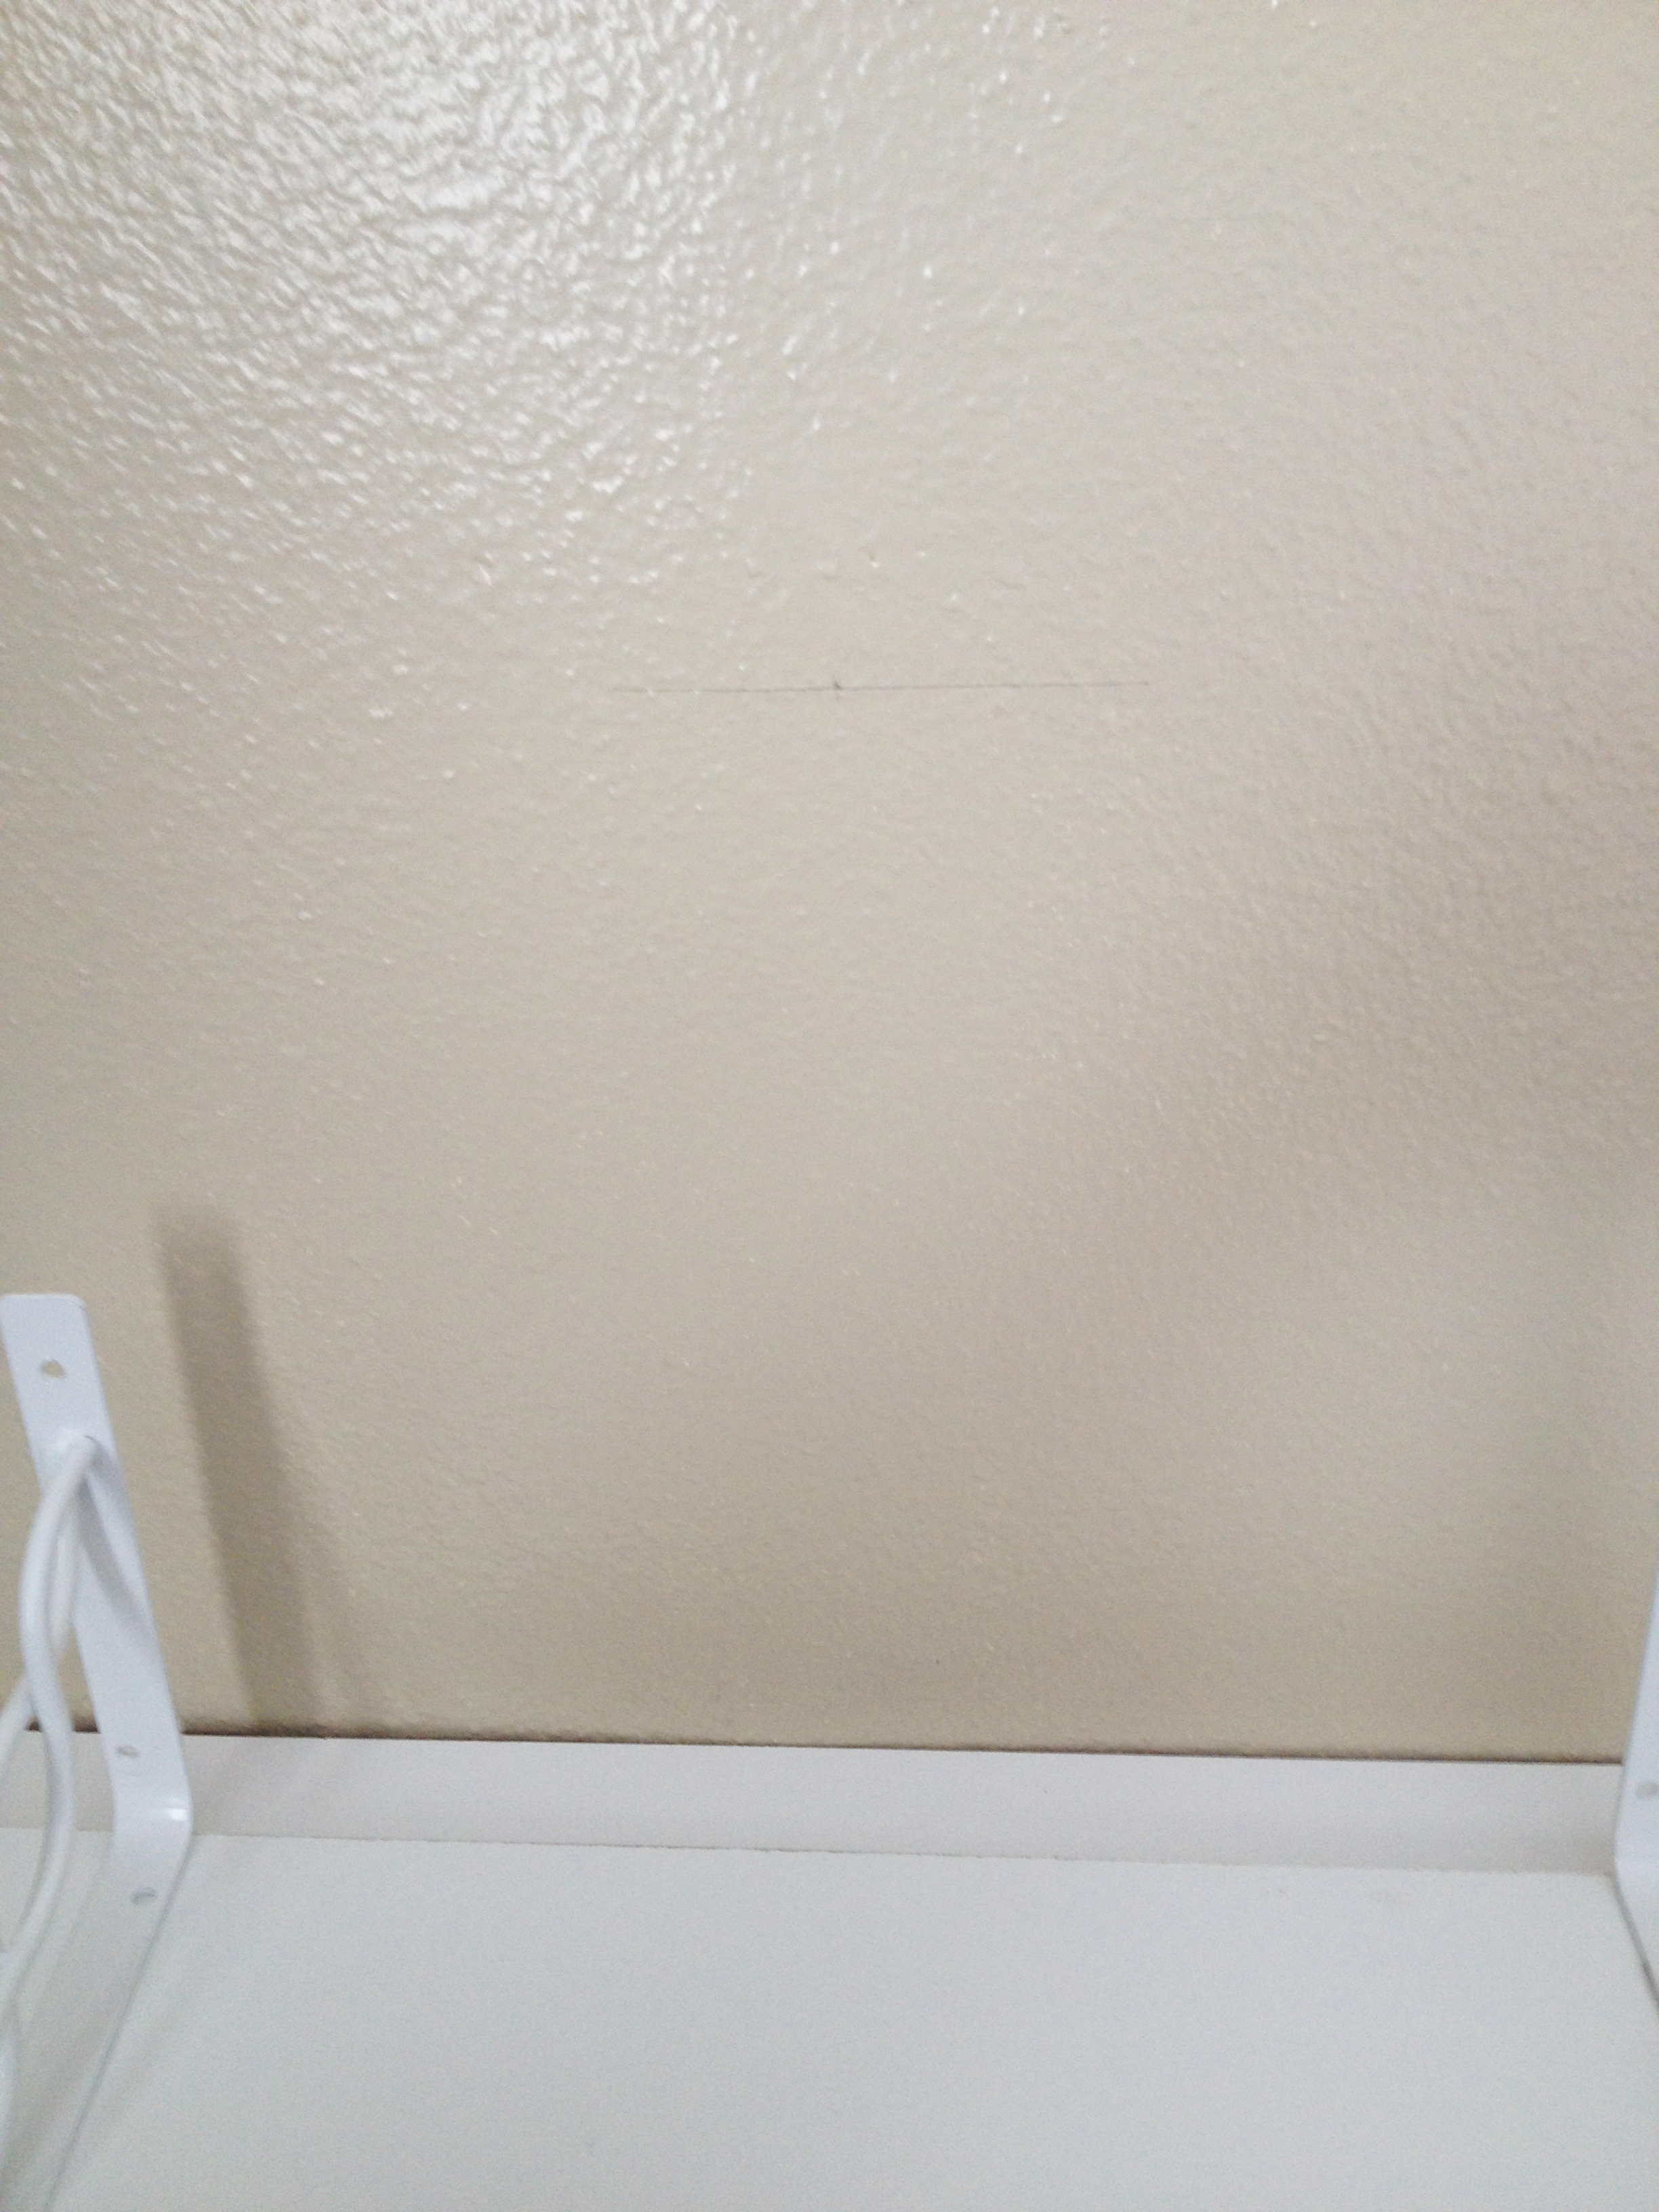 See the very faint pencil line? It’s there, I promise!
10. Again looking to use studs if at all possible, screw your brackets in just below the line, and follow step 8 again to attach this shelf.
11. To keep the connecting edges of the board level with one another, use a shelf bracket to connect the two shelves together from below on the inside corner.

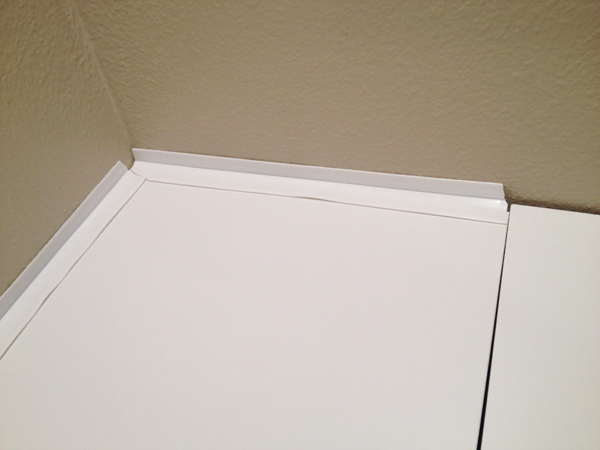
12. Not all walls are true and straight, which was absolutely the case with my apartment. This left me with some strange gaps along one wall. To remedy this visually, I purchased adhesive tub caulk and pressed it along the shelf. I DID NOT adhere the top part to the wall to reduce the damage to the wall. The holes will give me plenty to Spackle when we move out. This gave a much smoother look to the corner… unfortunately I didn’t have quite enough to do the whole desk, so I only did the portion that looked the worst since my second shelf was pretty flush to the wall.

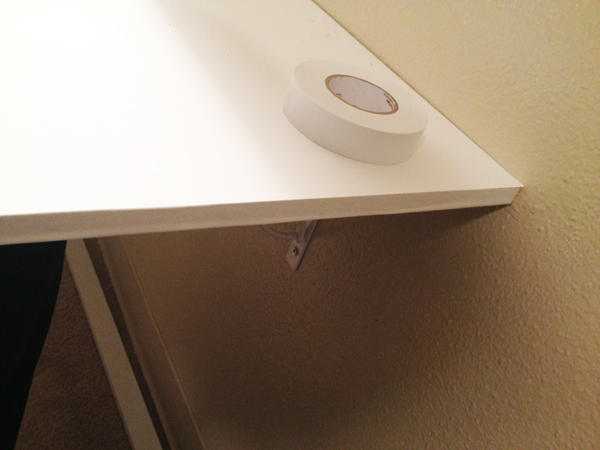
13. For my shelf boards, I noticed it was cheaper to get a shoe holder kit than it was to purchase two separate shelf boards. Because of this, the edges were not finished. I used electrical tape and just a hint of hot glue to “finish” the edges of the desk.
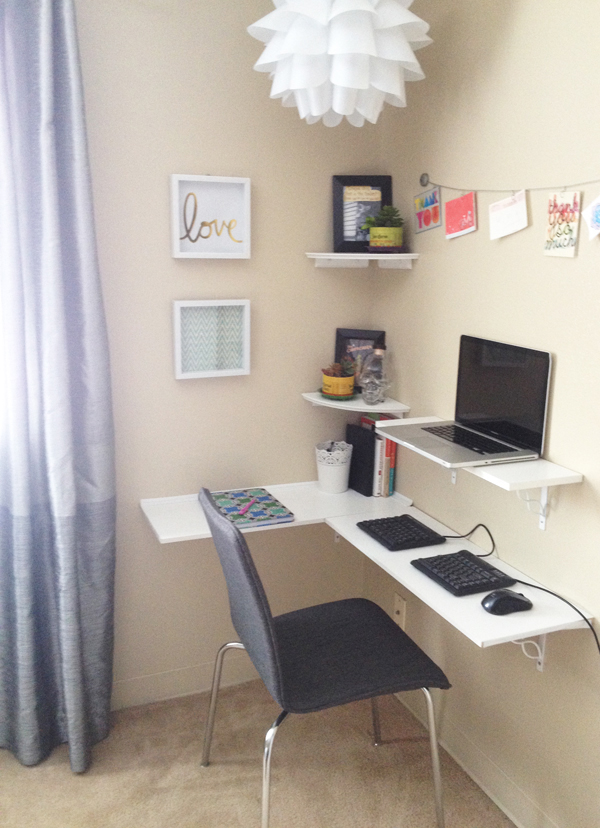
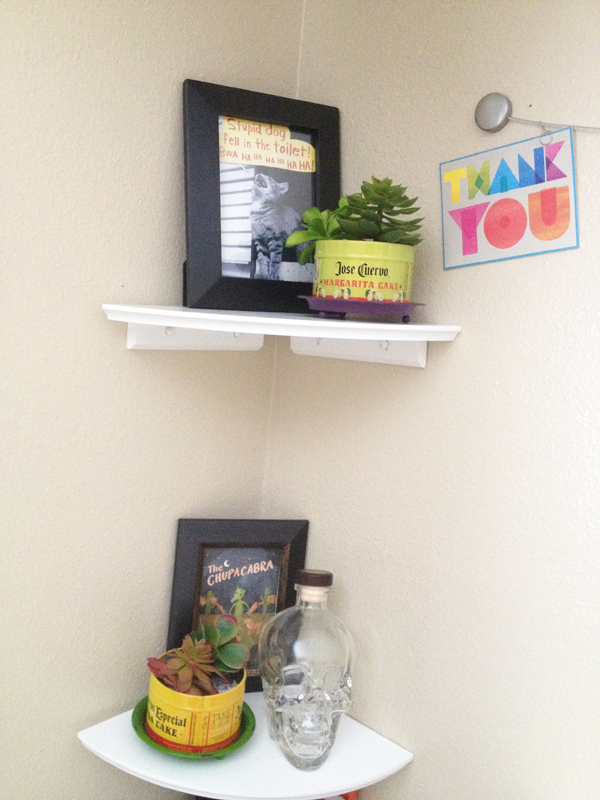
14. Finally, use your level and follow the instructions for your two corner shelves. Then you can decorate!
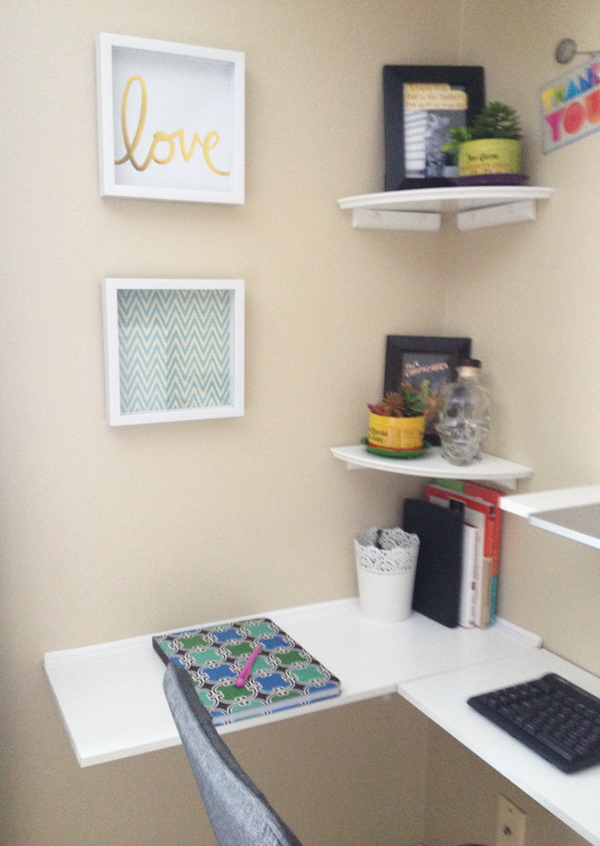
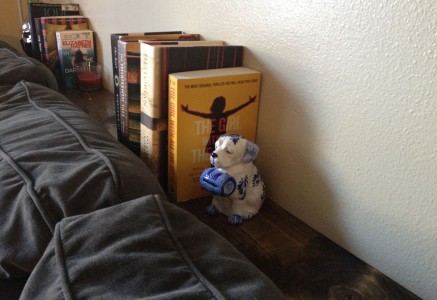
15. Don’t forget lighting! I hung an IKEA Knappa Pendant Light above the desk, and ran the cord down the wall behind the window curtains.
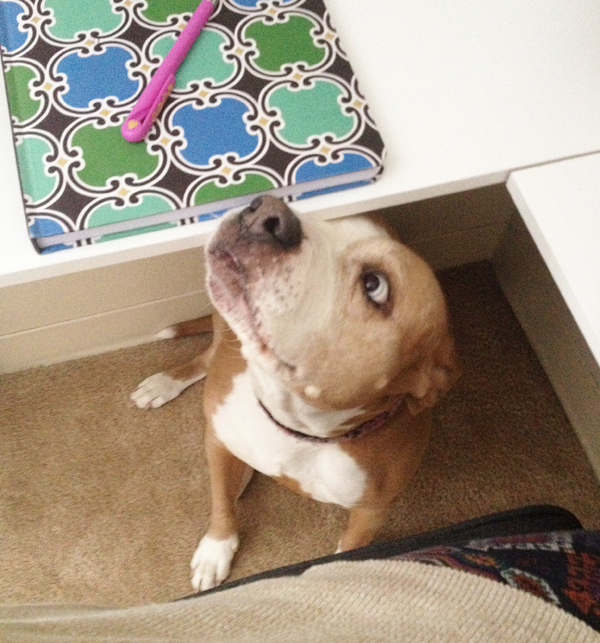
I’m also not the only one who loves the new desk, Mystic has found her new favorite hidey-space!


 Hi! I'm Alyce.