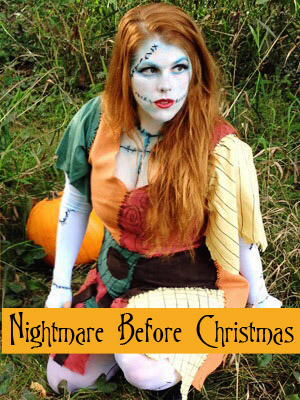
One of my favorite songs from Nightmare Before Christmas is “Oogie Boogie’s Song,” and I just wish I would have had more time to re-create even more of the lair. That said, I’m really pleased with this doorway decoration!
Check out the full song here:
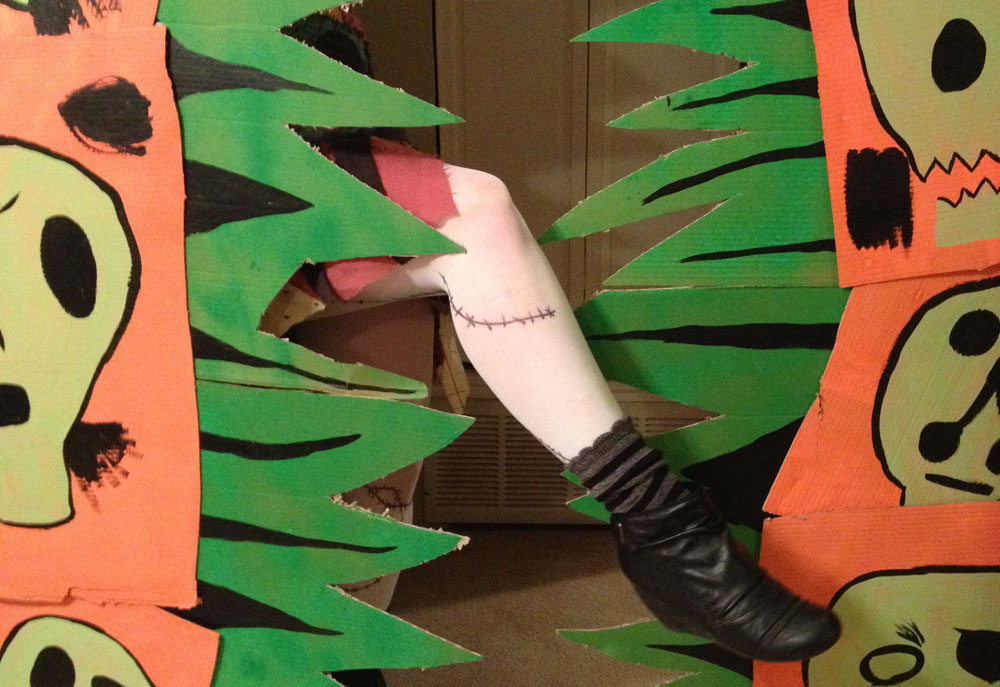
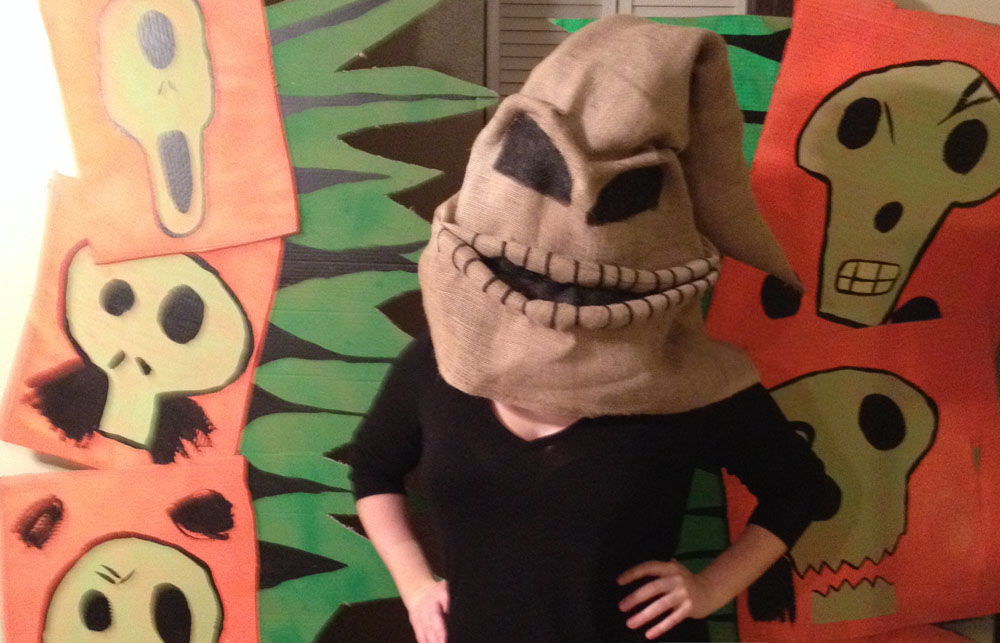
Oogie Boogie’s Lair
What you need:
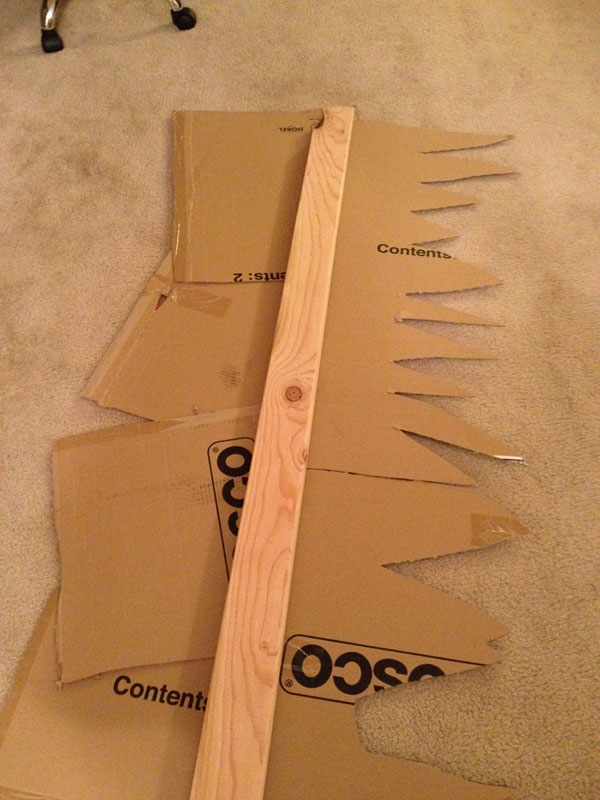
- A LOT of cardboard.I recommend hitting up a Menards or Lowes. They often let you take empty boxes for no charge.
- Enough to create 8 squares roughly 2ft x 2ft
- Enough to create the green spires, about 5 feet for each side
- Florescent Orange & Green Spray Paint.
- Glow Spray Paint (optional)
- Light green acrylic paint
- Black acrylic paint
- Yellow acrylic paint (optional, if you have it)
- Paint brushes
- 2 boards. I used 2x4s, each 6 feet long.
- Hot glue gun
Instructions:
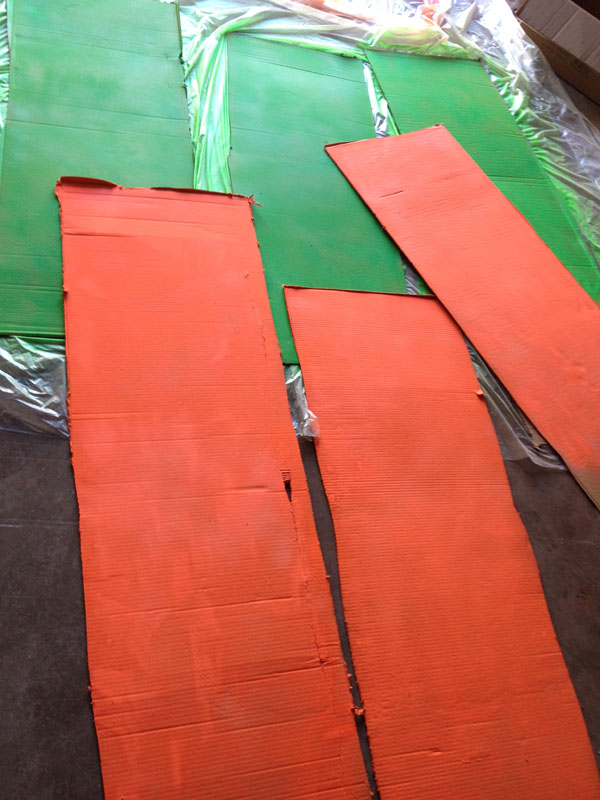
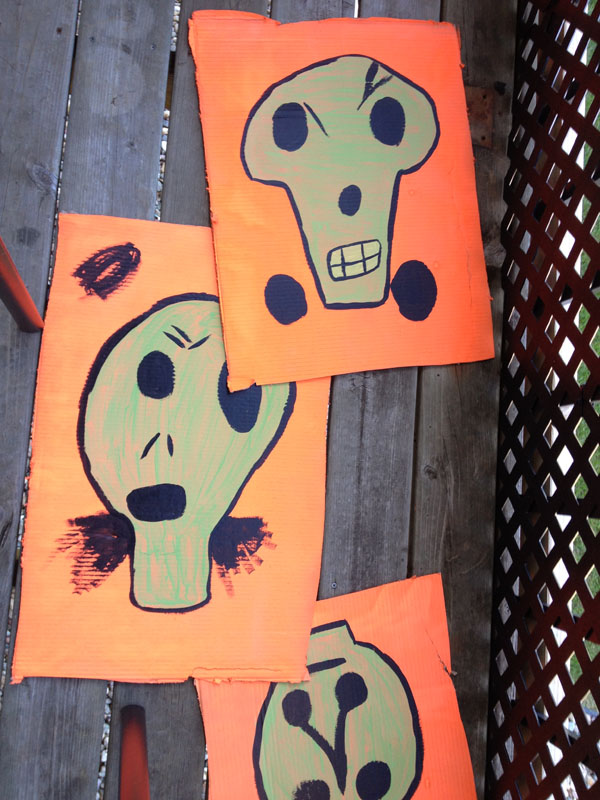
1. Start by painting your 8 squares of cardboard with the orange florescent paint. These don’t have to be perfect squares by any means, and mine were more of rectangles. Next, paint the cardboard for the spikes with the florescent green paint. Allow to dry.
Optional: I also then coated these with glow spray paint. The effect was awesome in my fully darkened apartment, but it took a lot of this paint to make them glow, and I couldn’t get a picture of this that turned out. So, this step is optional, as the paint is a bit pricey at $10 per can.
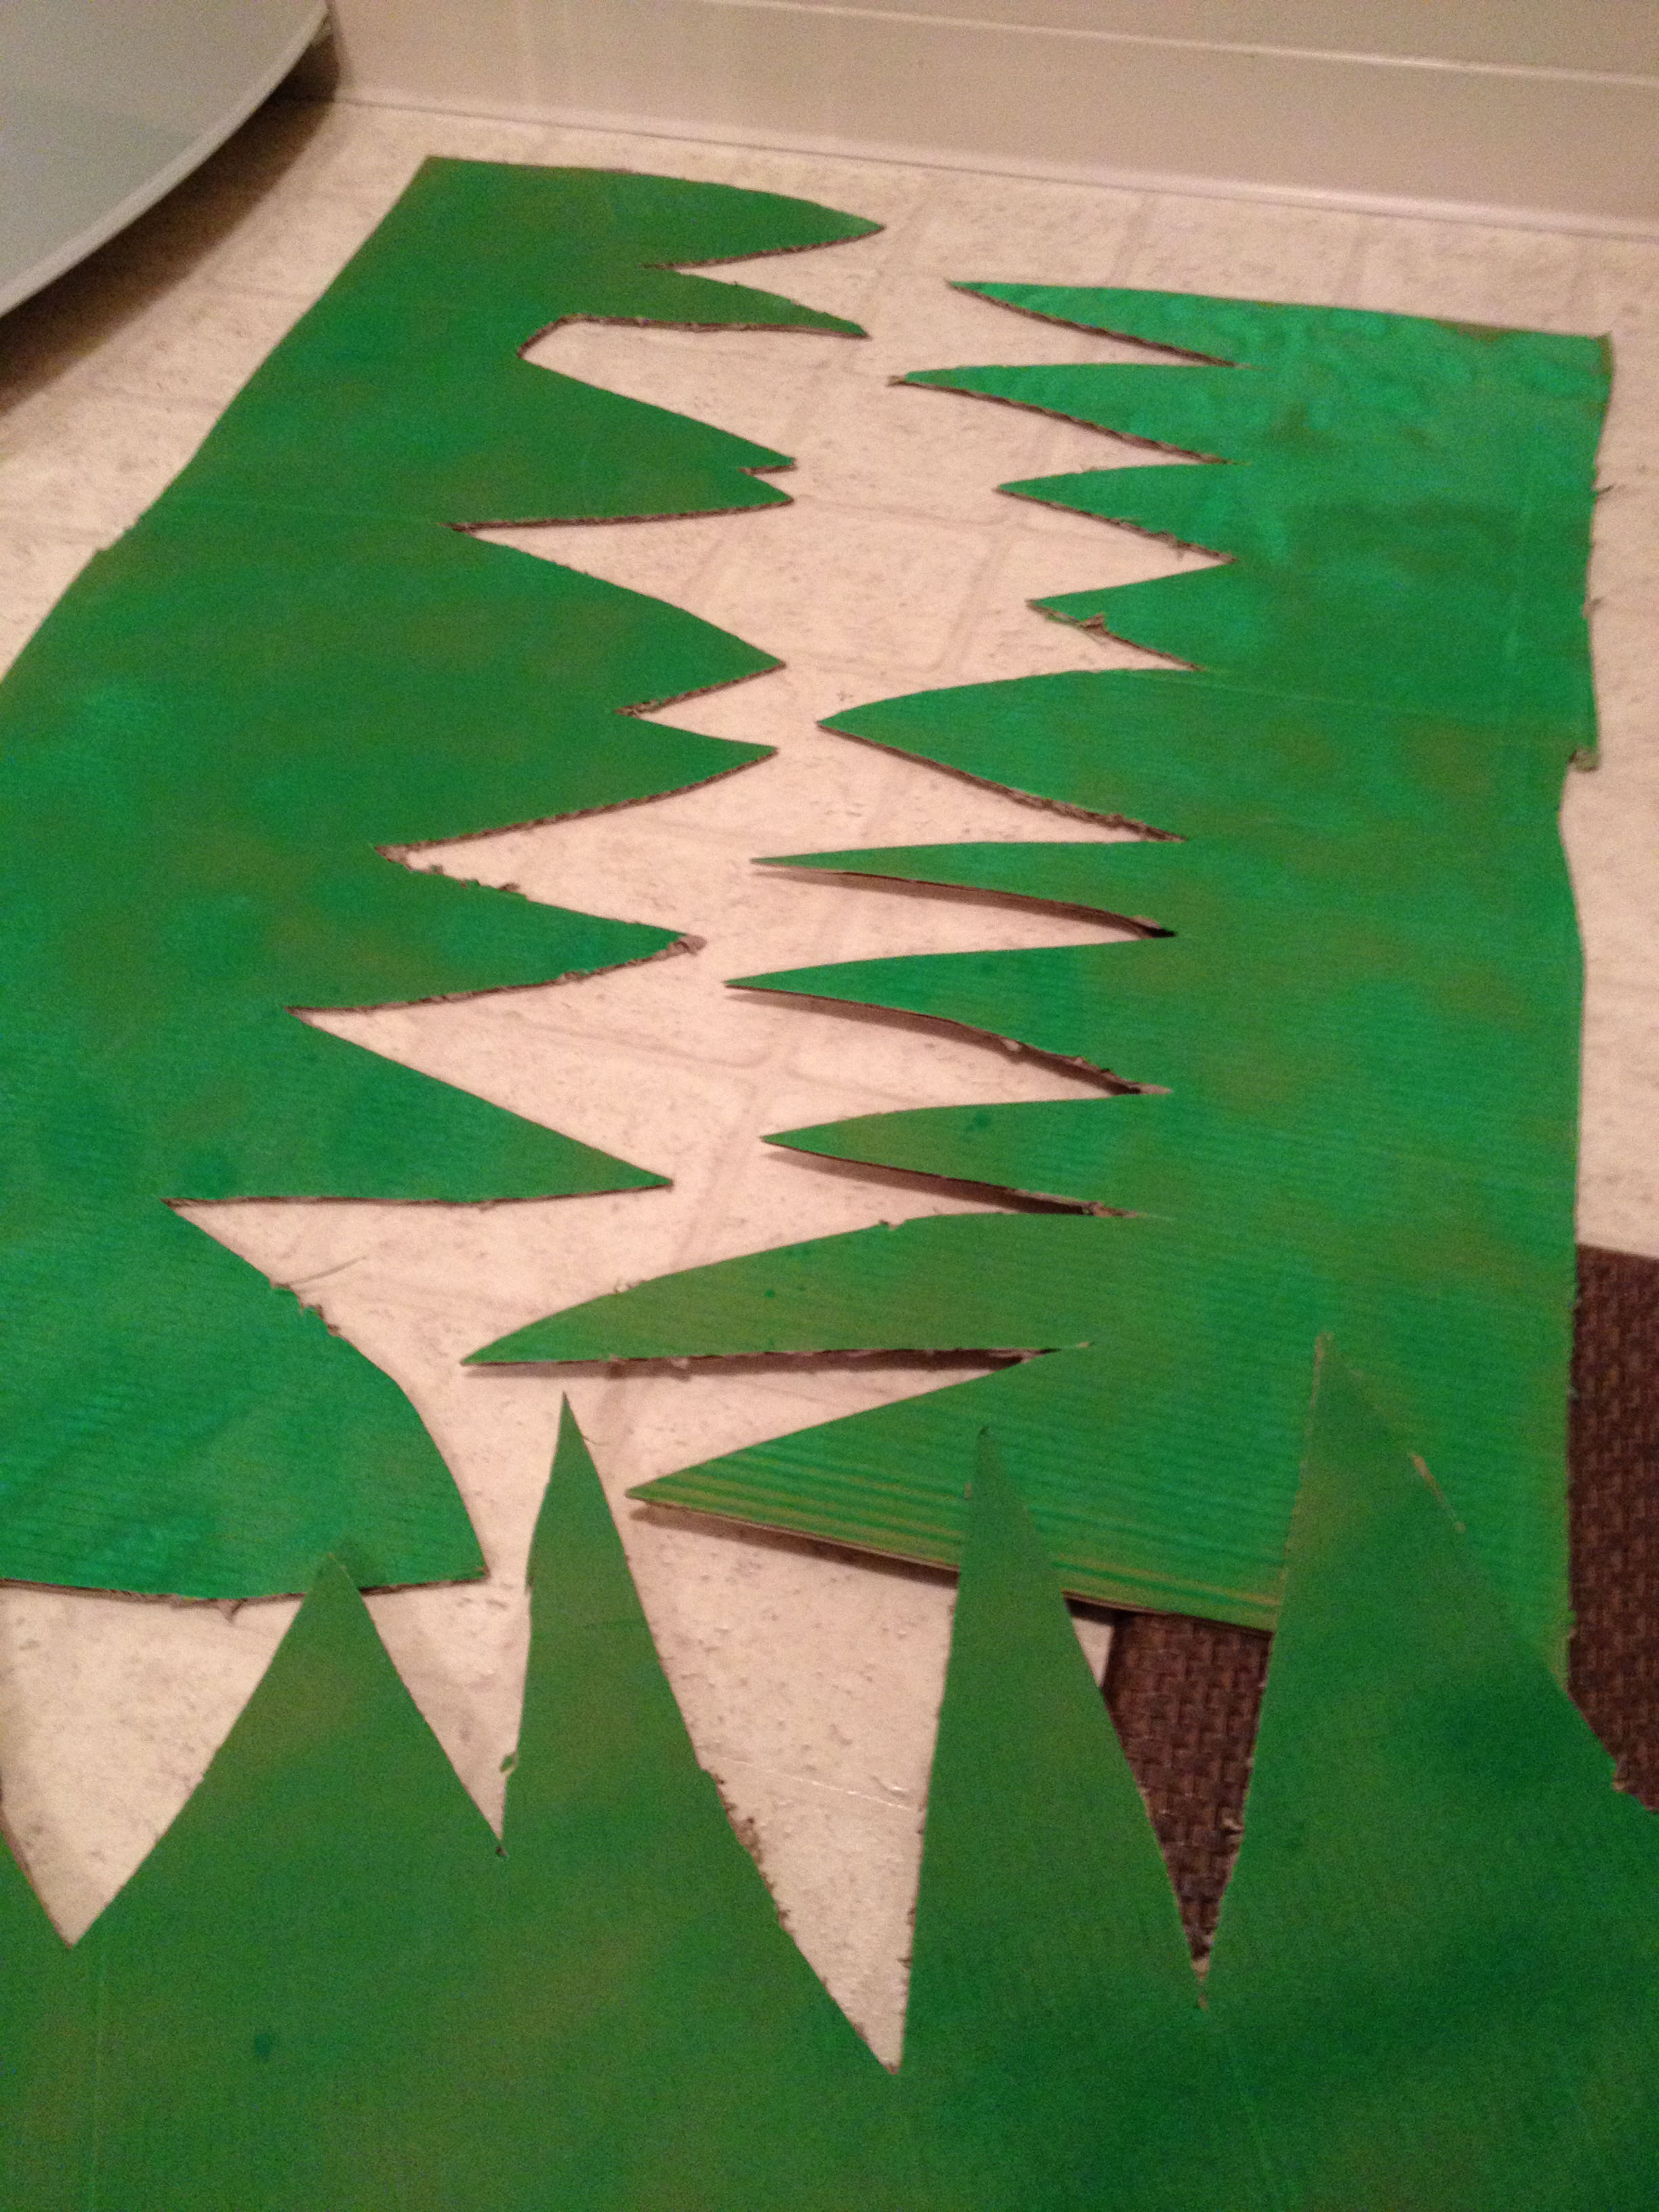
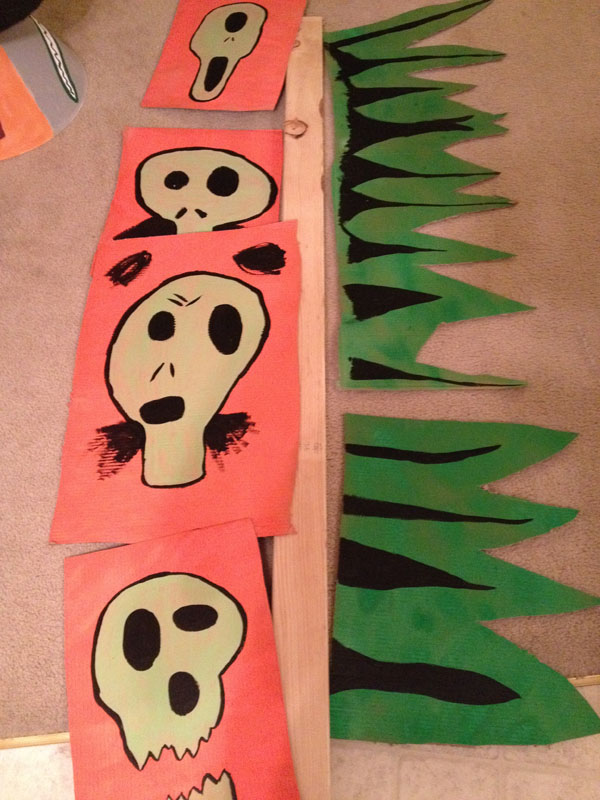
2. Cut out your squares/rectangles from the orange painted cardboard (if you haven’t already). Then, cut one side of the green cardboard into jagged spikes.
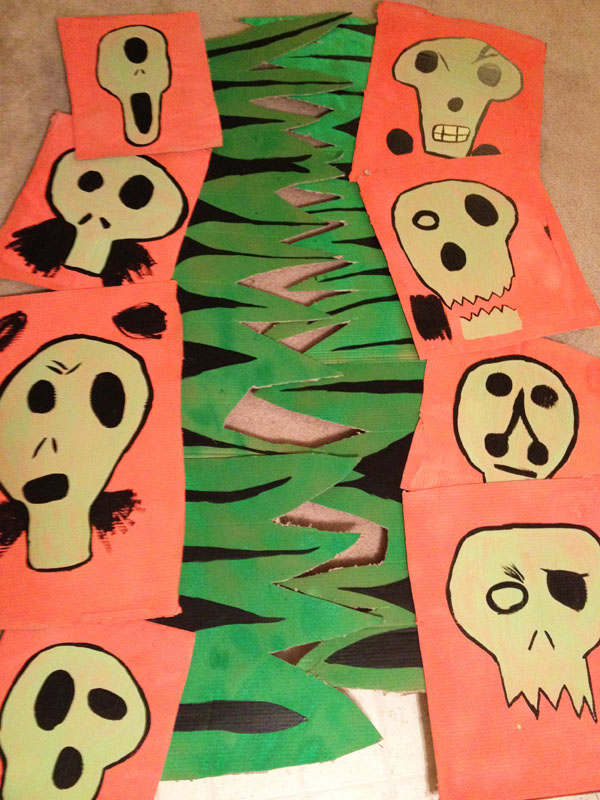
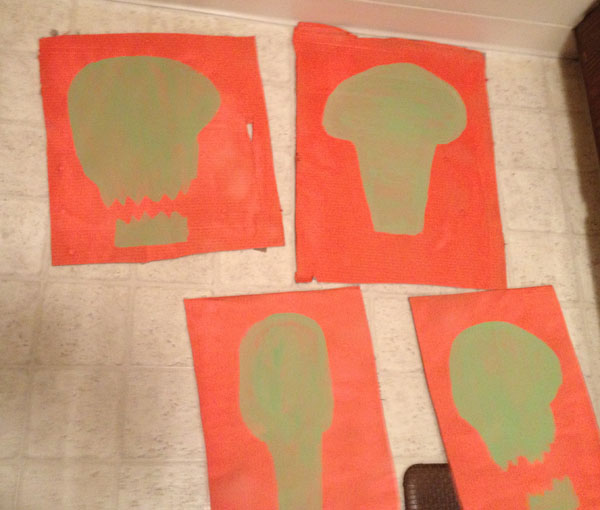
3. Moving back to the orange, begin painting the outlines of the skull faces with the light green acrylic paint. It helps to reference a picture of the doors for this. I literally paused the video above at 17 seconds, and used this as my guide. One of them has yellow teeth, which is why I listed the yellow paint as optional since I had it on hand.
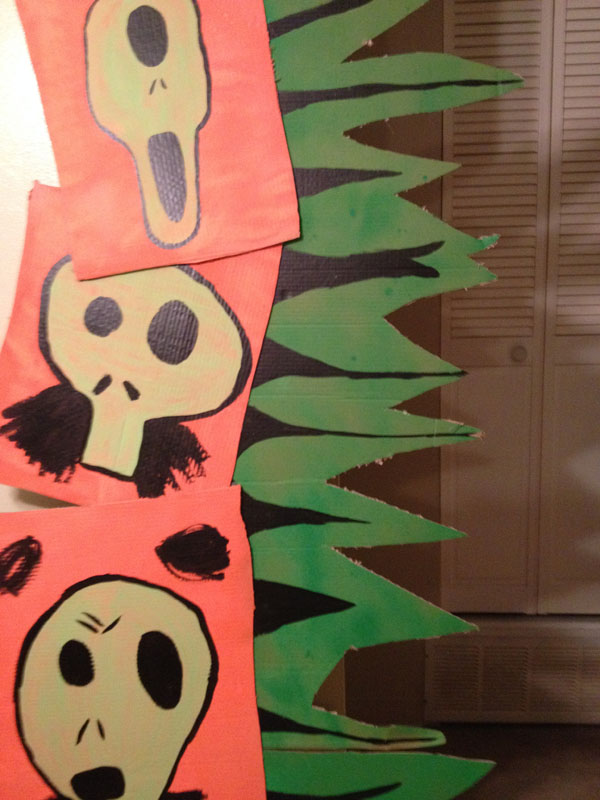
4. Once the paint has dried, you can outline the skulls with black, as well as add features and black splotches as you feel necessary. Then, accent the spikes with black running down the center of each spike.
5. I decided to glue these to boards as opposed to taping them to the walls so you can quickly move these around and don’t have to potentially ruin the paint on your walls. Once all of this has dried, organize your cardboard pieces as you would like them to be when finished, then begin hot gluing the cardboard to the boards, starting with the green spikes, then layering the orange skull squares on top.
That’s it! Just lean them gently against any door frame or entryway you like and you have a great feature and backdrop for your party, or door decoration for Trick or’ Treaters!

 Hi! I'm Alyce.