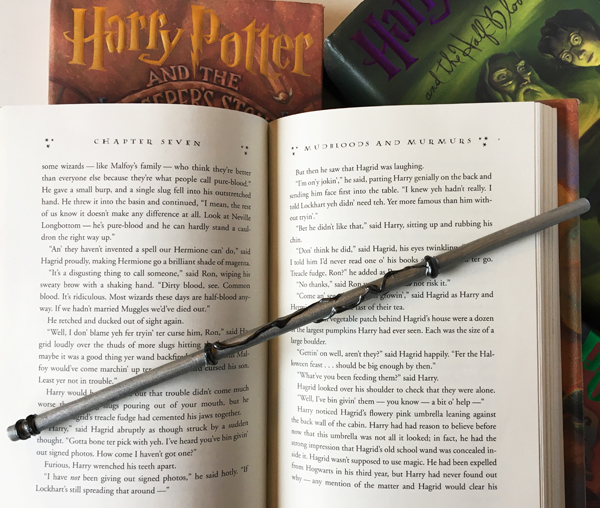
The wand chooses the wizard, which is why I had to make a number of them before I found one that was right for me! When it is right… you will know.
There are a lot of tutorials online, and this will be similar in that I will be using hot glue, but there are a few other fun elements that will help you really customize your own personal wand. And of course, each wand deserves a name and a backstory, which I have outlined below!
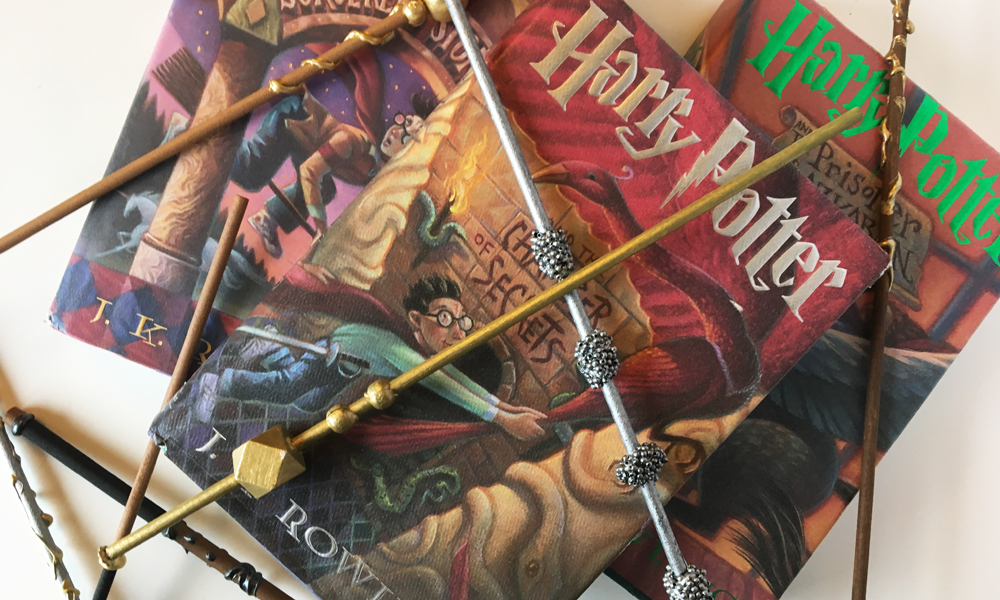
Harry Potter Wand DIY
You will need:
- Wooden dowels (3/16 or 1/4)
- Wooden beads (must use 3/16 dowels for these)*
- Tiny beads*
- Hand saw (if dowels must be cut)*
- Sandpaper
- Drill with a bit set*
- Pliers*
- Hot glue
- Acrylic paints, and assorted paintbrushes
* Optional. Beads can be used but are not necessary.
Instructions:
1. If they didn’t come cut to size, start by cutting your dowel rods to wand length. Then, use sandpaper to soften and round the edges and to taper the end of the wand.
2. Wooden beads can give some really unique shapes and structure to your wand that hot glue alone cannot accomplish. Select large enough beads that you can drill the center of the bead out to fit over your dowel rod.
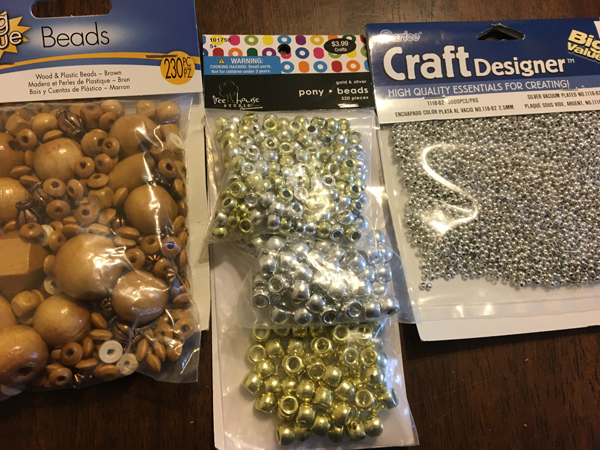
Note: I didn’t end up using the pony beads shown here.
Use the pliers to hold the bead (you may want to wrap the bead in a piece of tissue to keep the pliers from marking it), and carefully drill out the center of the wooden bead. I drilled into a used piece of wood so I could go straight through without damaging anything. Smaller beads may break since the pressure to keep the bead still will crack it. If this happens, keep the pieces! You can join them together when you glue it on the wand.
These next few steps are not all required, rather, different techniques to use to get your desired wand shape and design.
3. Identify where you want the beads placed on the wand, scoot them sightly to one side and apply a small line of hot glue, then slide the bead over the glue. You can quickly wipe the excess glue away with a towel or your finger.
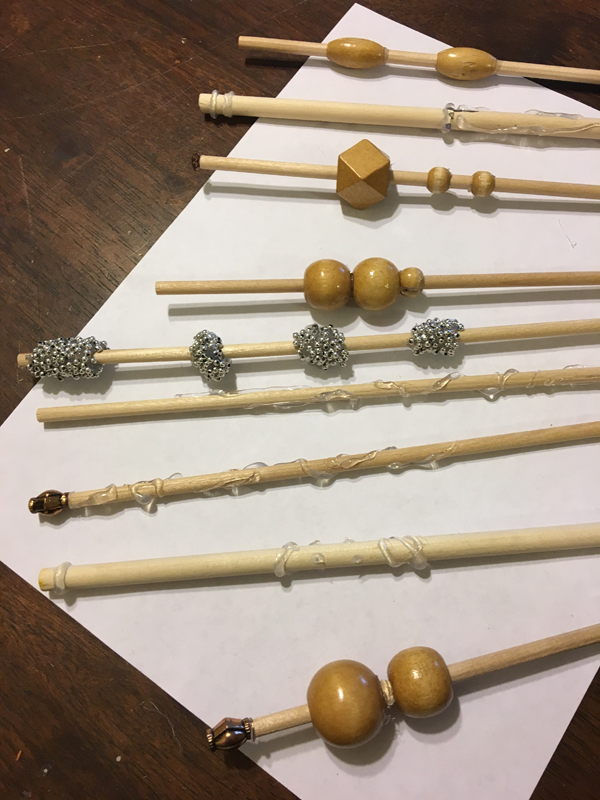
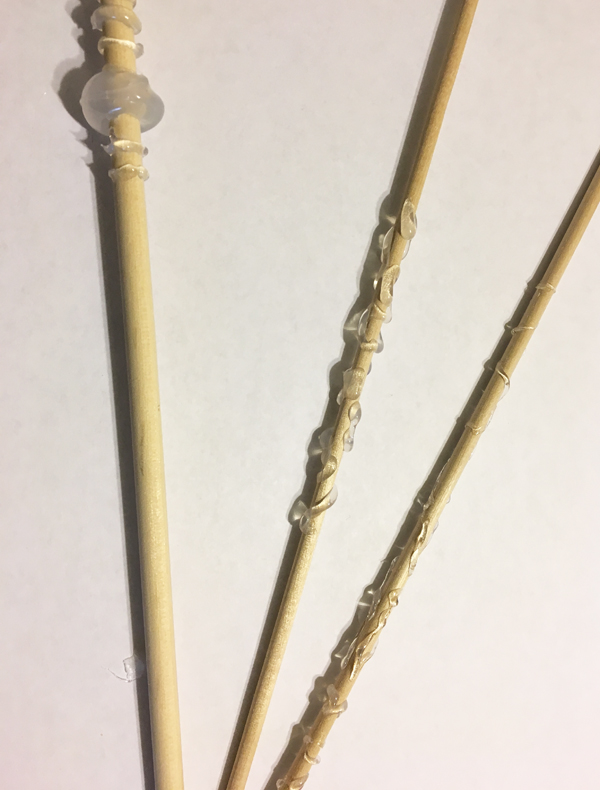
4. Depending on your design use the hot glue to make shapes, either large, globular circles, lines, dots, or vine-like swirls. Gently twist the the dowel in circles until the glue dries, especially for large globs, since it will help keep it even on the wand instead of drooping downwards.
5. If you want to add a little extra texture, you can add tiny beads to a larger glob of hot glue. I tried rolling the glue in the beads, which didn’t work quite as well as I had hoped. Instead, I actually just sprinkled the beads onto the hot glue, and gently tapped them into it. Continue to rotate the dowel to prevent drooping.

6. You can also change the shape of your wand by adding a fancy bead to the handle. Put a dollop of glue on the end, and press he bead into the glue until dried.
Painting
7. Select a base color for the wand, and it doesn’t have to be just one. I used combinations of a light metallic silver, dark metallic silver, two different shades of brown, black, and even a green base for “Goldie” below. Allow to dry.
8. Next, follow up with your accent color. You may need to do multiple coats. I primarily used gold, light metallic silver, or dark metallic silver.
9. Finally, try each wand. When your personal wand selects you, all will be right in the world.
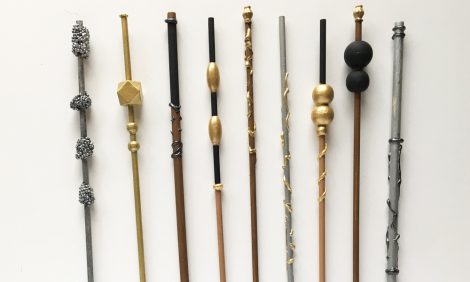
Alyce’s Wand Shoppe
Just kidding. I’m not in the business of selling wands, but here are some of my creations, arbitrarily named and their unique magical components.
Albus Dumbledore
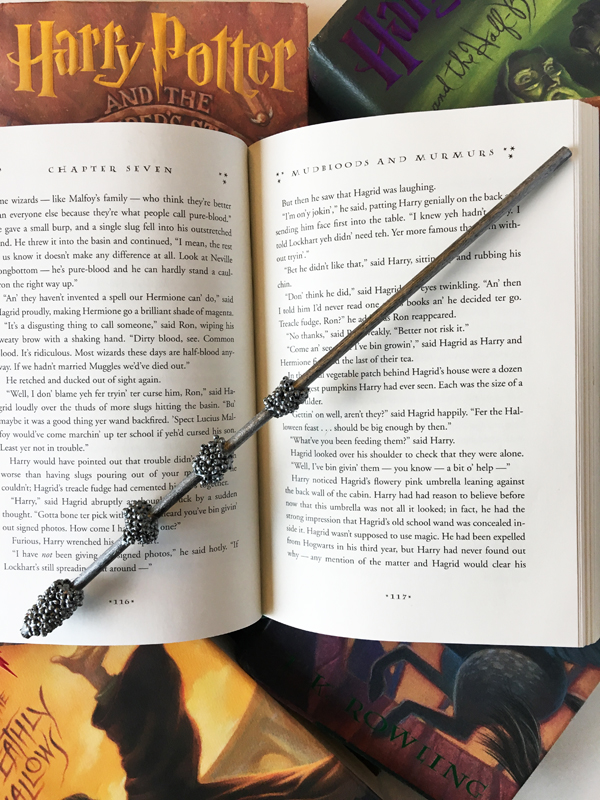
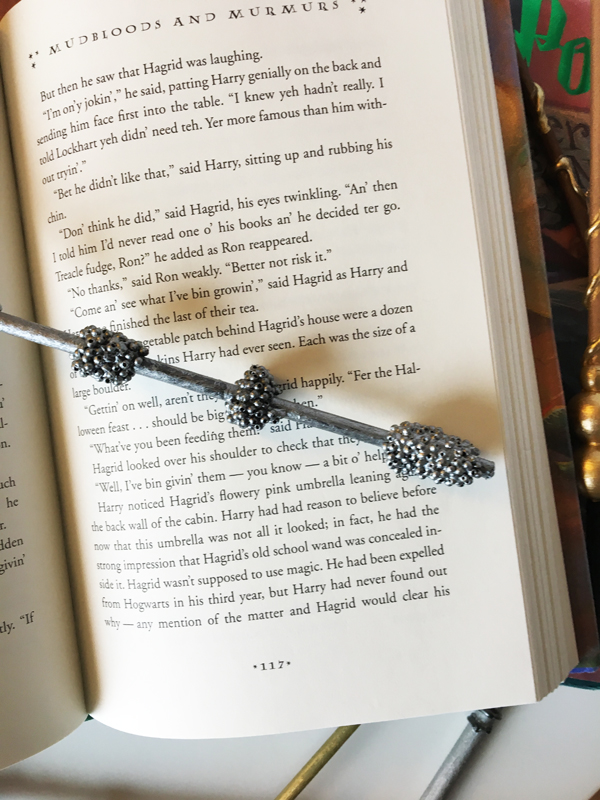
Named for it’s inspiration from Dumbledore’s movie wand, this wand it made Elder and Thestral tail-hair, 15 inches long. Thestral tail-hair wands are most powerful for wizards who have mastered death, possibly a wizard who has learned to overcome depression, or begun to heal from losing someone dear to them. This wand in particular is identified by the likeness of elderberries. You can learn more about the legend of the Elder Wand here.
This wand used the method shown in step 5, using tiny beads pressed into hot glue, with a dark metallic base and top coat of metallic silver using a 3/16 inch dowel.
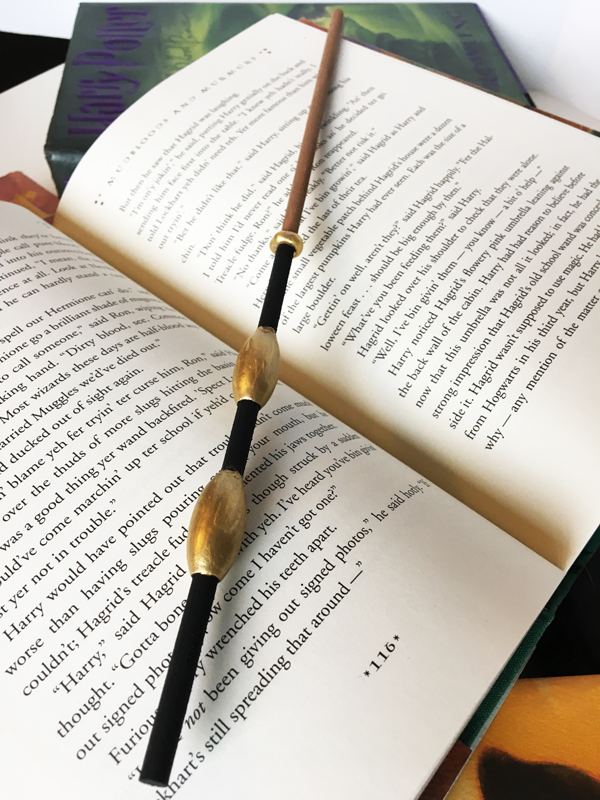
“Goldie”

Named for it’s metallic sheen, this wand is created from Vine and Kelpie hair, 11 1/2 inches long. This strange ancient combination draws on the druid belief in Vine as a wand wood, and the shape-shifting water demon. Owners of this wand are likely to be born as a water sign of the zodiac (Cancer, Scorpio, Pisces) and the wand will immediately form a bond when it find’s its true owner, likely someone with hidden depths and a fierce nature.
Goldie used wooden beads as shown in step 3, with a green base and metallic gold top coat using a 3/16 inch dowel.
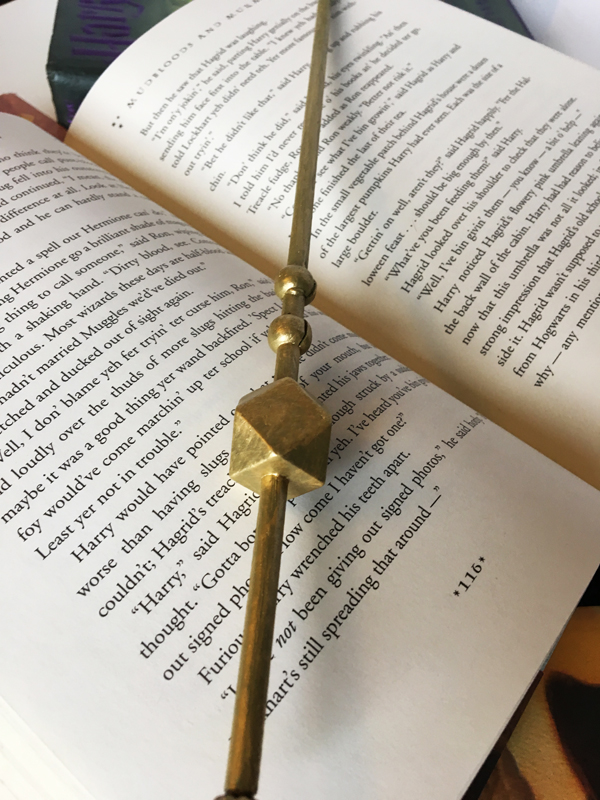
Oxford
The oxford is my chosen wand! I love the fancier first two, but feel my personal wand would be something sensible for utility with a bit of flash. Constructed of beechwood and unicorn tail-hair, 10 3/4 inches long, this wand is associated with wisdom and open mindedness. The powerful wood paired with the loyalty of unicorn tail-hair makes this a wand capable of incredible subtlety and artistry when properly matched. Fun fact, this is my actual wand description from Pottermore!
This wand was created with two oblong wooden beads (step 3) and a small circle of hot glue. The handle was painted black, the shaft a light brown, and accented with metallic gold, using a 3/16 inch dowel.
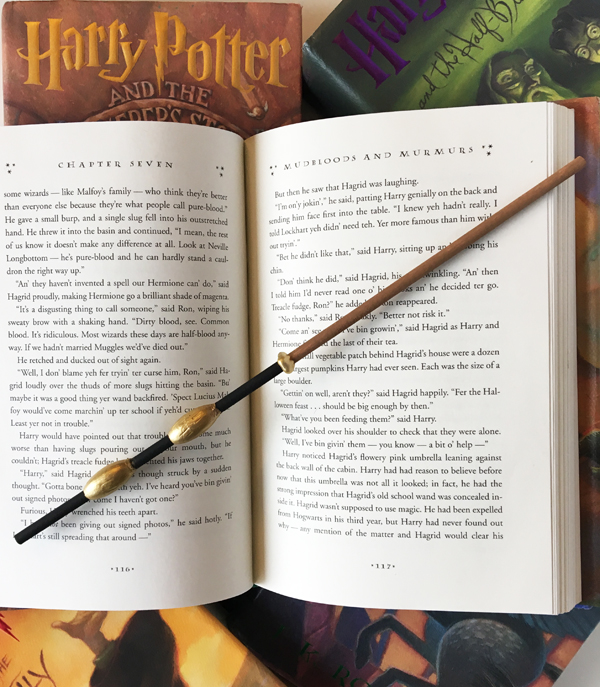
Aspen
This highly prized wand is created of Aspen and dragon-heartstring, 11 inches. Wands made of white aspen are particularly suited to the accomplished duelist, and paired with dragon heart-string, this wand is likely owned by someone drawn to adventure and quests, is determined, and very quick-learned.
I created this wand with a 1/4 inch dowel (no beads) and using just hot glue, demonstrated in step 4. The base is metallic silver with dark metallic accents.
More wands soon to come, check back for part 2!


 Hi! I'm Alyce.