Back in July, Damir and I bought our first couch together. I have to say, it was both exciting to make our first big purchase as a couple, as well as feeling out how we work together in the decision making process. Based on our first two months living together using a futon as a couch, we had decided to go with a chaise couch so we could both use the couch and stretch out.
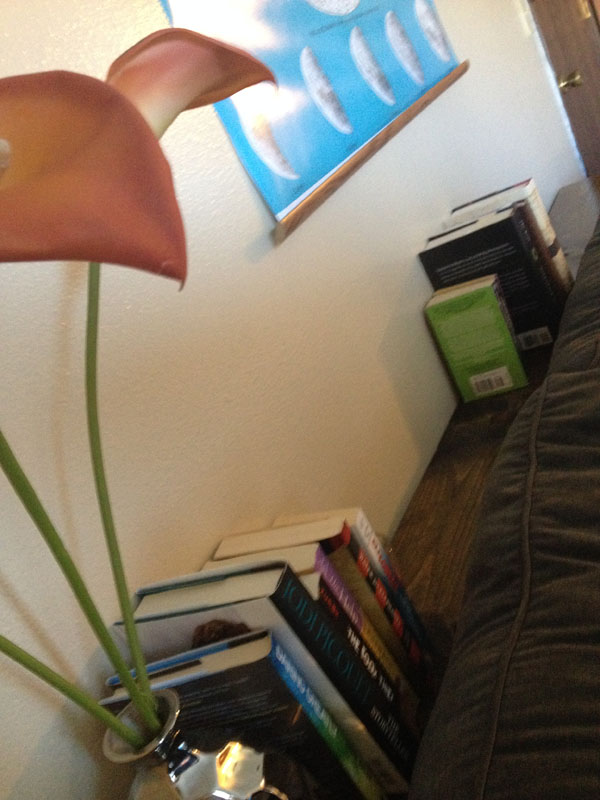
I had also sacrificed my desk during the move to our one bedroom apartment, and since have taken over the chaise portion of the new couch as my command central. It is comfortable, I can type with my arms in an (almost) ergonomic position, and can stretch out. There is only one downside… I cannot reach the coffee table from this position. With the chaise side of the couch right next to the door, there was no room to add a side table, and with the rate I chug my morning coffee (or evening wine), leaning forward to place it on the table every minute was just a hassle and I knew there had to be a solution.
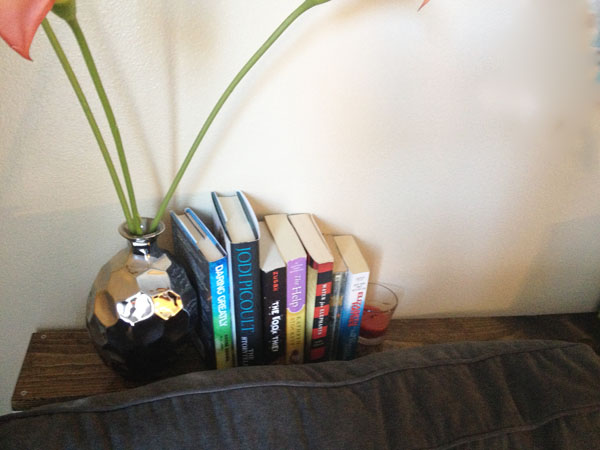
I decided a sofa table between the wall and sofa would be ideal, but I just couldn’t find anything in stores or online that was what I wanted… and if you know me, you know this suits me just fine. So I hit up Lowes and built it myself!
DIY Sofa Table
You will need:
- 1 6in or 8in wide 1/2 inch pine board (cut to length of the back of your couch) This is the top.
- 4 railing spindles (cheaper than pre-fab table legs)
- 2 1inch x .5 inch boards, cut to the length of your couch, plus an extra 1-2 feet. This is used for stability under the table, and may vary slightly based on factors such as your spindles (refer to step 6). Also note, the pieces that were 6 feet long were much cheaper than the 8 foot long ones. Because of this, the sides of my table are constructed of two pieces put together which you will see in the pictures. If your table won’t be as hidden as mine, go with the longer ones!
- 1 1/4 inch screws and drill
- Latex gloves
- Wood stain
- Polyurethane
- Paper towels
- 1 Paintbrush
- White spray paint
- Wood glue
- Saw (I used a hand saw which worked just fine)
Instructions:
1. I started by measuring the length of the back of my couch as well as the height from floor to the top of the back. In my case, our couch is 7 feet long and 36inches high. Cut your boards to the correct length, and cut down the spindles to the correct height.
Lowes did have pre-fab table legs that were beautiful, but they also cost $5 per leg at their cheapest. While walking around, I discovered deck railing spindles that were $1 each and worked beautifully… with a savings of $16.
I knew my table would not have to be the most sturdy thing in the world since it was going to be sandwiched between the wall and the couch. If you are building a sofa table that will be freestanding behind your sofa, the legs might be a better option for a 6in wide tabletop. You will get improved stability the wider you want the table top to be.
2. Next, Paint your wooden spindles and the 1 inch boards. I used a spray paint with primer… but in my last few projects, I honestly have come to the decision that that primer in the spray paint doesn’t amount to much. While two coats of the spray paint did just fine, I still recommend going over the legs with primer and a paint brush and allowing it to dry, then painting. Allow your paint to dry according to product instructions.
In my pictures, you will see I stained my 1 inch boards to match the top, but after the fact I felt that it might have looked a bit better if they had been white instead to match the spindles. Totally up to you!
3. While these are drying, go ahead and stain your boards. I gave mine just one good coat of stain using paper towels. Allow to dry according to stain instructions.
Also, if you are like me and take your glasses off so you don’t have to worry about pushing then back up your nose with dirty hands… just watch where you step.
 Luckily they bent back into place. Painting in the dark, not always recommended.
4. Once your boards are dry, give them a coat of polyurethane, allow to dry according to first coat instructions on the product labeling, then give it a second coat. Allow to cure completely.
This next part may take some modifications on your part based on widths of the products you use. I have included measurements from my own project as a guideline.
5. Using a pencil, measure out the dimensions of your spindle in the corners of the top board. Mine were 1in x 1in, so I measured and drew this square on the top of my board. Then, use the drill to drill a pilot hole in the very center of the sketched out spindle. Using your 1 1/4 inch screws, screw through the top of the boards into the spindle.
I had no problem with the screws being visible on this project, but you may not want that for your own table. If you want to hide the screws, start with step 5, then once the table is constructed, fill in the screw holes with wood filler, sand down, then stain. It may also be best to swap out the spray paint for regular paint and a brush to give you more control when painting the spindles.
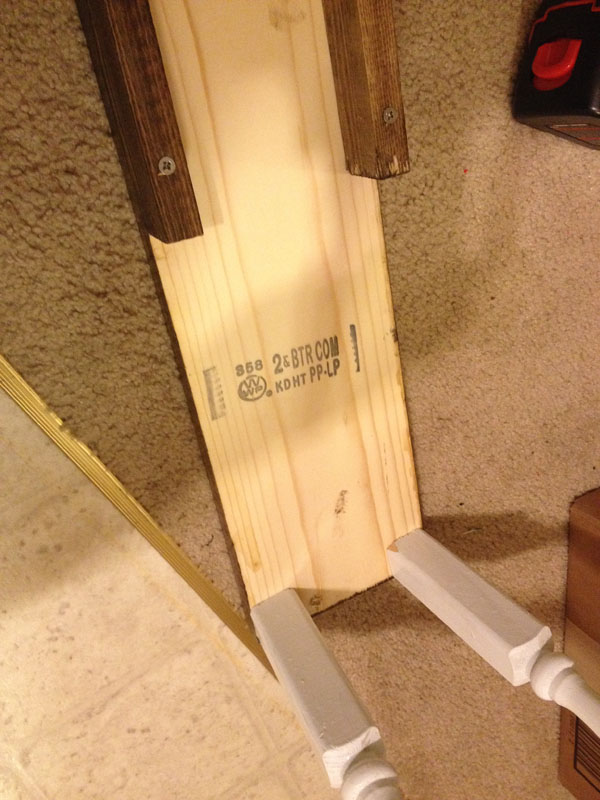
7. Depending on how large your spindles are, you will need to trim down your 1 inch boards. My spindles were 1 inch wide, so I trimmed 2 inches off of each 7 ft long 1in boards. It is important for these to fit tightly, so I actually re-measured the space between the now added spindles and cut accordingly to ensure a snug fit.
Apply the wood glue to the inside of the spindle and place the board on edge so it is snugly fit against the bottom of the table and in between the two spindles on that side. Drill 4 pilot holes at even intervals down the board, then use screws to secure it to the underside of the table.
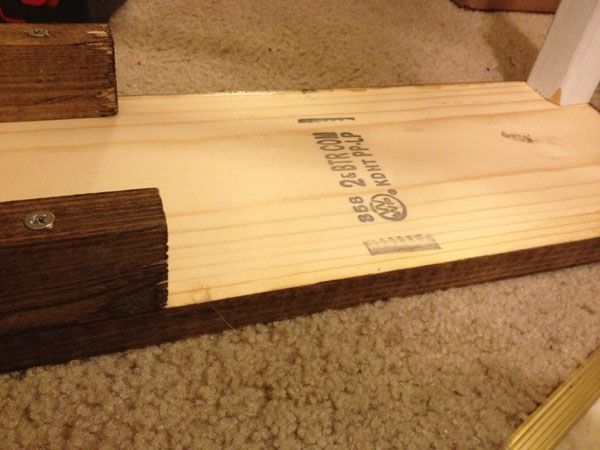
8. Now measure between the spindles on the two ends of the table, and cut pieces from the extra length of 1 inch board. Again, you will want these to fit snugly. I also recommend cutting two of the same length for each side if using actual spindles vs. table legs (see step 9). Apply wood glue to the inside of the two spindles and place one of the pieces in between the spindles on the end of the table. Drill two pilot holes, then secure to the underside of the table top with screws.
9. Here is where the spindles have their downside. They are not quite as sturdy as a table leg since they are far thinner, the intention that they would be used in a railing where they are secured at the top and bottom. This resulted in my table looking like a newborn foal… Not what I had intended. To remedy this, I used the second piece of the smaller length 1 inch boards to secure the two spindles together at each end. It wasn’t the prettiest fix, but since this would be placed between my couch and wall, I wasn’t too concerned.
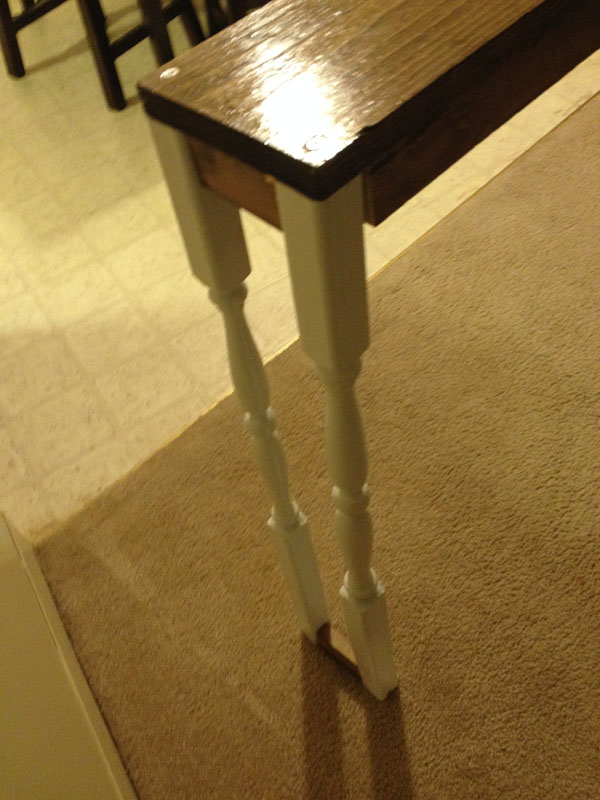
If you find yourself in this predicament also, I would recommend using wood filler and touching up your white paint after the wood filler dries.
Finally, I have a place to set my wine 😀


 Hi! I'm Alyce.