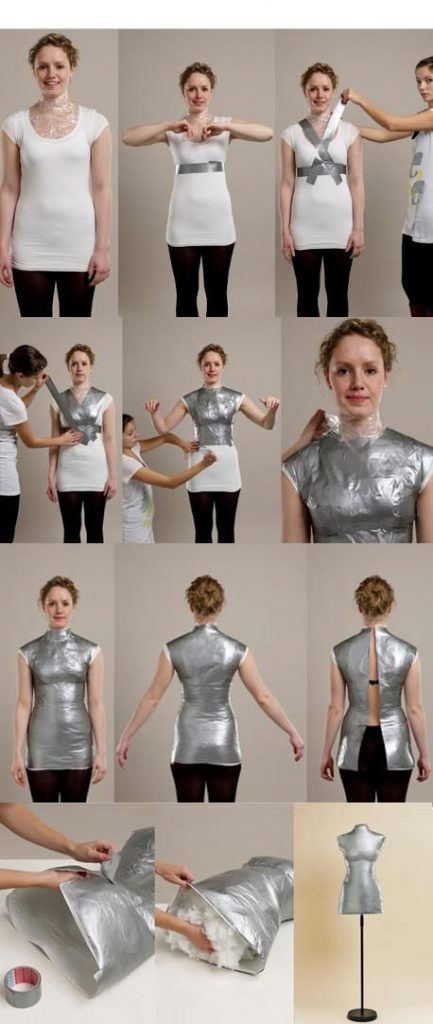
When planning for my next set of costumes, I realized that I simply couldnt work on the costumes the way I needed to while wearing them or simply laying them flat… a mannequin was in my future. I didn’t want to buy one just yet, although there are affordable options out there. I had found the following tutorial on Pintrest from handimainia.com and felt it would be a great way to build a form that was true to my shape.
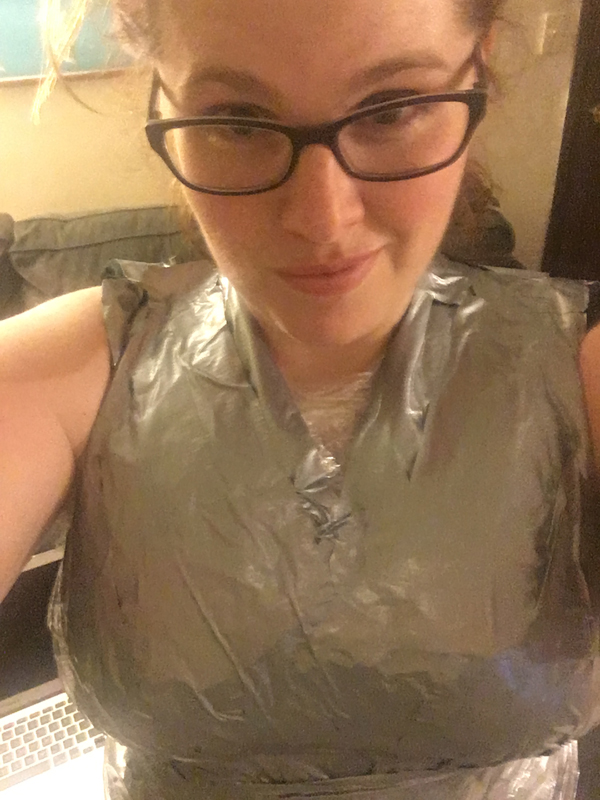
Me wrapped in duct tape. Mine is not NEARLY as neat as the tutorial, but it still works!
The one part I thought was missing from this tutorial was how to actually implement the stand in a way that was still very cost effective. I initially had thought I could make it work by just setting it on a stool, and it DID work for a little while, but it wasn’t very stable, and honestly, I needed something closer to my own height. 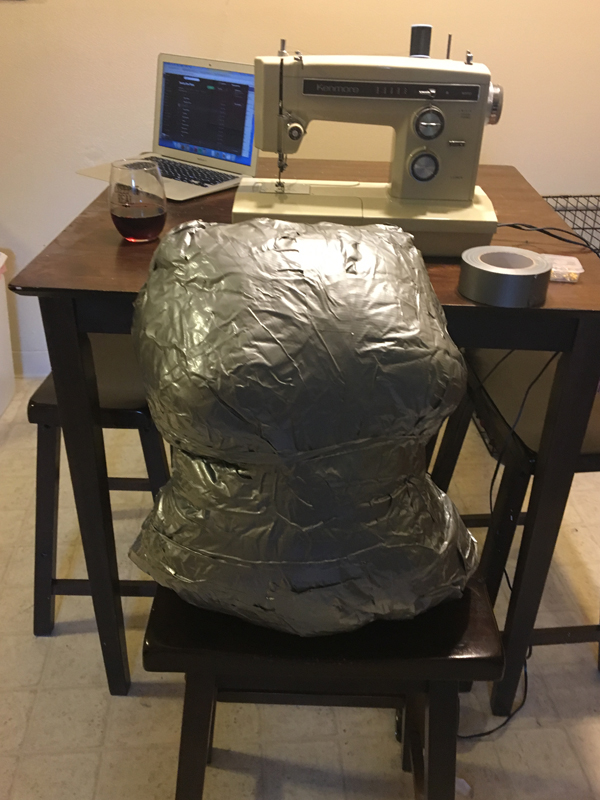
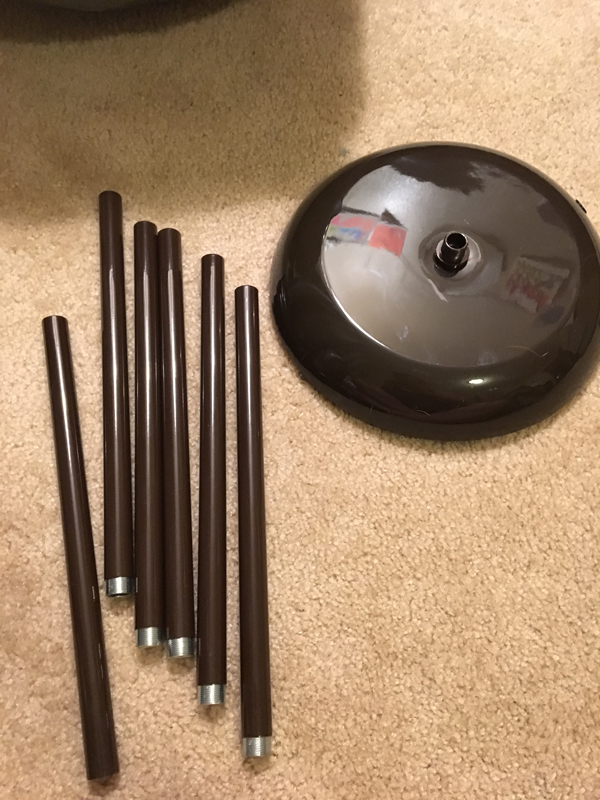
The cheap and easy solution? A cheap stand lamp from Walmart rang in at $7. 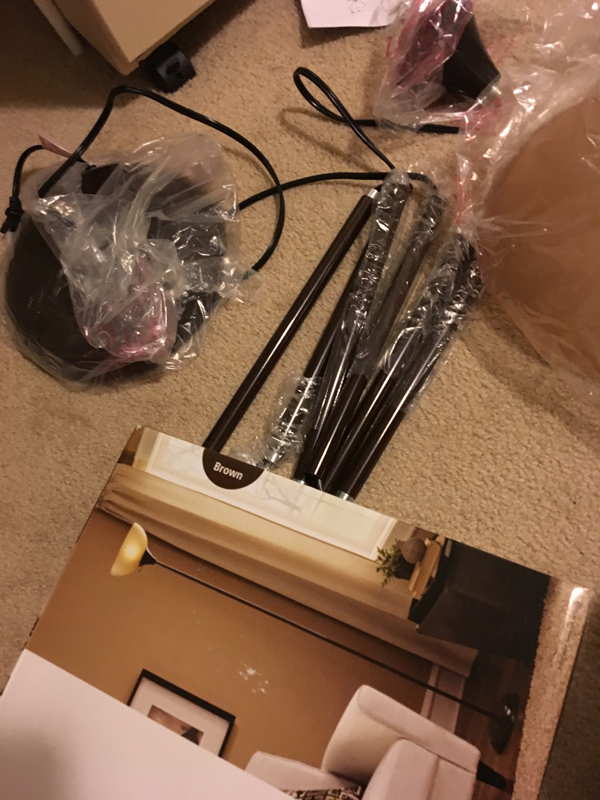
Cut out the cord (please don’t have this plugged in for any reason… I feel I have to say this as I personally know someone who could have been killed cutting through a live lamp cord.) Cut off the bulb attachment and pull the cord out. You will only need the metal poles and base.
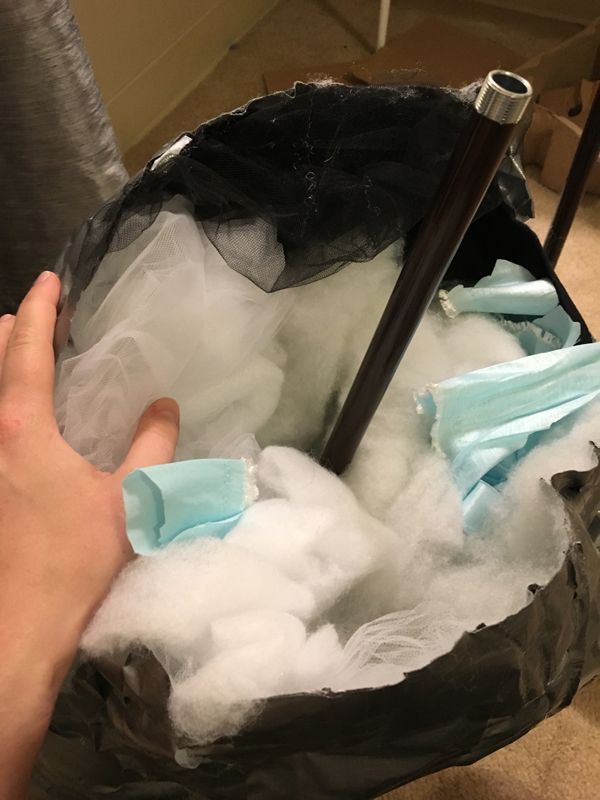
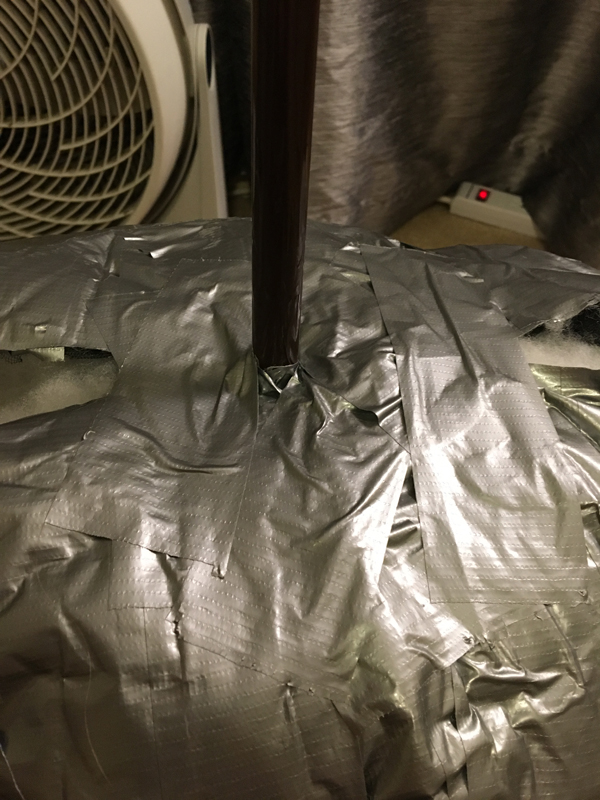
Now, take two of the poles and screw them together, and feed it into your mannequin. Ideally do this before you even stuff it, since this will allow you to keep it nice and centered. I had to split the bottom of mine (dubbed Quinn) and move the stuffing around. She lists to the left a bit because of this, but she still is a solid costume assistant.
Before you seal things up, set up the base of the stand, and hold your mannequin up so you can evaluate hight. You may want to adjust the depth of the poles accordingly. There are two very important parts to this:
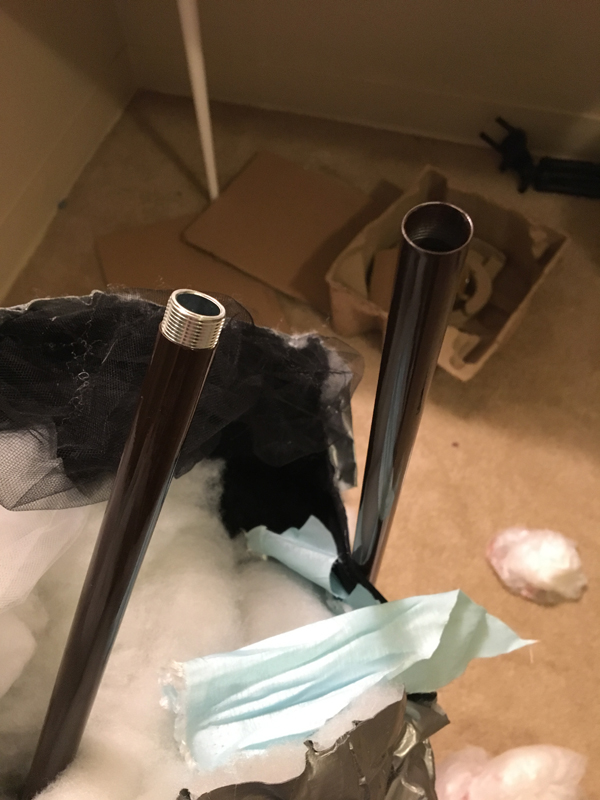
- Make sure that the end is sticking out enough so that you can easily unscrew the mannequin from the base for easy storage.
- Make sure the end coming out of the mannequin matches up correctly to the completed stand below.
Finally, seal up the bottom of the mannequin, and continue to tape the form securely to the pole.
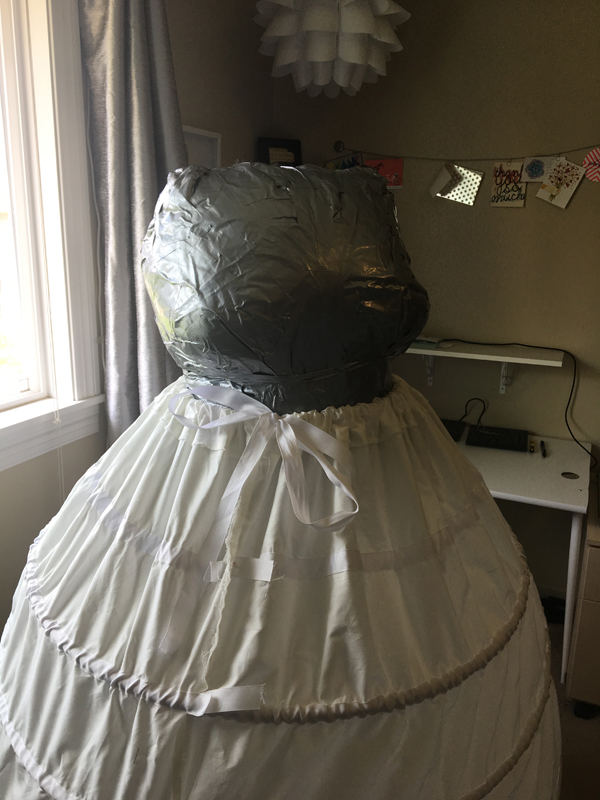
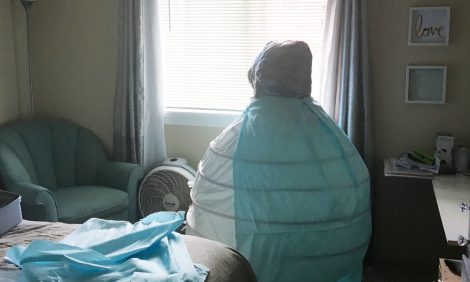
And that’s it! A cheap and easy mannequin that is perfectly sized to your own shape. Plus, a sneak peek at my next tutorial!



 Hi! I'm Alyce.