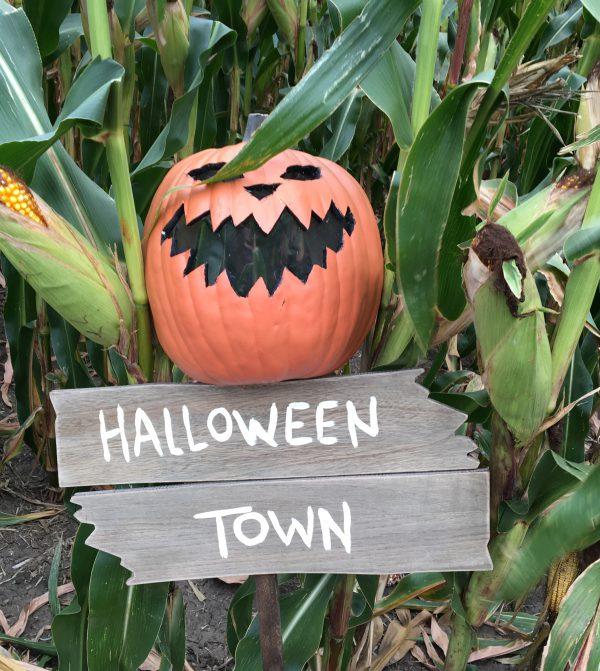
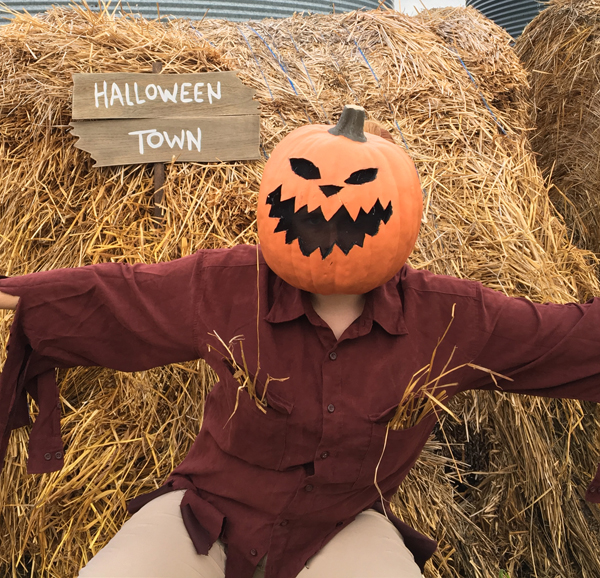
For my Nightmare Before Christmas “Halloween Town Scarecrow” I wanted to try making a mask instead of doing face makeup. Initially I set out to find one of those Halloween candy pails that are shaped like Jack o’ Lanterns, but while roaming around JoAnn Fabrics, I discovered this new product called “Funkins, the carveable pumpkin.”
These fantastic pumpkins are carveable so you can keep the pumpkin year after year without any worries of rot or mess. Although they are a bit pricey, the 50% off coupon at JoAnn made this a perfect fit for my mask.
DIY Jack O’ Lantern Mask
You will need:
- 1 large Funkin
- Black acrylic paint and brush
- Pencil
- Pumpkin carving knife
- Black tulle or sheer fabric
- Hot glue gun
- Elastic, if necessary
Instructions:
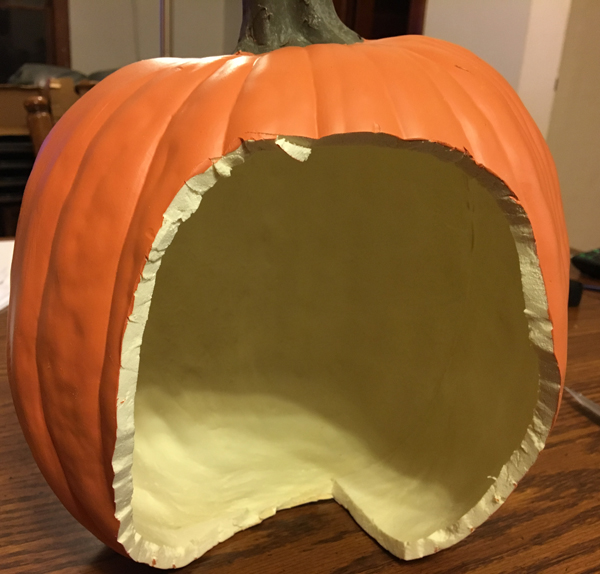
1. Begin by cutting out the hole for your head. Start small, as you can always make it larger. Also, be very careful, as these do carve easily, but too much pressure can make them crack. Don’t start too high on the back, and make the opening just as large as your face, and widen if necessary. Then, bring the hole down far enough on the bottom for the rest of your face and neck.
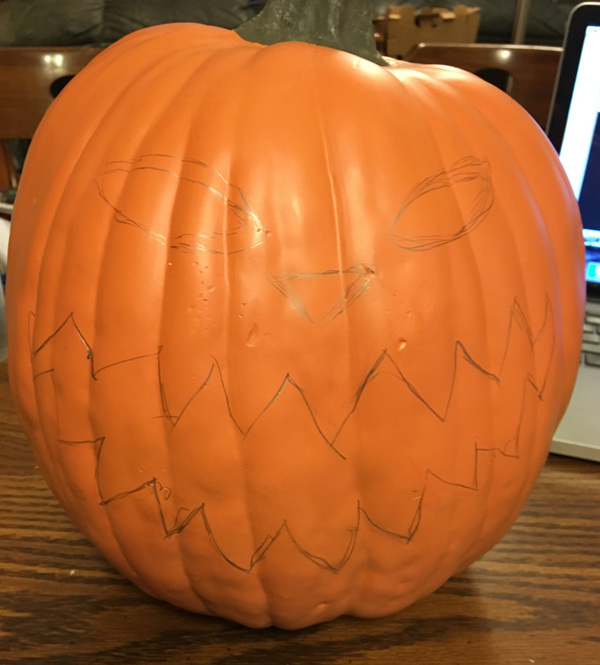
2. Turn the Funkin around and use the pencil to sketch out your face. In my example, I was intentionally re-creating the scarecrow from Nightmare Before Christmas, so I used a picture as a reference.
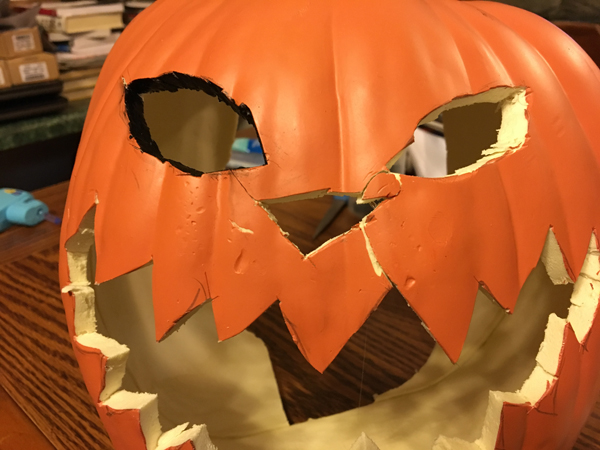
3. Carefully carve out your Jack O’ Lantern face. I say carefully, and mean it because while this is a great product, I found that any unnecessary pressure can cause it to crack. I actually had to hot glue in a piece from the face by the nose that broke out.
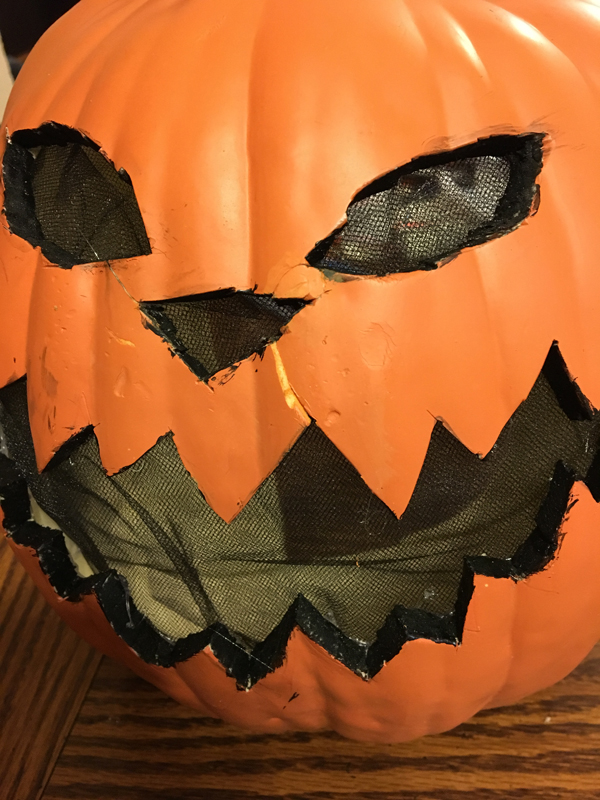
4. Paint in the inside of the cutout areas (eyes, nose, mouth) with black acrylic paint.
5. Using Tull or sheer fabric , hot glue into the inside of the mask to cover the cutout holes, but still allow you to see out. I doubled up my fabric to make it darker, but I could still see out well.
You can see the cracks and broken piece by the nose if you look closely.
You can just barely see my face through the mask, so it turned out perfect!





 Hi! I'm Alyce.