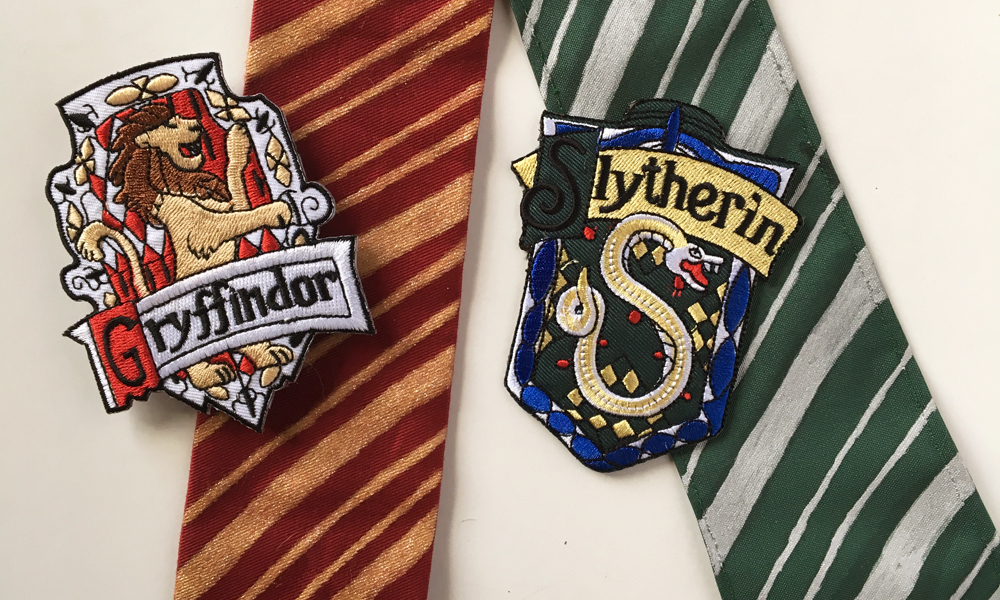
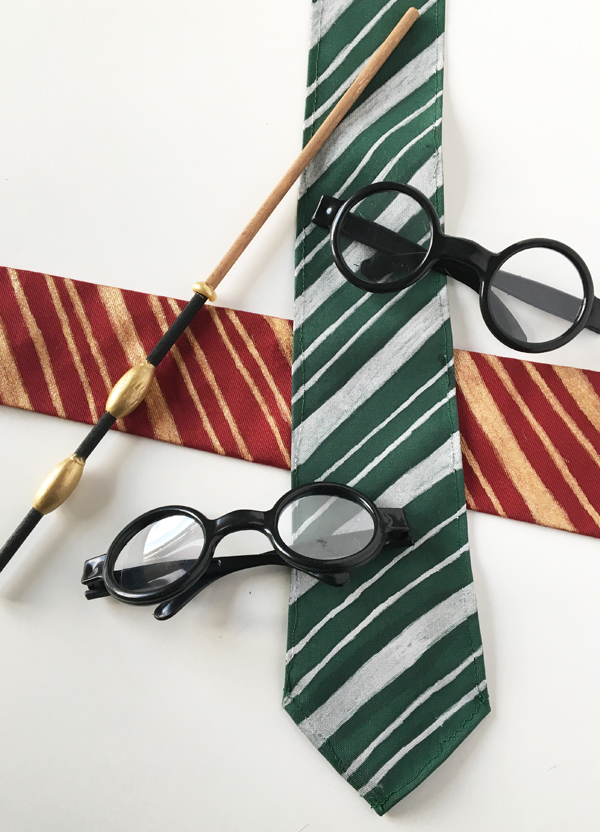
Do you know what Hogwarts house you belong to? If you are reading this, there is a good chance you do! (If not, never fear. You can take the official sorting quiz at Pottermore.com.) Now you can show off your house pride with a DIY Hogwarts House tie! Never fear, a sewing machine isn’t required, and in fact, you can even “hack” this DIY to be completely no sew if a needle and thread just isn’t for you.
Hogwarts House Tie DIY
You will need:
- An actual tie for reference (Not totally necessary, but helpful)
- Pencil and long piece of paper, or multiple pieces taped together
- Straight edge, like a ruler
- 6 inch x 5 ft piece of fabric. Cutting six inches off a bolt at the fabric counter works great.
- Iron and ironing board
- Fabric pins
- Sewing machine*
- Needle and thread matching your fabric color.*
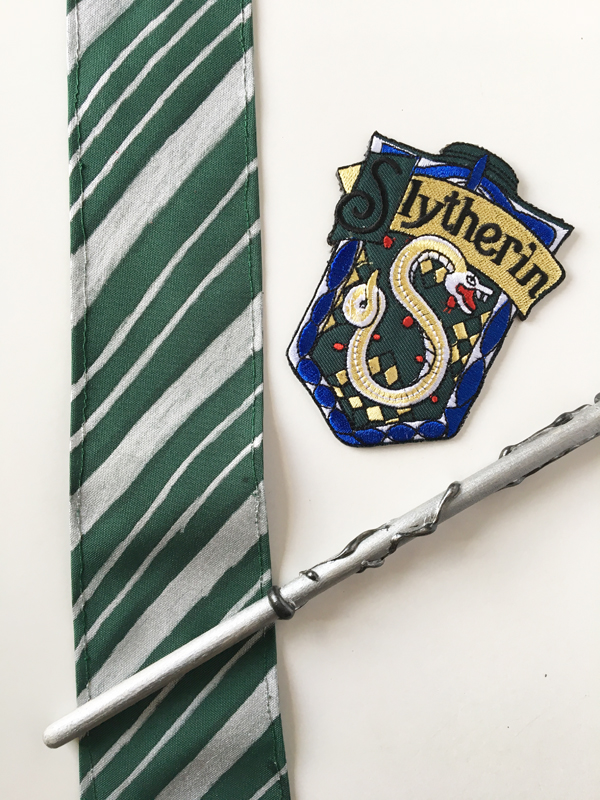
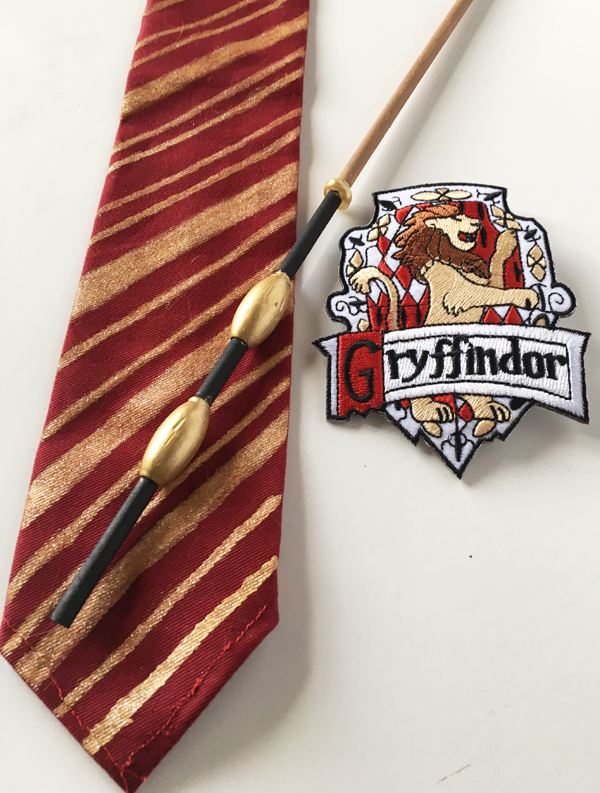
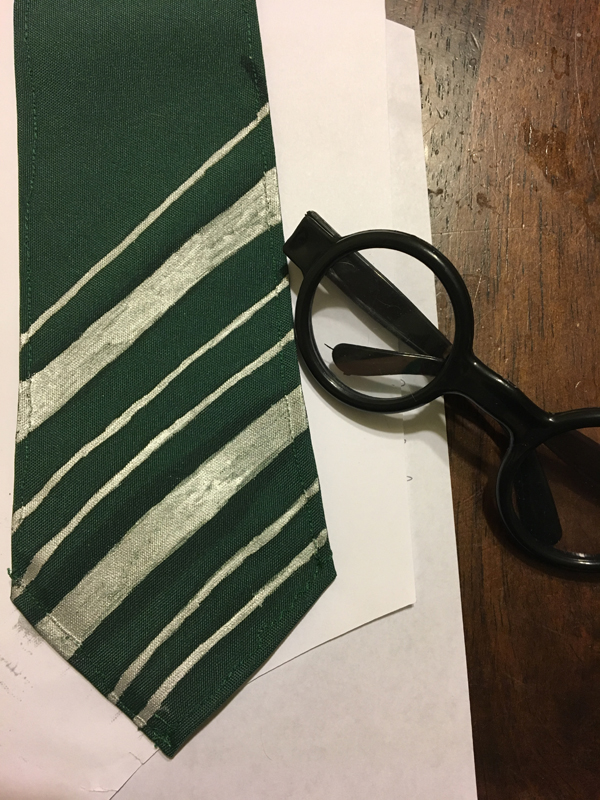
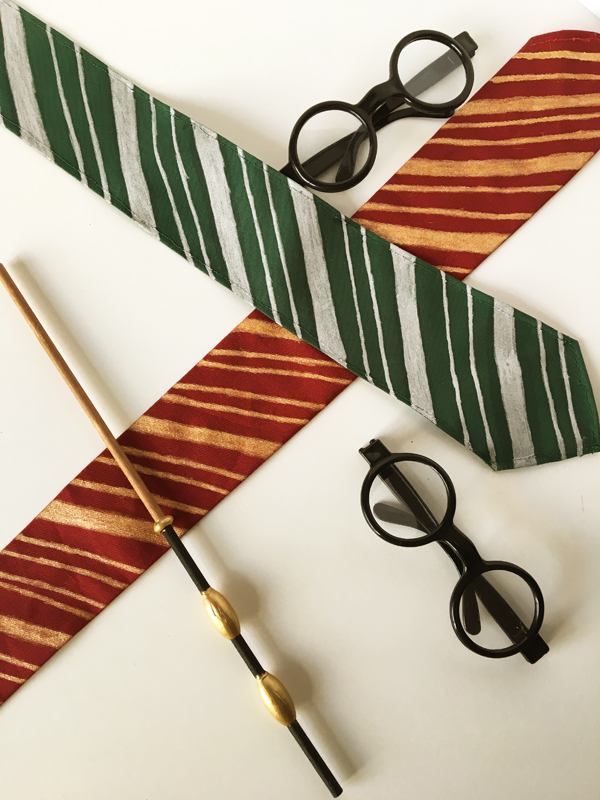
- Fabric paint pen. Use gold for Gryffindor, Silver for Slytherin, Bronze/Copper for Ravenclaw, and Black for Hufflepuff.
* If you chose the no-sew option, you can use a hot glue gun instead. See option in instructions below.
Instructions:
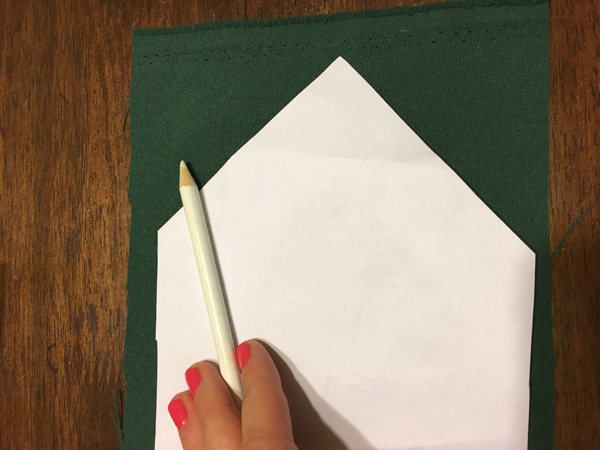
1. Start by making your “pattern.” Note, you can find actual patterns online or buy them in a hobby store, but my version simplifies it a bit. Not perhaps a tutorial you would want to use for wedding ties, lets say, but for a photo prop or costume, it works great! To create my pattern, I used an actual tie for reference. First, measure the width at the widest point, and note half of this measurement (if it is 3 inches wide, note 1.5 inches).
Trace the bottom point of the tie and extend the points out using the straight edge by the half measurement you noted.
2. Then, every few inches, measure the width of the actual tie. Then take half of that width, and measure and mark that outside of the sides of the tie. The idea is to make your pattern large enough that the tie will fold into itself and meet in the center in the back of the tie. So, if the tie is 2 inches wide at one point, measure 1 inch on each side and mark with a dot. Do this up the full length of the tie** and then connect the dots with the straight edge to form the lines of your pattern.
** If you cut 6 inches from a bolt of fabric, or wet with my 5 ft length estimate, it may not be the length of an actual tie. Don’t worry, it should still be long enough to tie a basic knot.
3. Cut out your pattern, then trace onto the back of your fabric. (A pencil usually works for this, but fabric pencils may be needed if you have a dark fabric.) Cut out the tie from your fabric.
4. This step is completely based on your comfort level. You will want to first fold in edges that form the point of the tie about 1/4 inch and pin them, then iron them down for a straight edge. If you have a sewing machine, great! Sew away. If you are hand sewing, go ahead and hand stitch this part. If you don’t want to sew, use a thin line of hot glue inside the folded edge and press down gently.
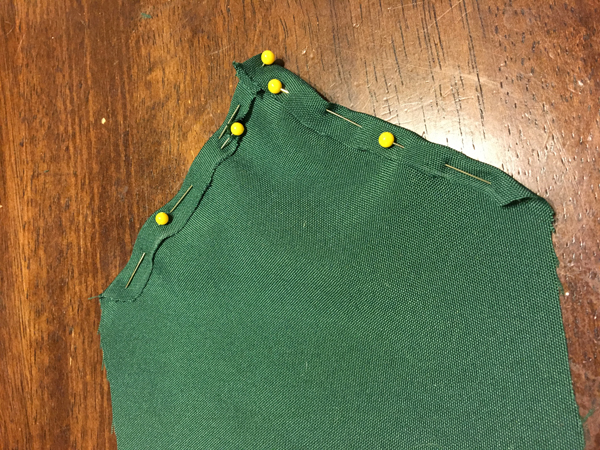
5. Next, fold in the sides of the tie so they meet in the middle and pin in place. I worked my way up slowly to match each side. Iron down flat.
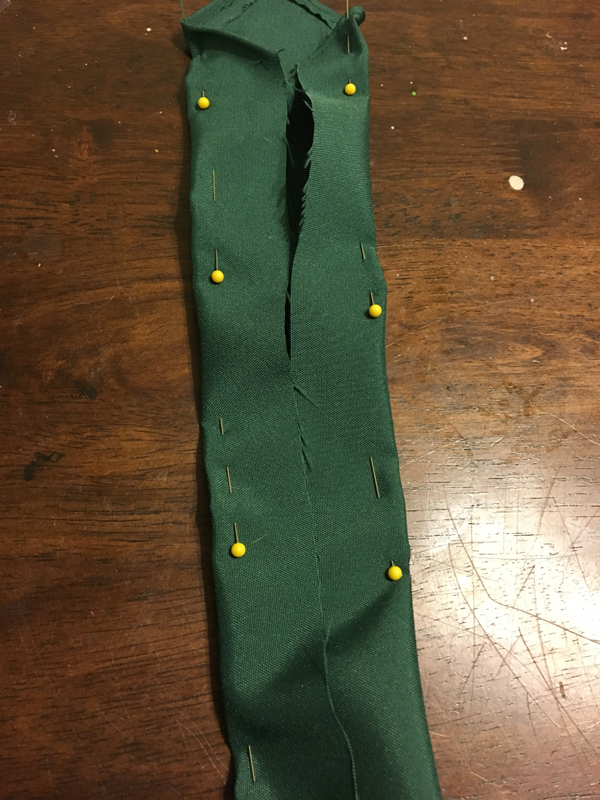
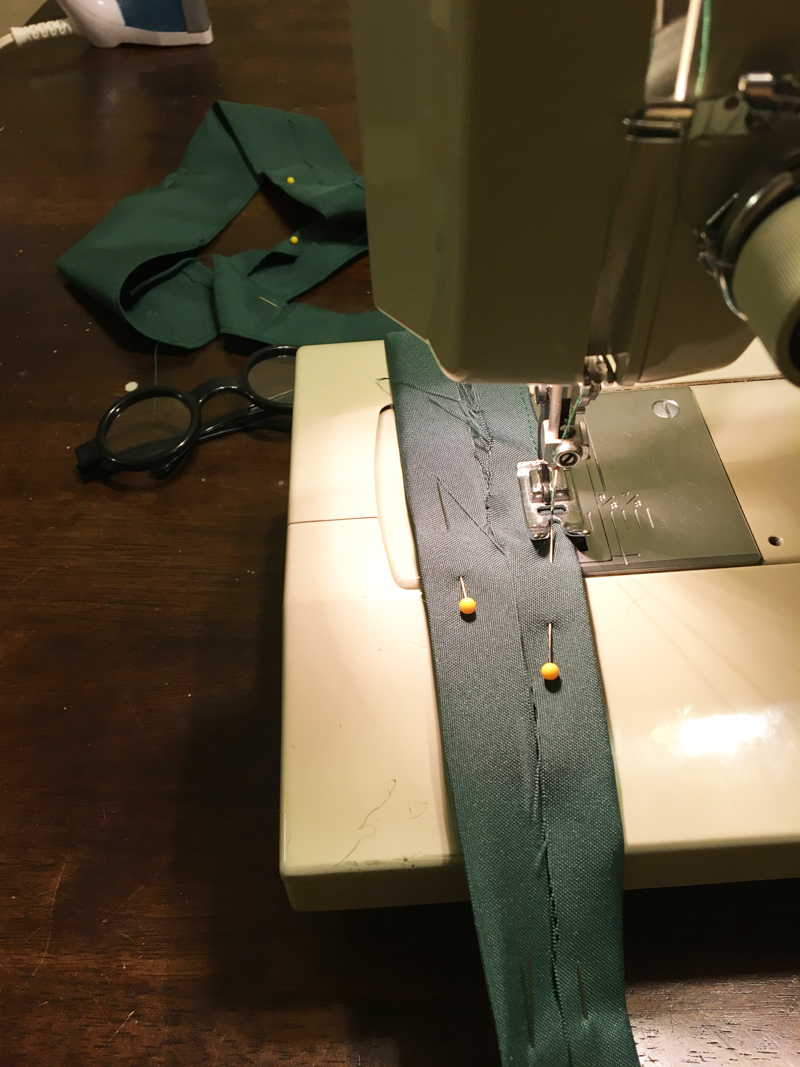
6. If you have a sewing machine (and want this look) you can now sew along the sides of the tie, as you can see was done with the Slytherin tie.
If you don’t have a machine or just simply don’t want to sew it, just ironing works (this is all I did for the Gryffindor tie) and you can skip to the next step.
6. Using a needle and thread, gently hand stitch a few stitches to keep the two folded together pieces held together, placing stitches every few inches up the back of the tie. Trim away any loose threads.
7. Finally, use the fabric paint pen to draw on your lines. I started using a straight edge, but realized it looked just fine free handing it. I also didn’t go the full length of the tie, as only the first 2 feet will really be visible once it is tied.
8. Let it dry, and you are done! Here is a quick video on how to tie a tie. Even if you haven’t tied one before, you can get it looking pretty decent after a few tries.


 Hi! I'm Alyce.