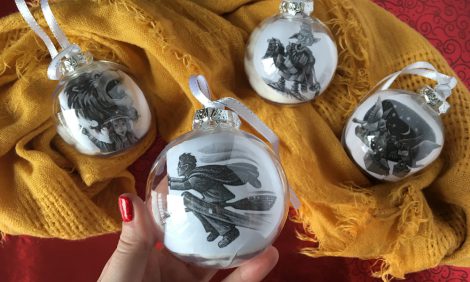
This is a bit of a throwback to my Harry Potter Christmas (eek 6 months ago) that I wasn’t able to finish posting at the time… my flare up made getting things a bit difficult. Now that I’m finally on the upswing, I’m excited to finally get these out there! I was exceptionally pleased with how this turned out!
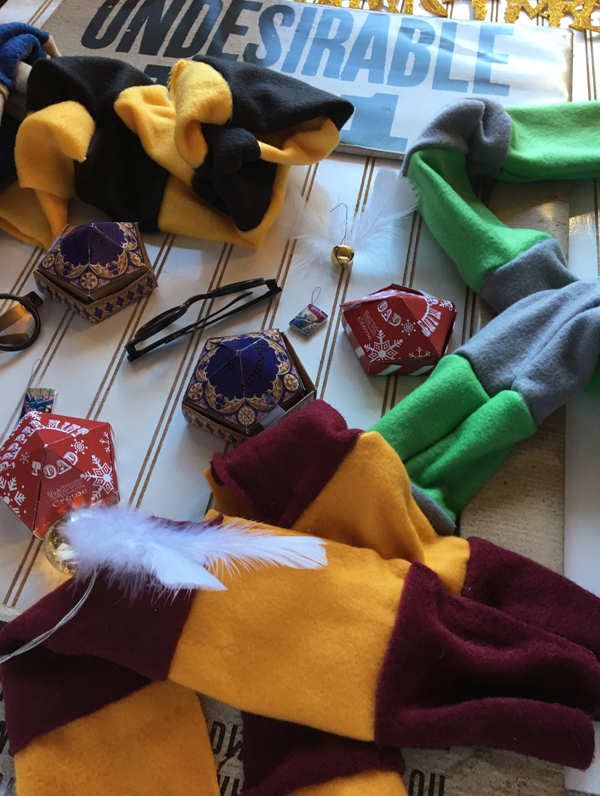
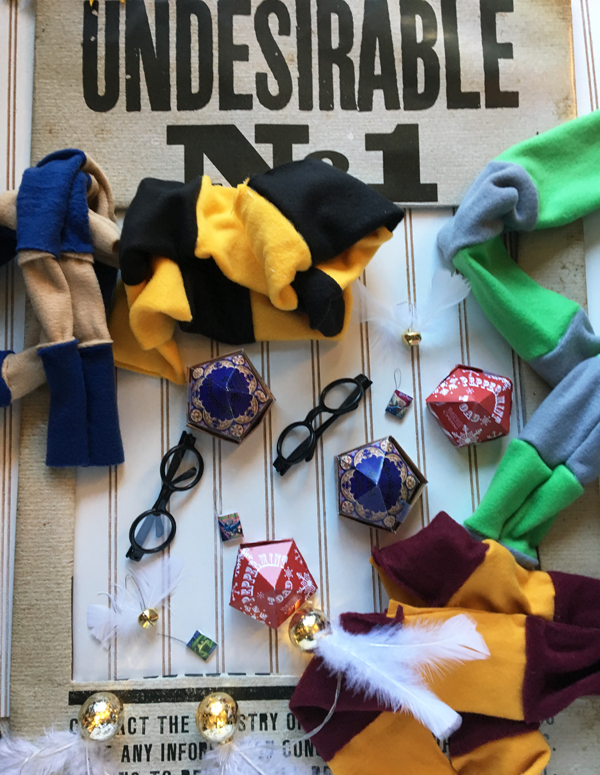
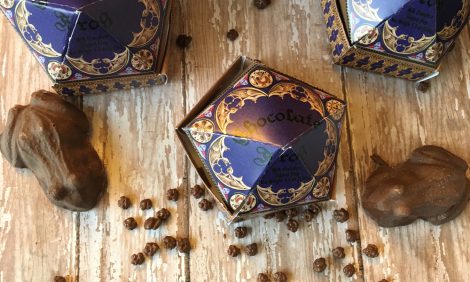
Also pictured here, my Snitch Garland, Peppermint Toads, and Chocolate Frogs.
In this tutorial, I will show you how to make a “Undesirable No. 1” photo frame, and some really easy and fun no-sew Hogwarts scarves. You can pair these with these super cheap and awesome Harry Potter Glasses!
Undesirable No. 1 Photo Frame
You will need:
- Harry Potter Undesirable No. 1 Poster ($6 on Amazon)
- Foam board (possibly 2, depending on the size of your poster)
- Box Cutter
- Packing tape
Instructions:
1. Start by determining if you will need more than one piece of foam board. The linked poster above is 24×36 inches, so I needed to add a second piece to extend it far enough to use the full poster. Cut the required amount of foam board for your poster, then generously tape the pieces together. Make sure to use the connected piece at the top so you wont have to cut through it in the next steps, since this area will already be structurally weaker.

2. Take the full poster and wrap the edges behind the foam board and tape down securely with packing tape. This keeps the tape on the back and leaves a clean edge on the front.
3. To make the window for pictures, we will be removing the current image of Harry, and cutting out everything in the center of the poster from underneath the No. 1 to below Harry’s name. Using a box cutter, very gently cut from the center of the picture out in an X pattern (sorry Harry!) to where you would like the side edges to be. Using a straight edge like a yardstick is helpful!
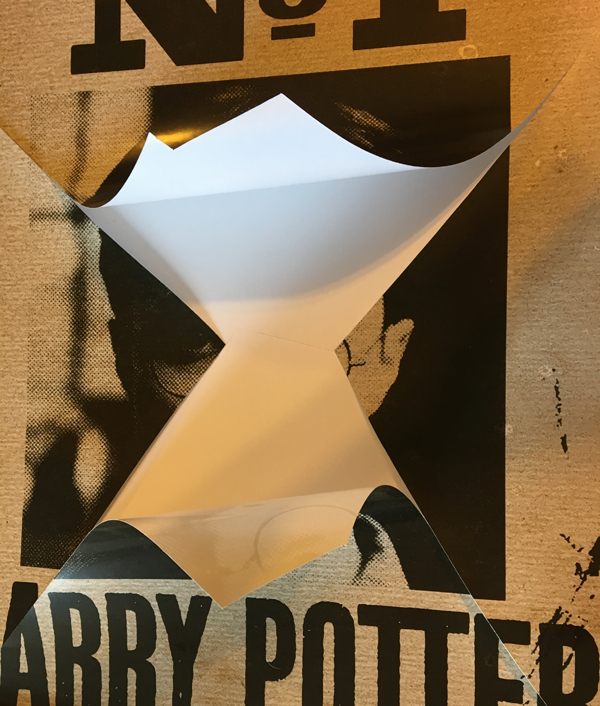
4. Carefully peel back one of the triangle sections without creasing to get access to the foamboard below. Using a box cutter, carefully cut out the foam in a square behind the poster. (Don’t cut the poster out of the way just yet, that will come next!).
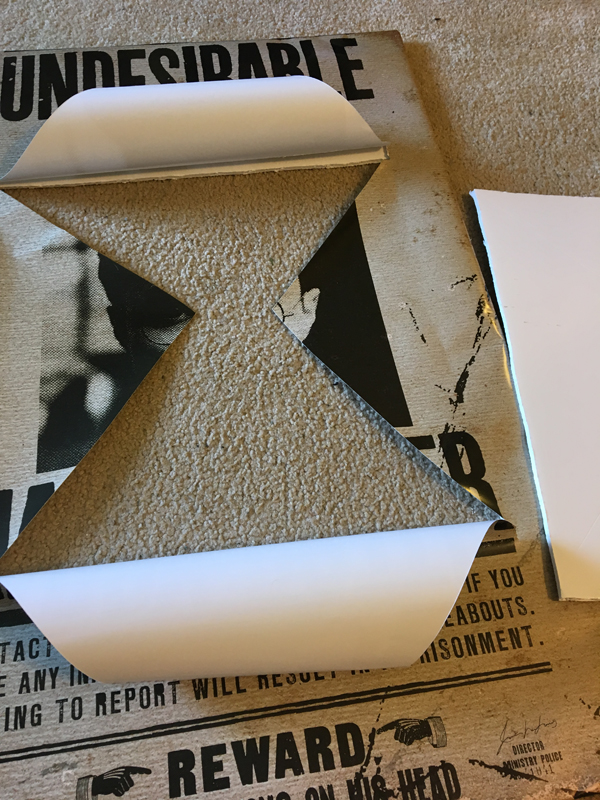
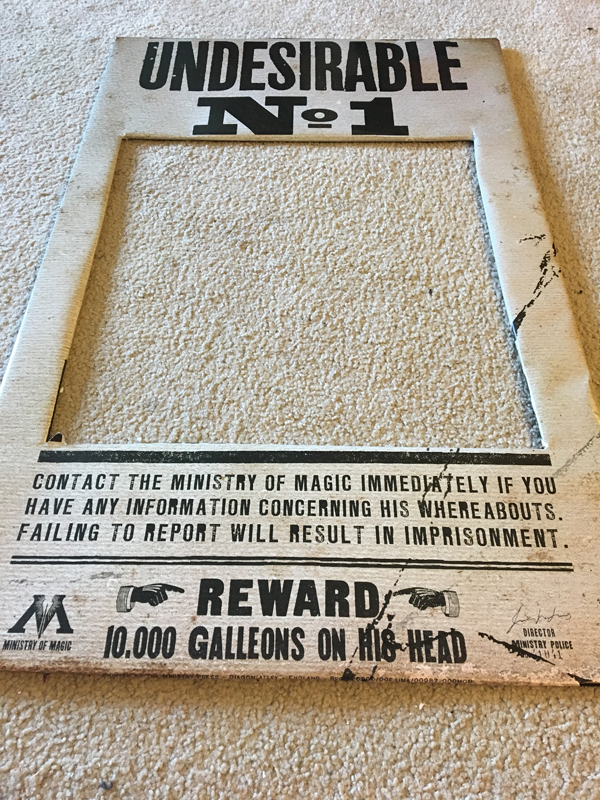
5. Now that you have your clean window through the foamboard, fold the triangles of the poster backwards through the hole and pull tight. Cut any extra that would be showing through, then use the packing tape to secure tightly to the back of the foamboard. That’s it!
No-Sew Hogwarts House Scarves
It was actually when working on these scarves that I realized it was time to take the next step and get a sewing machine. For the purposes of a photo booth prop, however, these were perfect!
You will need:
- 1 foot of fleece in each of the following colors: Gold, Crimson, Green, Grey, Tan, Blue, Yellow and Black.
- Hot glue gun
1. This one is SUUUUUPER easy. Take the 1 foot section and cut each into 4-6 inch strips. Then alternate the colors for each houseL Gold and Crimson for Gryffindor, Green and Grey for Slytherin, Tan and Blue for Ravenclaw, and Yellow and Black for Hufflepuff.
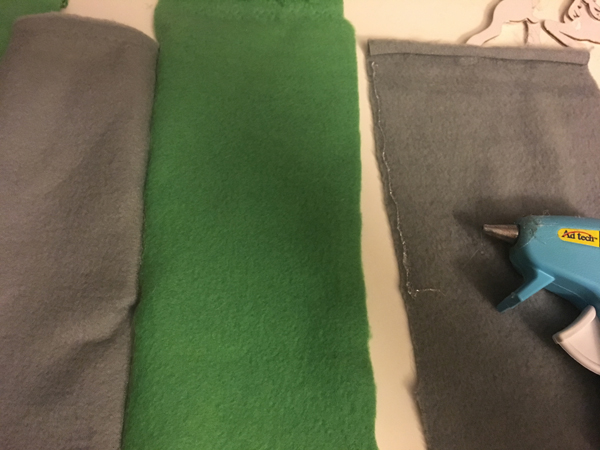
2. Hot glue the edges together so that all of the seams point the same direction.
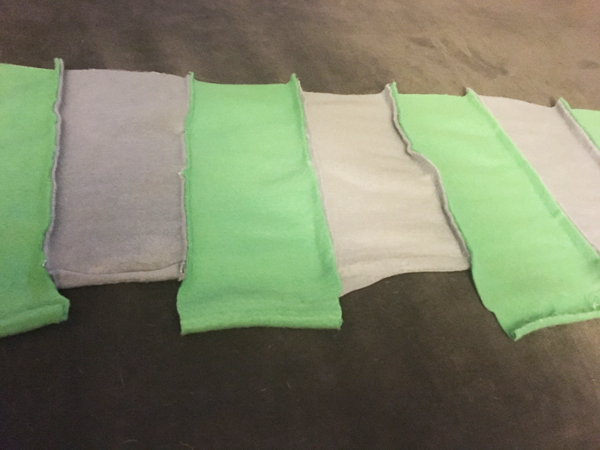
3. Cut the strips to the same length (if they weren’t already) and glue them together length-wise to create a “tube.”
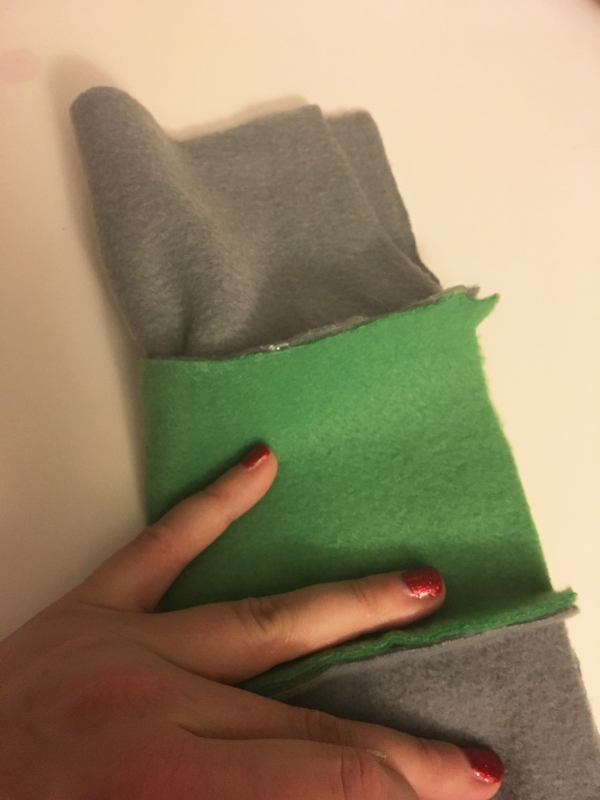
4. Finally, reach through and pull it right side out! Quick and easy.


 Hi! I'm Alyce.