Last year in July we moved from a basement apartment unit to a balcony unit on the same property and it was without a doubt worth the stress of moving and rent increase. It was the perfect place to enjoy a cup of coffee in the early mornings, and while Damir’s Dad was visiting for 5 weeks we sat out on the patio with a glass of wine every night!

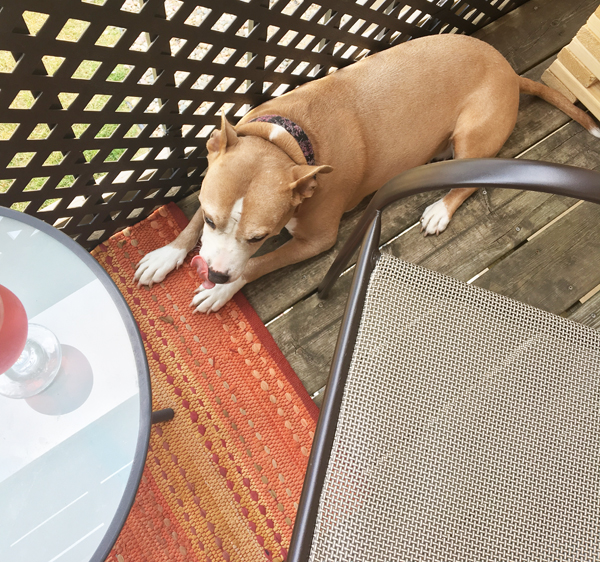
Mystic is still pretty camera shy, but at least she didn’t move while avoiding eye contact.
The problems with our previous deck setup we always ran into were:
- We only had 2 patio chairs, and any more would be cumbersome on our large but not that large balcony and…
- Patio furniture is actually pretty expensive.
With Damir’s dad coming back for another visit at the end of July, I wanted to find a way to make the patio more conducive to seating more than two people without overcrowding the balcony. In addition, I love putting my feet up when reading but there wasn’t any room for my zero gravity chair. I had noticed that we always centered the two chairs, the grill took up the full open side, but we rarely used most of the space opposite the grill next to the wall…. and I thought it would be the perfect place for a bench!
So the hunt for the perfect furniture commenced! Most patio sets you could find in Sioux Falls were far larger and more expensive than what I wanted to spend. Even the sets I found at IKEA were $200 for a simple bench, and frankly, it didn’t feel all too stable when I tried them. With no viable option for purchase that fit my needs and budget, I defaulted to my usual method… DIY! Even better, the bench cost a total of $20. Getting the lounge cushion on sale for $30 brings it to a grand total of $50, a quarter of the price to buy something in stores and it is a perfect fit to my balcony.
DIY Patio Bench
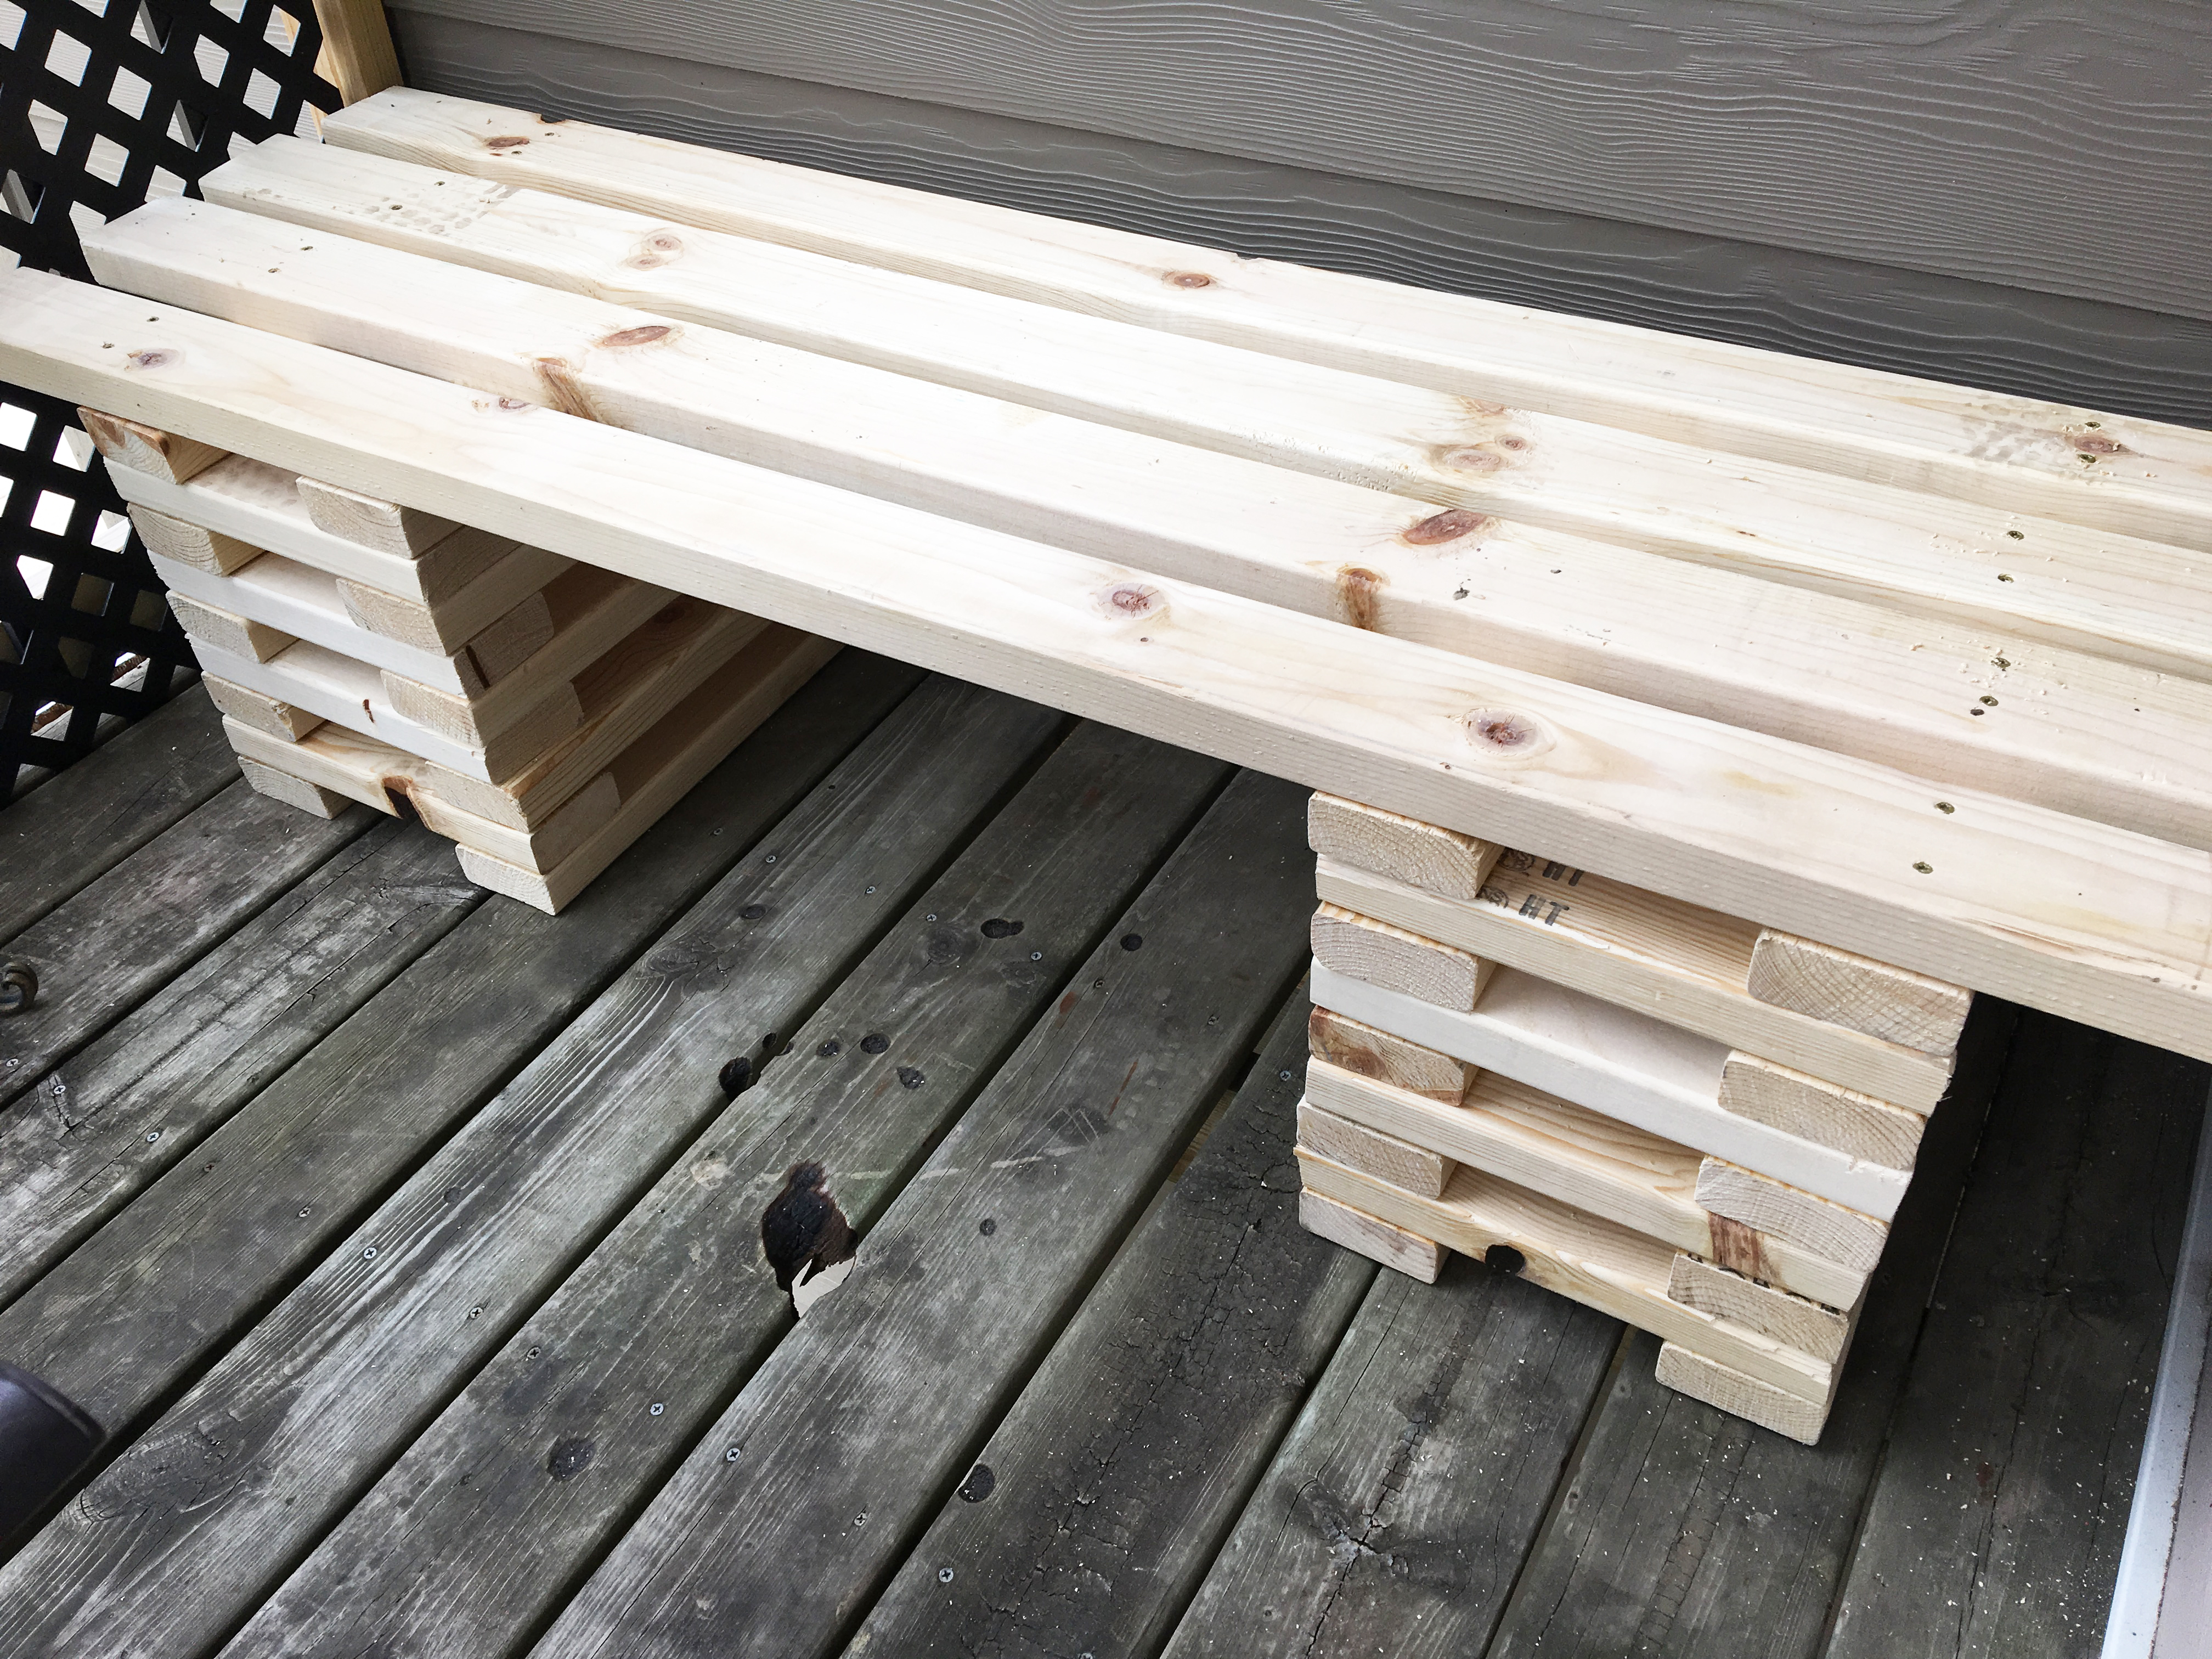
I know that typically a bench will use a typical 4 legs supported by braces and cross-beams, but while I feel moderately competent with a drill, I felt that building a stable bench on my own might be a 50/50 crapshoot. Instead, I decided to build two columns to support the bench top. While this does take more wood in total, it ensures a stable platform, and makes for a more interesting look overall!
The measurements shown will give you a bench that is 5 feet long, 20 inches high, and 18 inches
What you need:
- 9 8-foot 2×4 boards
- 1 box of 2 3/4 length inch construction wood screws
- Drill & saw
Instructions:
1. First, you need to cut up all of the pieces. If you have a circular saw, this will be a lot easier of a time than I had with no power in the garage and opting instead for a hand saw. Luckily, Damir took pity on me after the first two boards and cut the rest for me! Here is the breakdown for how to measure and cut the boards.
- 4 boards = Cut each board into 1 piece 5 feet long and 2 pieces 18 inches long.
- 2 boards = Cut each board into 8 pieces 12 inches long.
- 2 boards = Cut each board into 5 pieces 18 inches long. You will have some extra leftover from each board.
- 1 board = Cut 2 pieces 18 inches long. You will have 5 feet remaining.
You should end up with a total of:
- (4) pieces 5 feet long
- (20) pieces 18 inches long
- (16) pieces 12 inches long
2. To build the columns, start with placing two 18 inch pieces down, then laying two 12 inch pieces cross-ways on top and square it up. You can begin to screw it all together at this point or you can continue stacking them up until you have 5 layers of 18 inch pieces in total (18 inch should end up on top). Then, use a drill bit and pre-drill all of the pieces and work your way down, setting each level to the side.
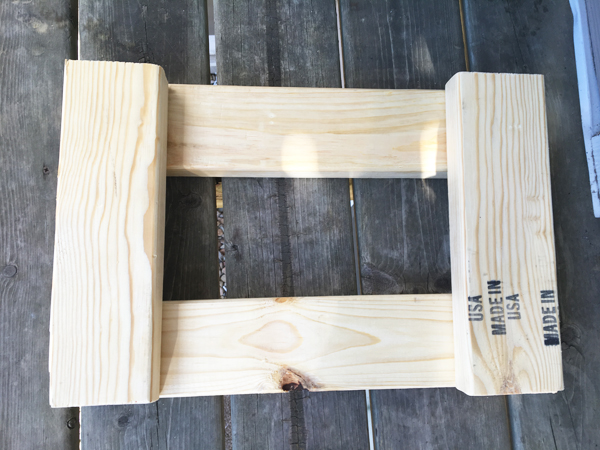
You should also keep in mind that you don’t want to drill the holes in the same place since the screws will go all the way through. I personally would put the holes for all of the longer pieces towards the inside of the square and the shorter ones towards the outside of the square so it wouldn’t become an issue.
3. Once you have pre-drilled the wood, you can then begin to re-construct the pillar by again stacking each piece, but this time screwing each piece to the layer below it with just one screw per corner. The pillar should have 5 layers of the 18inch lengths (on both the bottom and the top) and 4 layers of the 12 inch intermittently stacked between each. Repeat process with the second pillar.
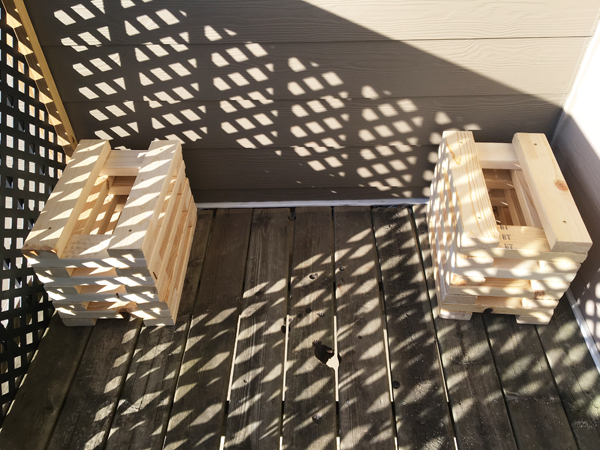
4. Place the pillars roughly 2.5 feet apart (this is objective, any distance is fine) and lay the 4 long 5 foot pieces across, spacing them out across the full depth of the bench. Make sure to place pillars so that the top of the pillar (18 inch pieces) are perpendicular to the 5 foot pieces. Use two screws for each board to attach each to the pillars.

5. If you want to leave the wood bare, you are done! You can now paint, or simply top with a comfortable cushion and enjoy your new custom bench.

 Hi! I'm Alyce.