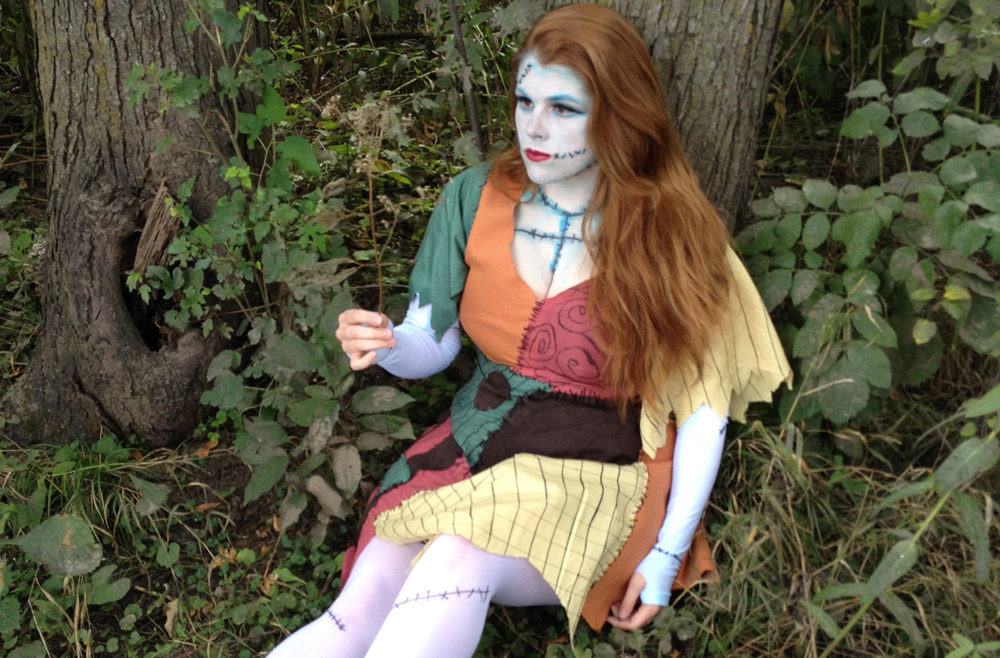
When planning out my Sally costume, I wanted to find a quick solution to the stitching on her arms and legs. The biggest issue I had with most of the options provided with commercial costumes is that they would only include leggings, or the arms would be forearm sleeves. The second issue is that Sally has a bit of a blue-ish tinge to her skin, and the makeup wouldn’t match the arms and legs.
To remedy this, I opted to make my own.
For this, you will need:
- Two pairs of white leggings in your size
- Blue or Teal food coloring
- Sharpie
Instructions
1. Start by filling a bucket or large container with water. Use the food coloring to get the water the right color. I found that you need to get the water far darker than you want the leggings to be, as the color doesn’t take very well to them, but I would start out lighter and add more food coloring if you find you are having the same problem.
2. Unroll your leggings and submerge in the water, using your hands to massage and stretch the leggings, which I felt helped to get the water fully soaked.
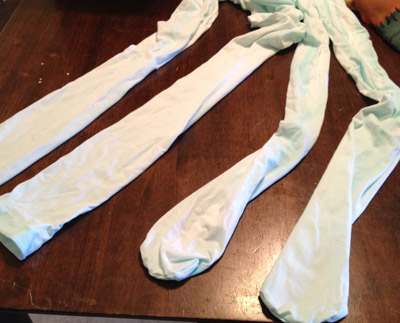
3. When you remove the leggings from the water, they may be a bit more vibrant than you want. Don’t worry, as the water drains from them, so will a lot of the color. I hung both pairs of leggings on a hanger in my shower. To prevent the dripping water from potentially staining my tub (goodbye deposit) I hung a garbage back from the pull straps from the hanger as well, with the leggings inside the bag. This caught all of the dripping water overnight, and was easy to pour out down the sink.
4. Once most of the water has drained, you can allow the leggings to dry fully hanging. At this point, you should be able to see how much color remains in the leggings, and can re-dye if you feel it is necessary.
Arms
5. Once the leggings are completely dry, take one pair and cut out the crotch portion, and then cut off the band at the top. Then, cut completely in half. These will be your arms. I wanted the arms to be really easy to put on and remove, since many costume tutorials show people painting their arms. This looked to me like a huge potential mess, and the leggings version for arms is so much faster, and much cleaner if you are making this costume for a child especially!
6. Pull each sleeve up your arms, with the hemmed ankle at your wrist. You can cut a thumb hole for each sleeve as well. The extra bulk at the top of the leggings works really well to make sure the sleeve gets all the way to your shoulder. You can just leave them be, or use a safety pin from the inside to fix it to the dress.
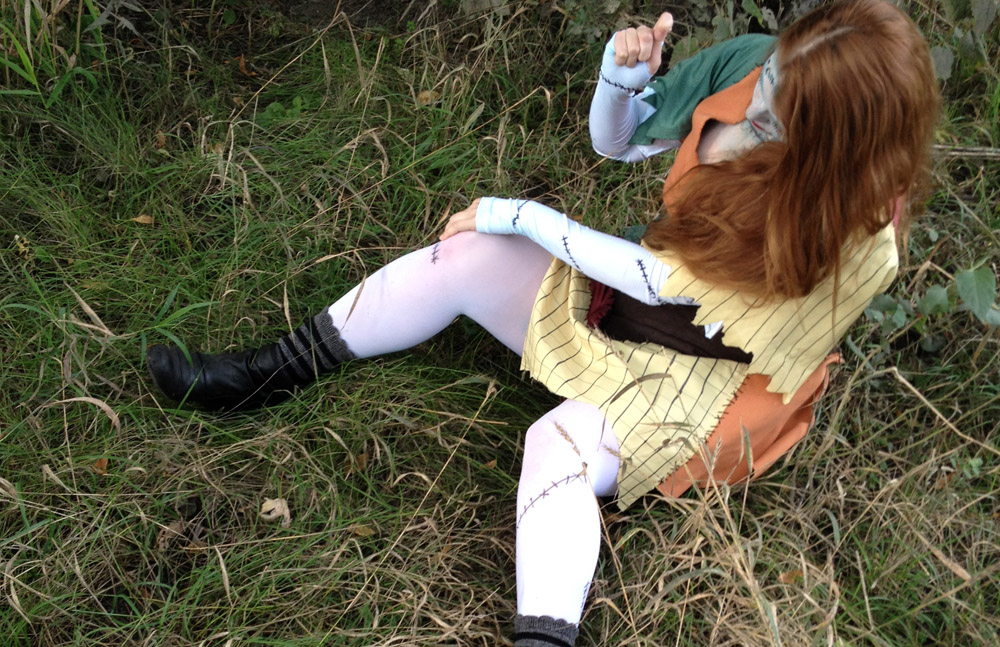
7. Referencing pictures of Sally (I looked at a few to make sure I had a good view of each arm) use the sharpie to draw a line for each “seam,” then draw on the stitches, using the same angled stitches and “X” stitches you used when making the dress.
Legs
7. Pull on your leggings! Again, referencing pictures of Sally, draw a line for eac seam, then add our stitches. That’s it, you are done!
Last step… makeup! The full makeup tutorial is coming soon!

 Hi! I'm Alyce.